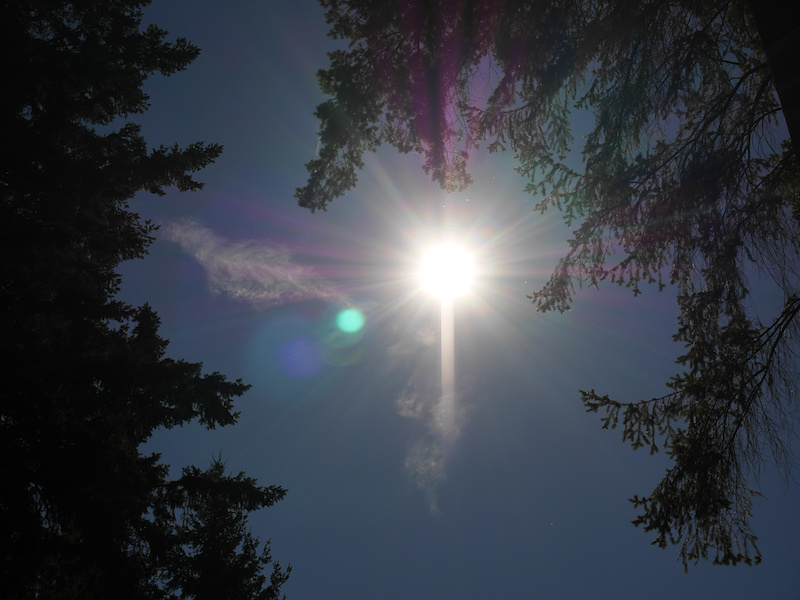
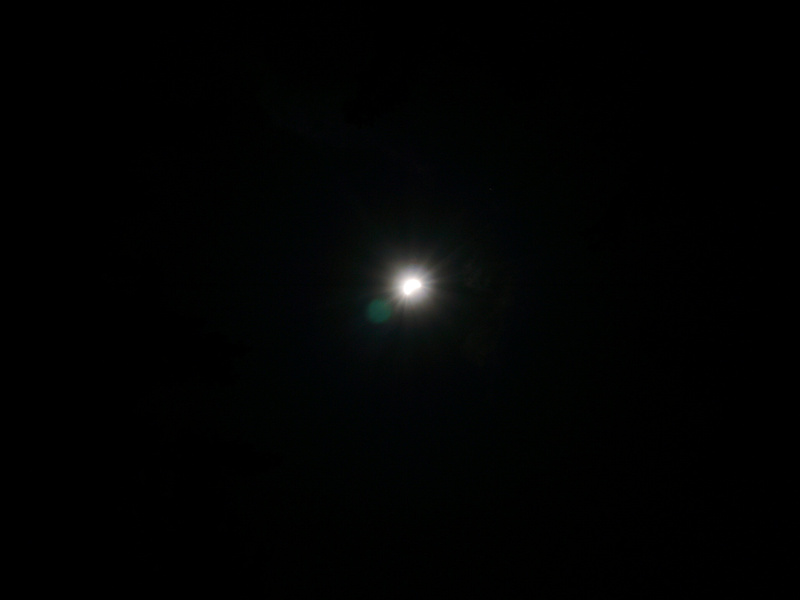
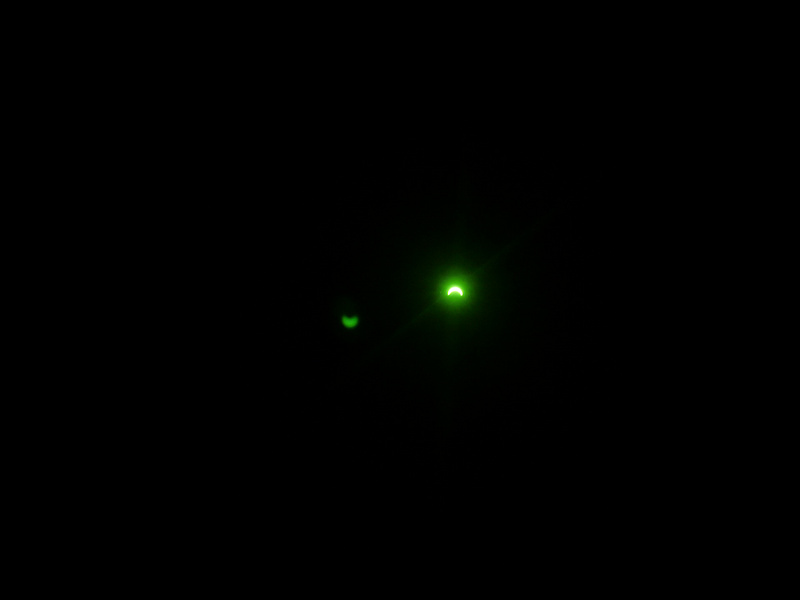
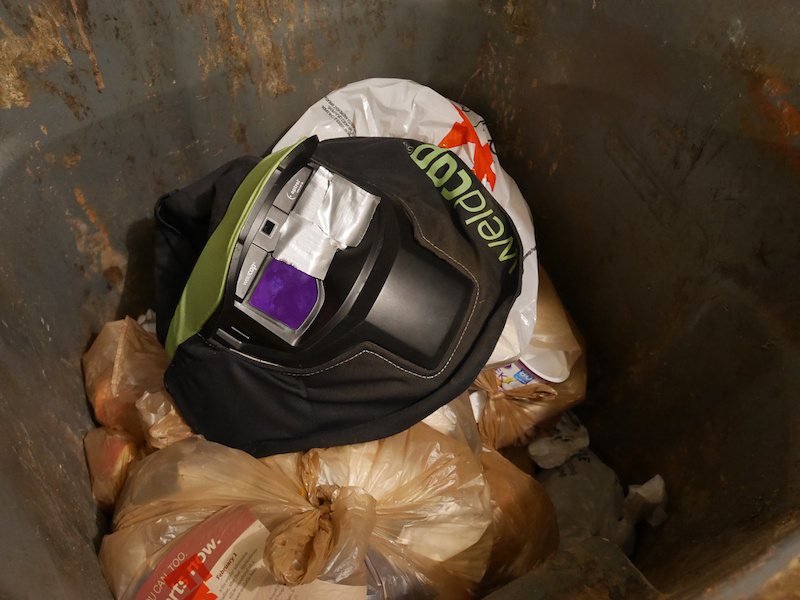
Using the Optrel Weldcap to watch the sun eclipse seemed like a great idea.
Worked great to begin with, but unfortunately the Weldcap failed after 10min and the auto darkening switched on and off.
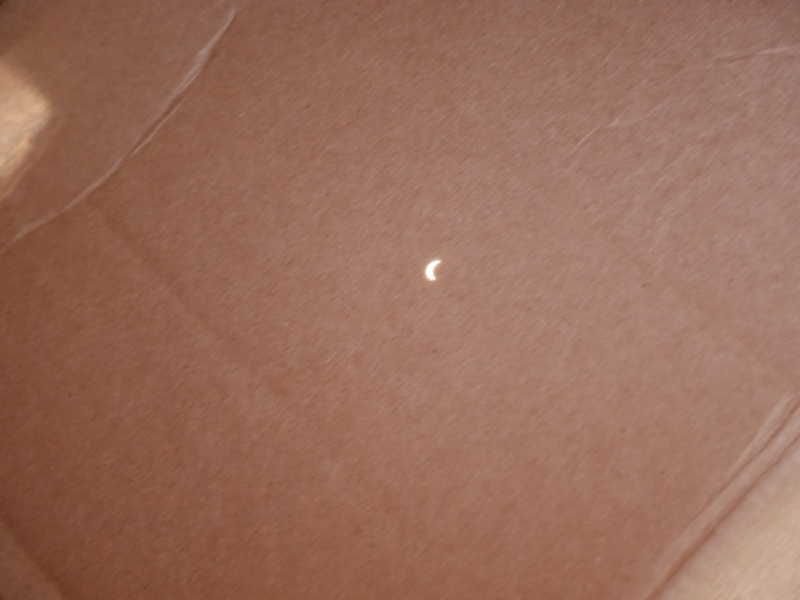
Weldcrap! This was quite a unsafe experience. Best thing to do was this:
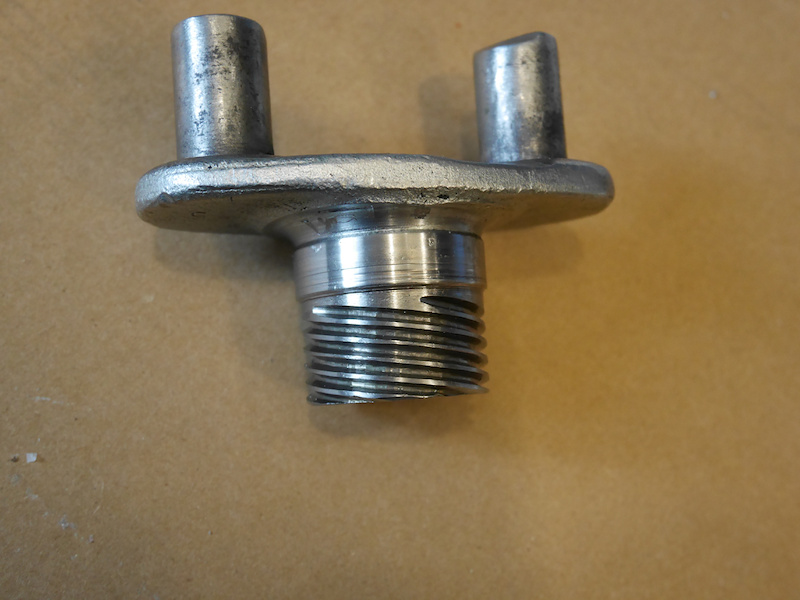
Driving around with my old BMW is fun, but I noticed oil spots (everywhere).
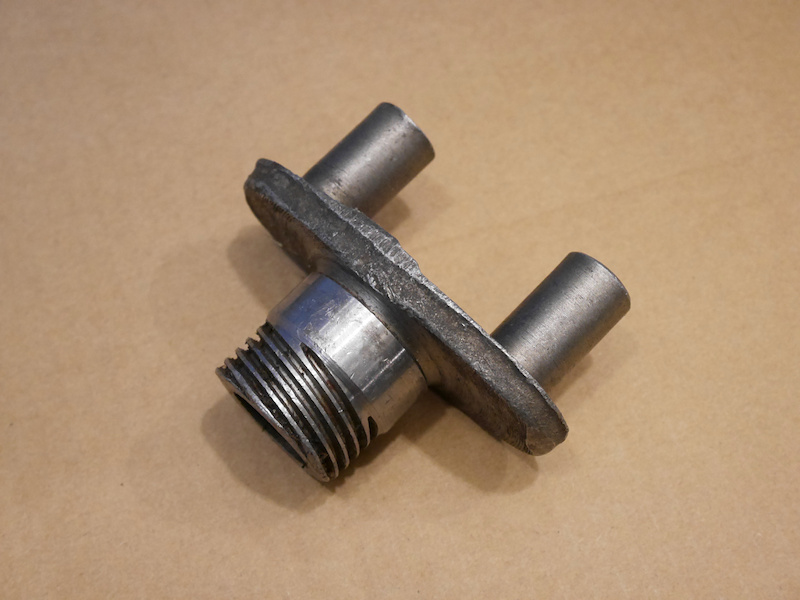
One of a common spots to leak oil is the transmission output shaft and this where mine was leaking too. The difference is that the leaking oil gets everywhere due to the rotating drive coupler disc.
The reason for the leak is that the surface for the seal is not perfect and this post is about to make it perfect.
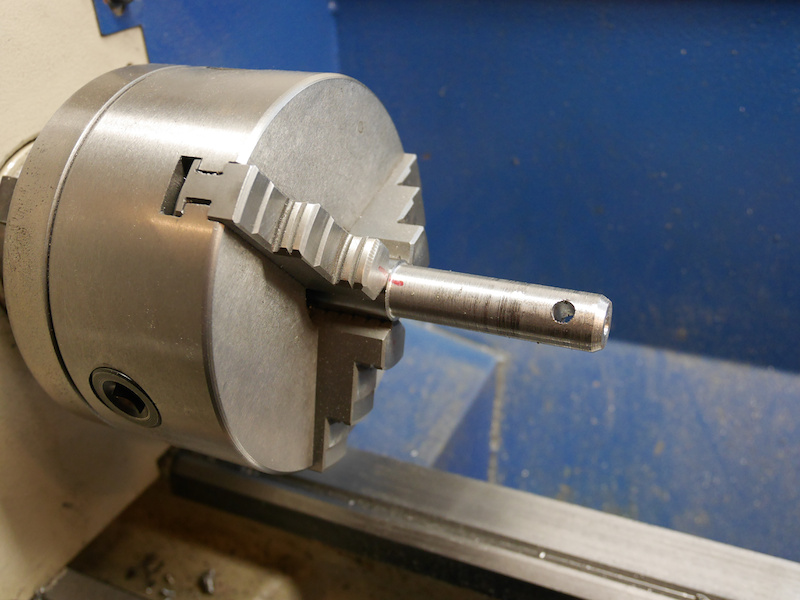
First, a holder is made out of steel starting with a diameter of 16.3mm.
A rod is used as a lathe dog. Unfortunately mounting the shaft the other way around to hook into the jaws didn't worked.
Anyway, the shaft fitted exactly without any play.
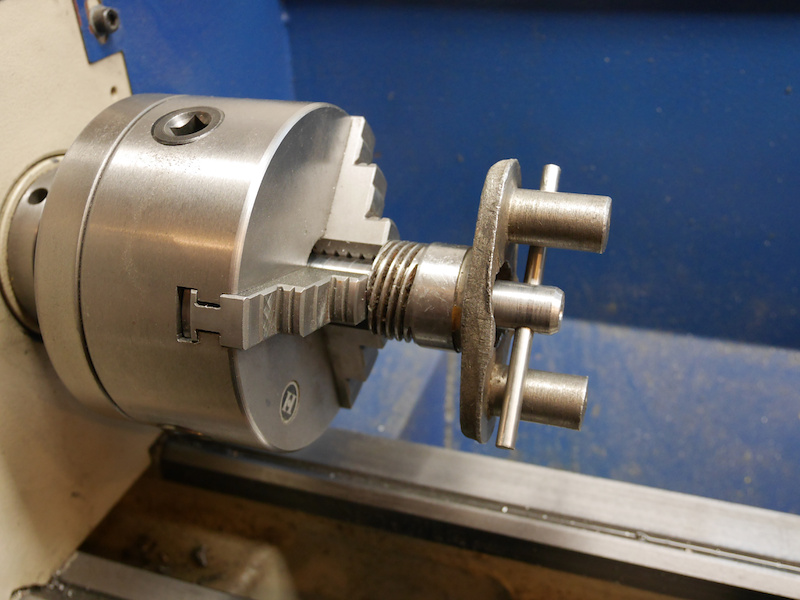
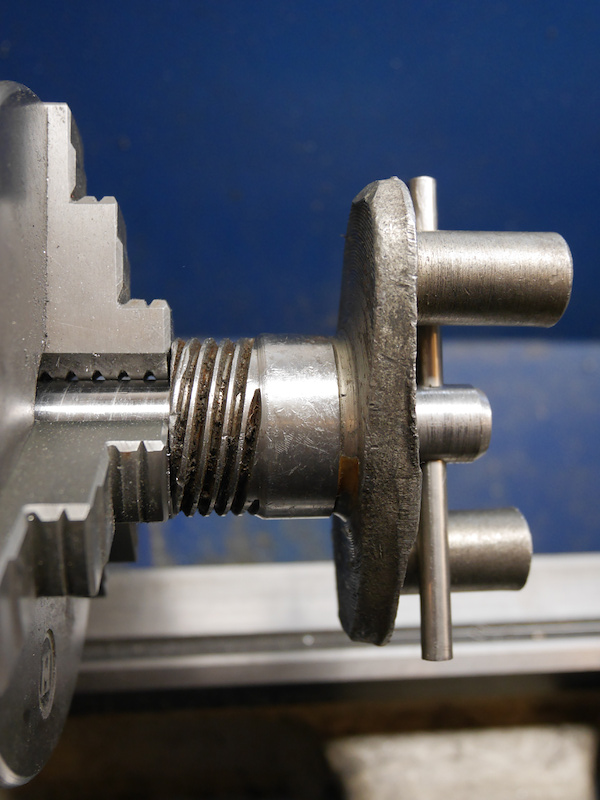
The transmission output shaft is ready for machining:
I noticed that the existing surface was out of balance. Another reason why seals can fail over time.
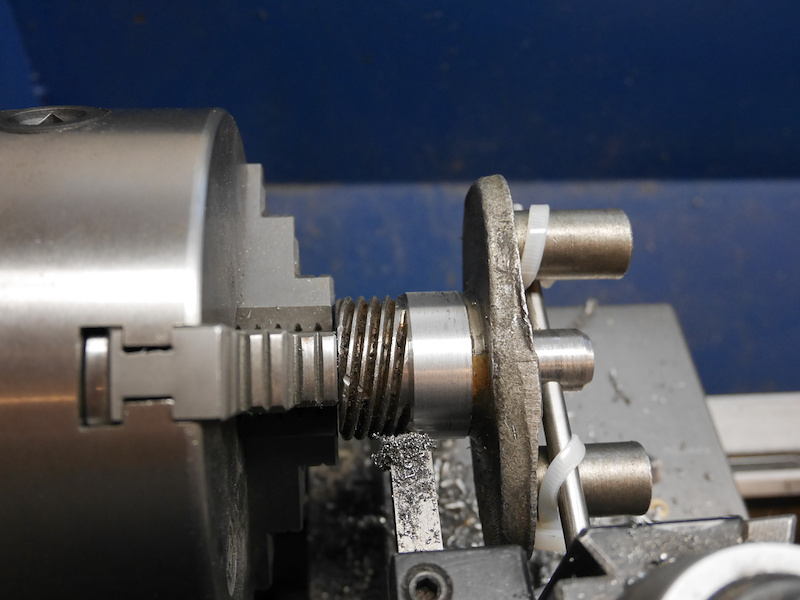
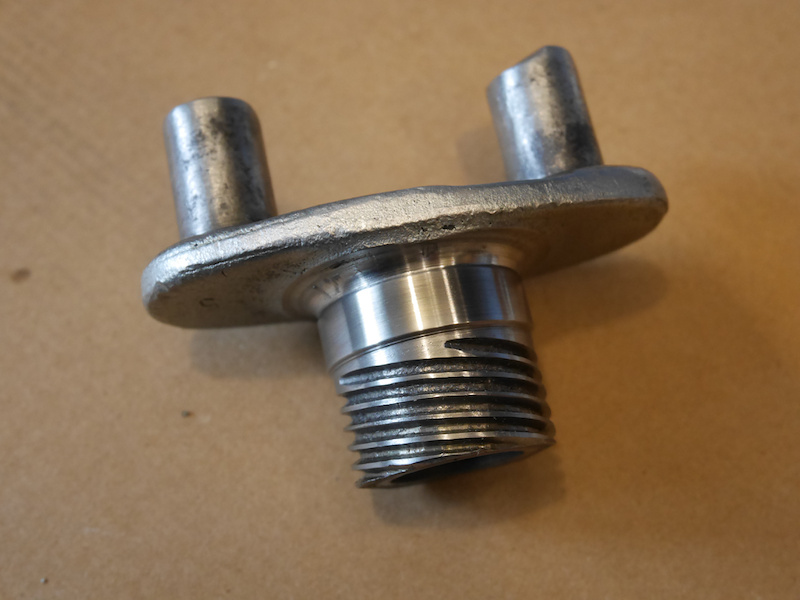
With several very light cuts, the surface is perfectly machined (MP4 or WMV).
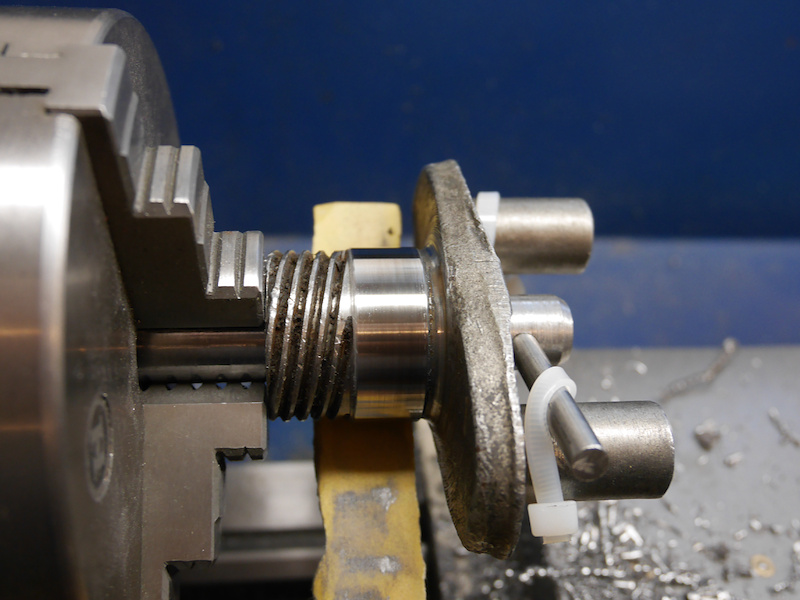
Fine grit sandpaper is used to grind the surface to a smooth finish.
The new sealing surface of the transmission output shaft is finished and ready to use.
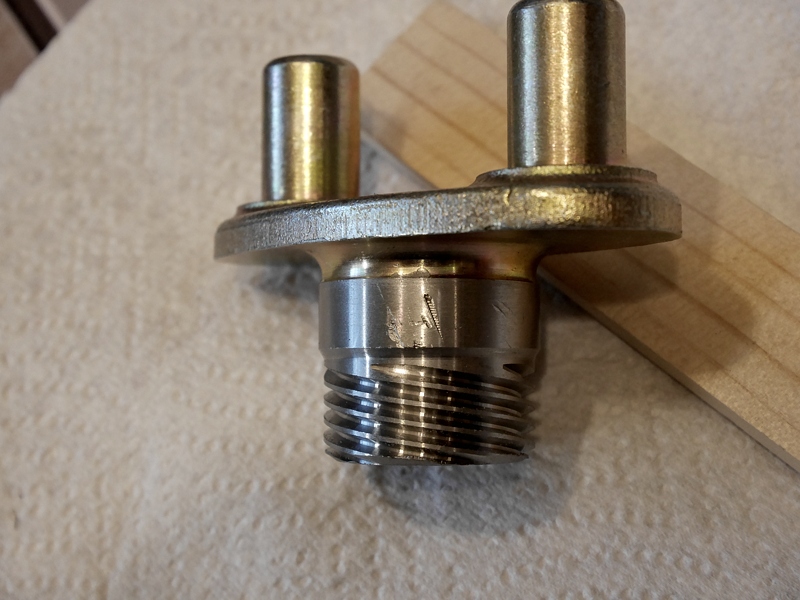
Update 06/04/2017:
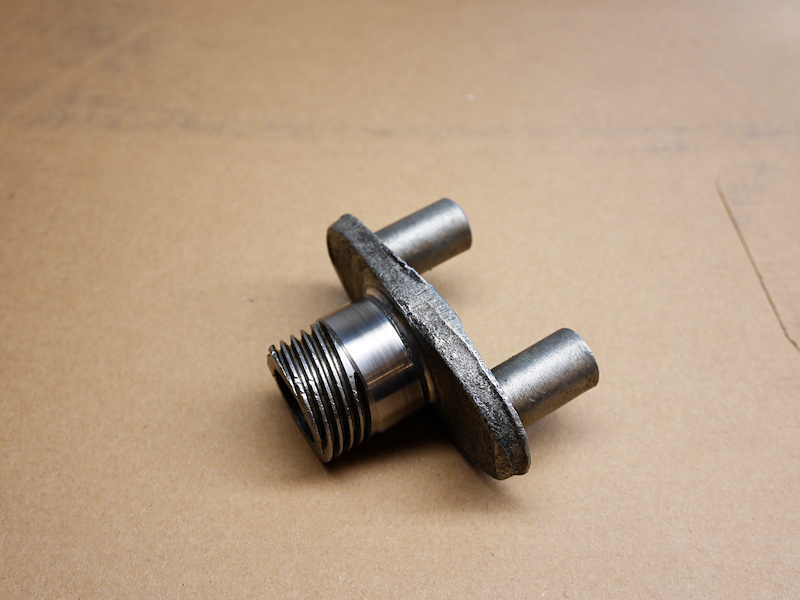
Finished another one. Note the grooves that caused the leak!
Diameter was machined from 36.7mm to 36.55mm. We put it back in and drove around all day.
Perfectly sealed and no oil spill anymore using the same oil seal (48x36x8).
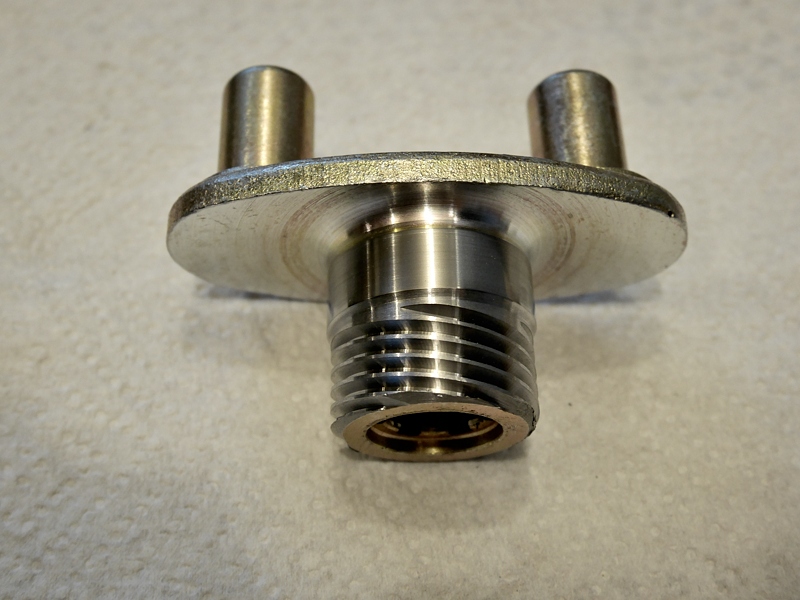
Update 06/22/2017:
And another one:
Update 04/30/2023:
Using 400 grit sandpaper is still too smooth for the sealing surface. See the
Oil Seal post.
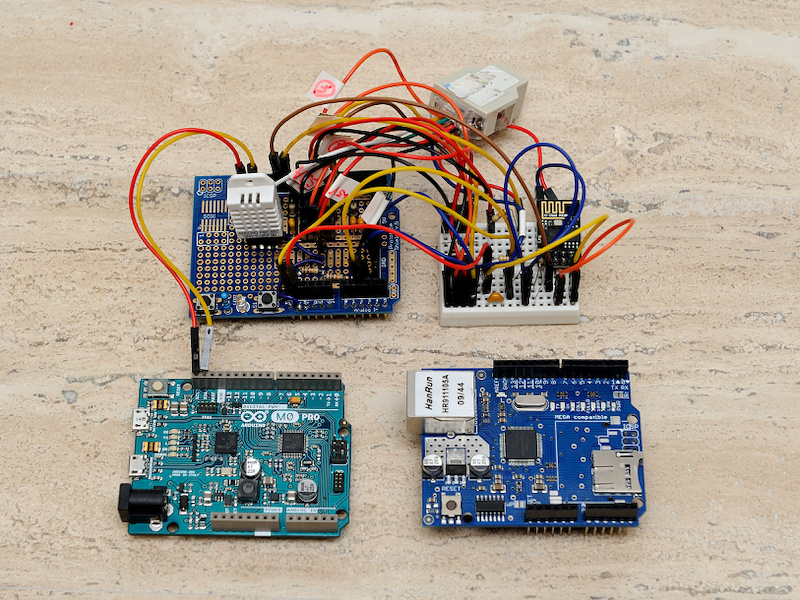
Using a Arduino M0 Pro to power a weather station to measure wind speed/direction, humidity and temperature inside and outside, barometric pressure and rainfall, support REST API for the weather app and HTTP Server:
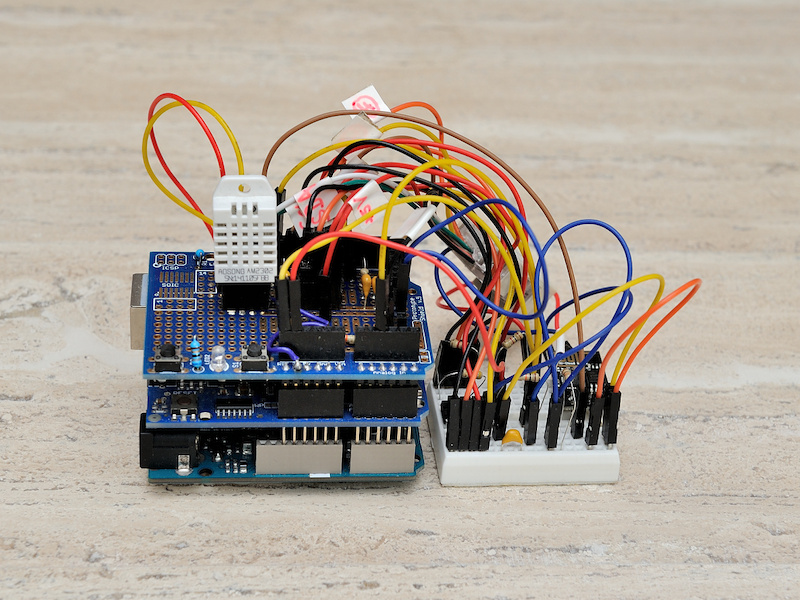
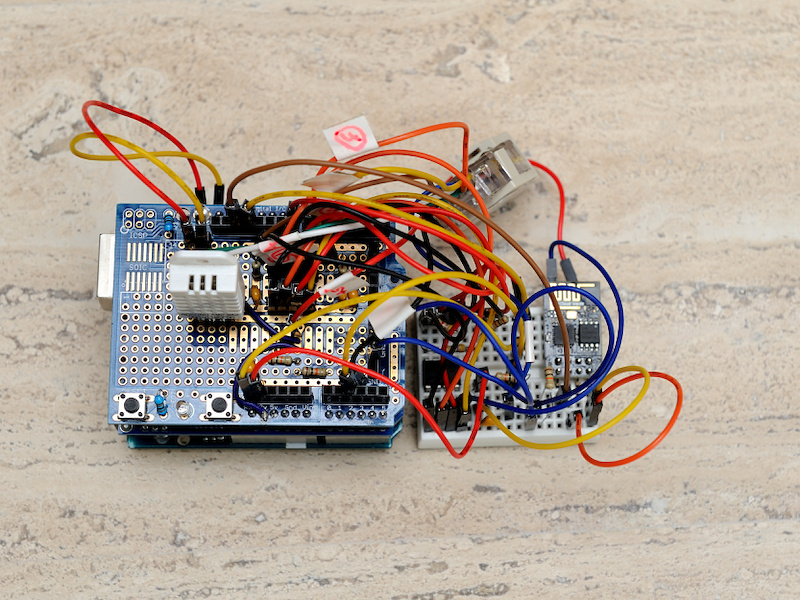
The white sensor is a DHT22 to measure the humidity and temperature inside.
The 8 pin DIP on the experimental board is a 24LC256 (32KB) to hold weather data statistics.
The wireless module is already connected and will be used later to upload data to the Azure IOT hub.
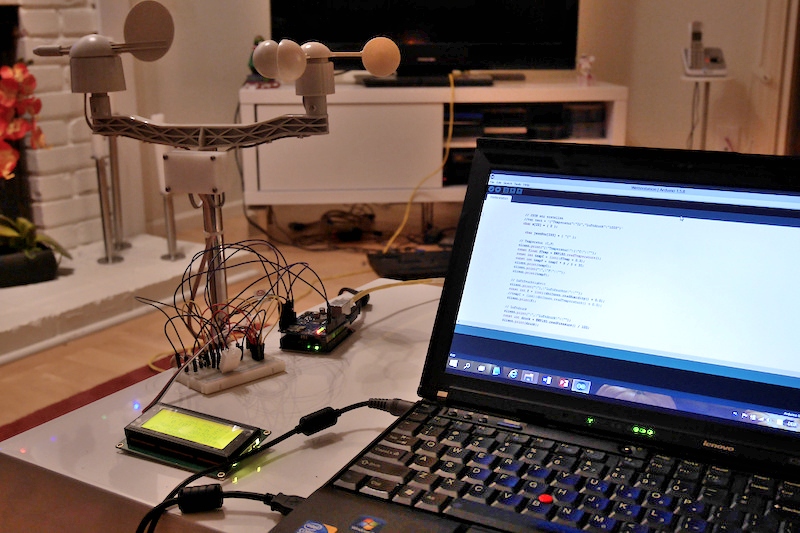
First test with the weather station to check the directional sensor and the areometer signal.
The weather station is a very popular model, but the documentation has a wrong value for the resistance for one direction.
Here is the correct list:
Direction (Degrees)
Resistance (Ohms)
Voltage (V=5v, R=10k)
0
33k
3.84v
22.5
6.57k
1.98v
45
8.2k
2.25v
67.5
891
0.41v
90
1k
0.45v
112.5
688
0.32v
135
2.2k
0.90v
157.5
1.41k
0.62v
180
3.9k
1.40v
202.5
3.14k
1.19v
225
16k
3.08v
247.5
14.12k
2.93v
270
120k
4.62v
292.5
42.12k
4.04v
315
64.9k
4.33v
337.5
21.88k
3.43v
This translates to the following analog values using the recommended 10K resistor. The analog2index function returns the index (the wind direction) of the received value from the Arduino analog input port. Since the differences between the individual values is not constant, this mapping is the most precise mapping to get the wind direction.
const int analogwerte[] = {
    787,
    406,
    461,
    84,
    93,
    66,
    185,
    127,
    287,
    244,
    631,
    601,
    947,
    828,
    887,
    703
    };


const int8_t richtungen = sizeof(analogwerte) / sizeof(int);

int8_t analog2index(const int analogwert)
{
    // nächsten Wert zu analogwert in analogwerte suchen
    int t = 20;  // Starttoleranz: +-20
    int index = -2; // return -1 für Fehler
    for(int8_t i = 0; i < richtungen; i++)
    {
        const int d(abs(analogwert - analogwerte[i]));
        if(d < t)
        {
            t = d;
            index = i;
        }
    }

    return index / 2;
}
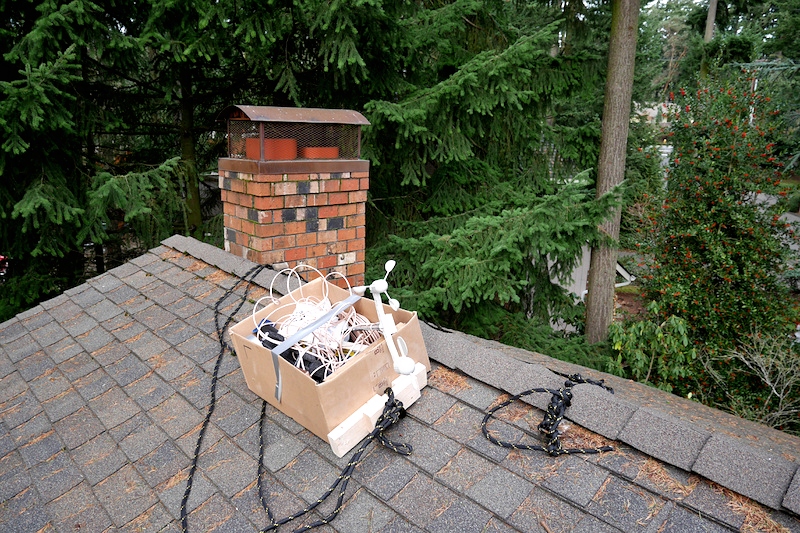
The installation:
Everything is packed and pulled up by rope up to the roof.
Bolted to the chimney.
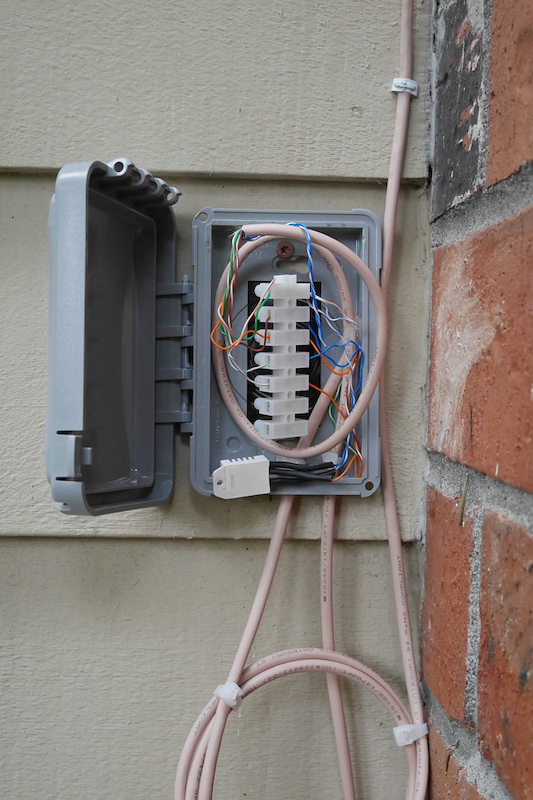
The junction box hosting the outdoor sensor for humidity and (shadow) temperature.
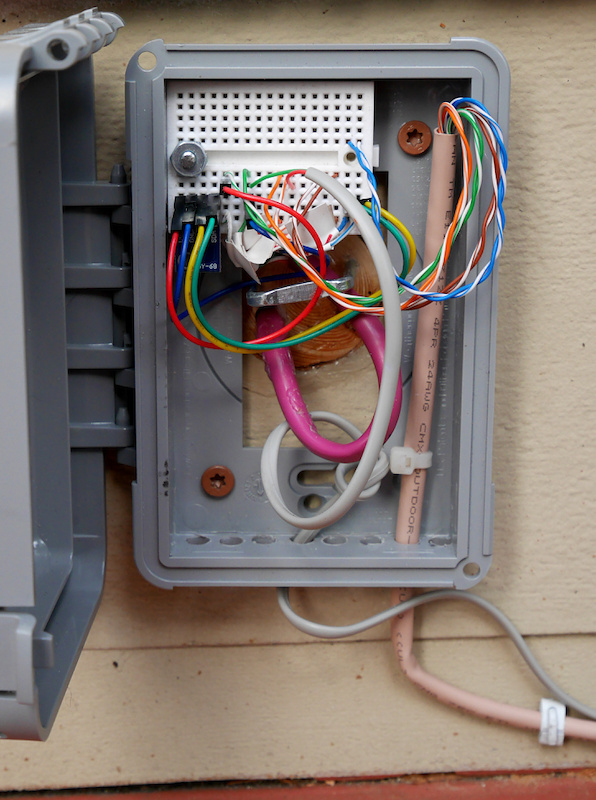
The main junction box hosting the barometric pressure sensor (BMP180) including the second outdoor temperature.
The barometric pressure sensor is located on the lower left of the experimental board.
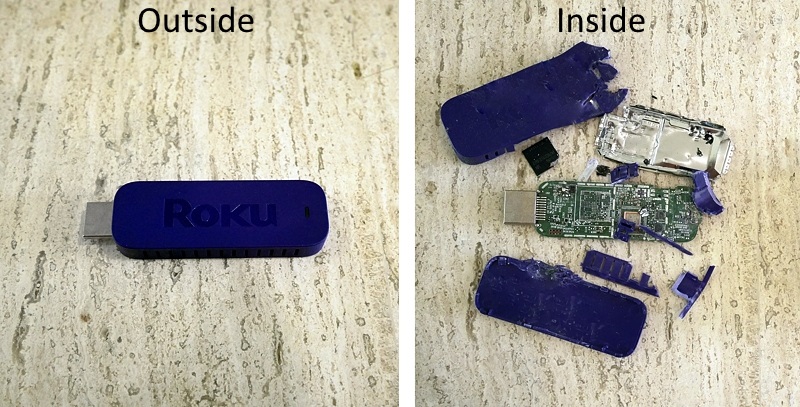
Here is another 1 example of modern engineering excellence. Looks great from the outside but not so much from the inside.
(1 Samsung Dishwasher: Looks nice, but has an astonishing accuracy to start failing past the end of the warranty. A great marvel of Korean engineering.)
See for yourself:
Once the stick is powered up, you have to wait several minutes until you get a response. Instantly pressing a button on the control when the start screen is coming up makes the device unresponsive. Very annoying.
Bonus: You get nice different themes during start.
Or: Switch sub titles on/off. Great solution presented here too. Once you decide to change sub titles in the middle of the presentation, you have to go back to the main menu and start all over.
After a few weeks of use, I discovered that the batteries were empty. Replaced then and didn't gave this a thought, until a few weeks later the batteries were empty again. It was not obvious that the batteries were empty since the device does not respond instantly anyway but a quick check with the multi meter confirmed it.
When did you replaced the last time the batteries of your remote?
I contacted Roku support about all this along with the confirmation that I did all the steps the FAQ suggests, only to get an answer one week later to go and check the FAQ. Report ticket was automatically closed. How convenient.
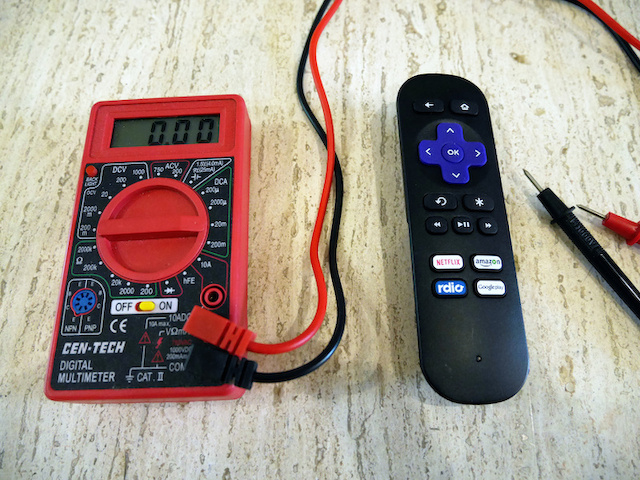
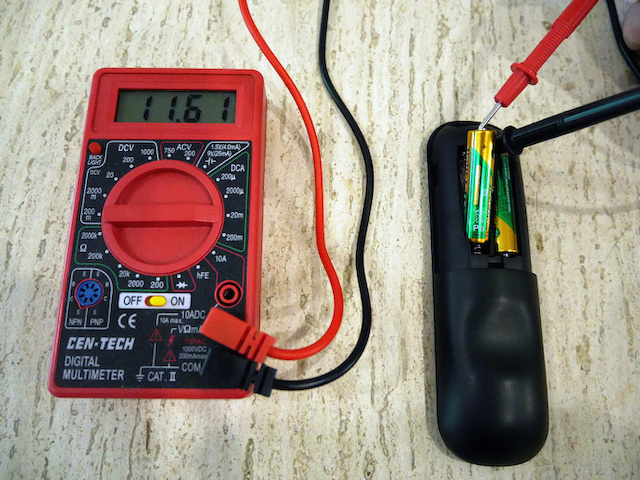
Checked the remote for power consumption:
Almost 12mA current is drawn constantly. No key is pressed!
I'm surprised the batteries made it that long.
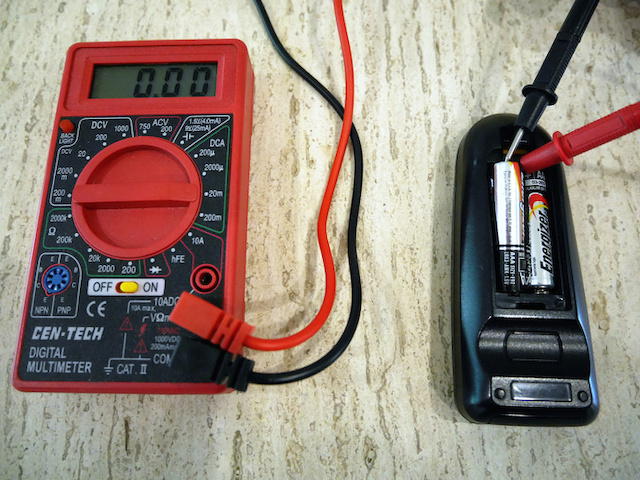
Compared this to my WD Media Player remote:
and 0mA, the way a remote should work.
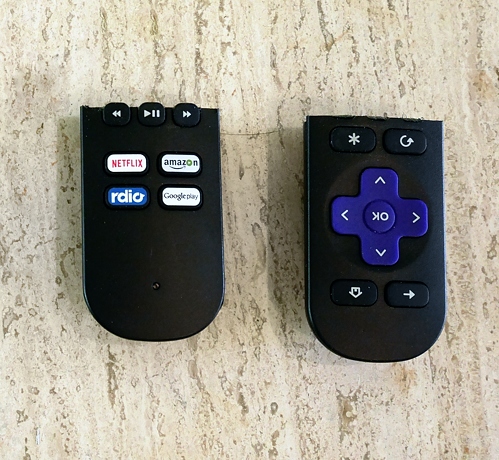
Checked the Roku remote control inside, but decided not to waste any more time.
And here is my solution:
Hi,
You received this email because you requested to close your account, we have removed your information from our system.
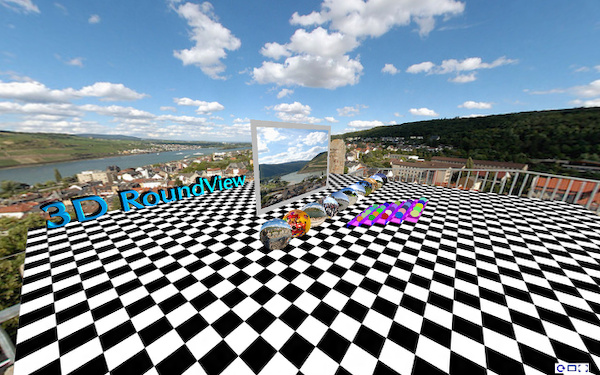
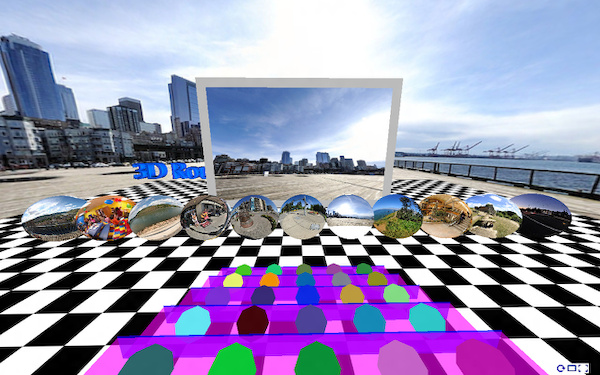
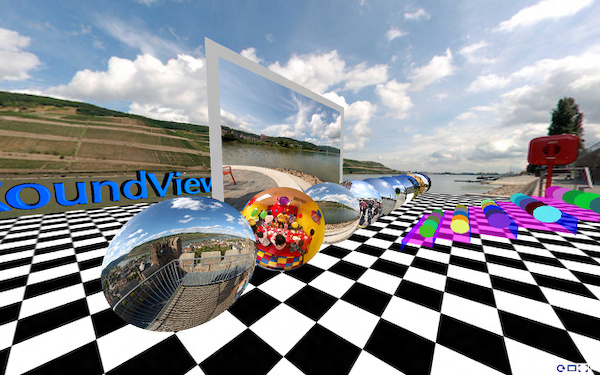
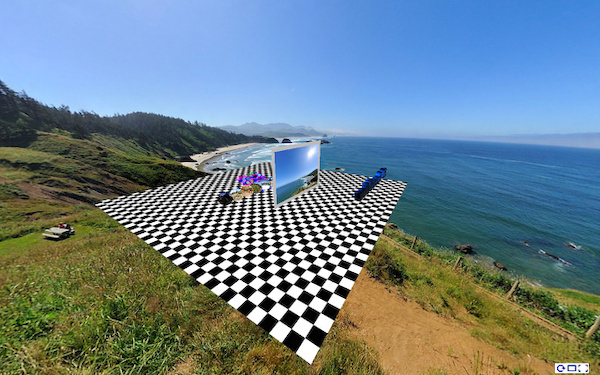
3D RoundView is a panoramic viewer for a modern Browser.
Click and drag to move the view, click inside the screen to drag the current selection or click one of the preview spheres to change the current view for the 25 cats on the bleachers. Double click for the single view.
Download cPicture for your language, select your panorama pictures and use the function to create a panorama website.
This will add all the project files to a selected folder which can be copied to your webserver to publish the panorama.