The documentary highlighted many significant milestones and innovations from Opel over the years, making it a great watch.
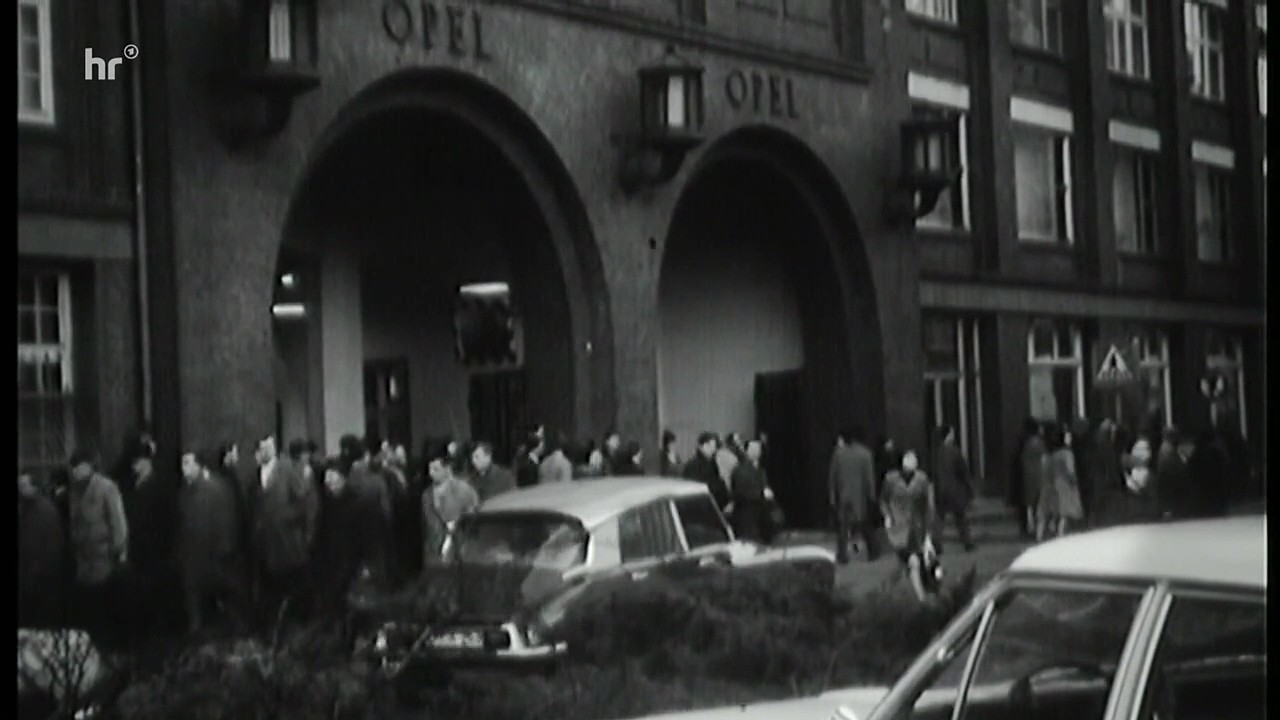
In one of the historic clips, a Citroën DS was seen driving past the entrance of the Opel facility. Being a big fan of the DS, I noticed it immediately. It was interesting to see such an iconic car from another brand. I was anticipating an Opel in this context!
Historic clip:
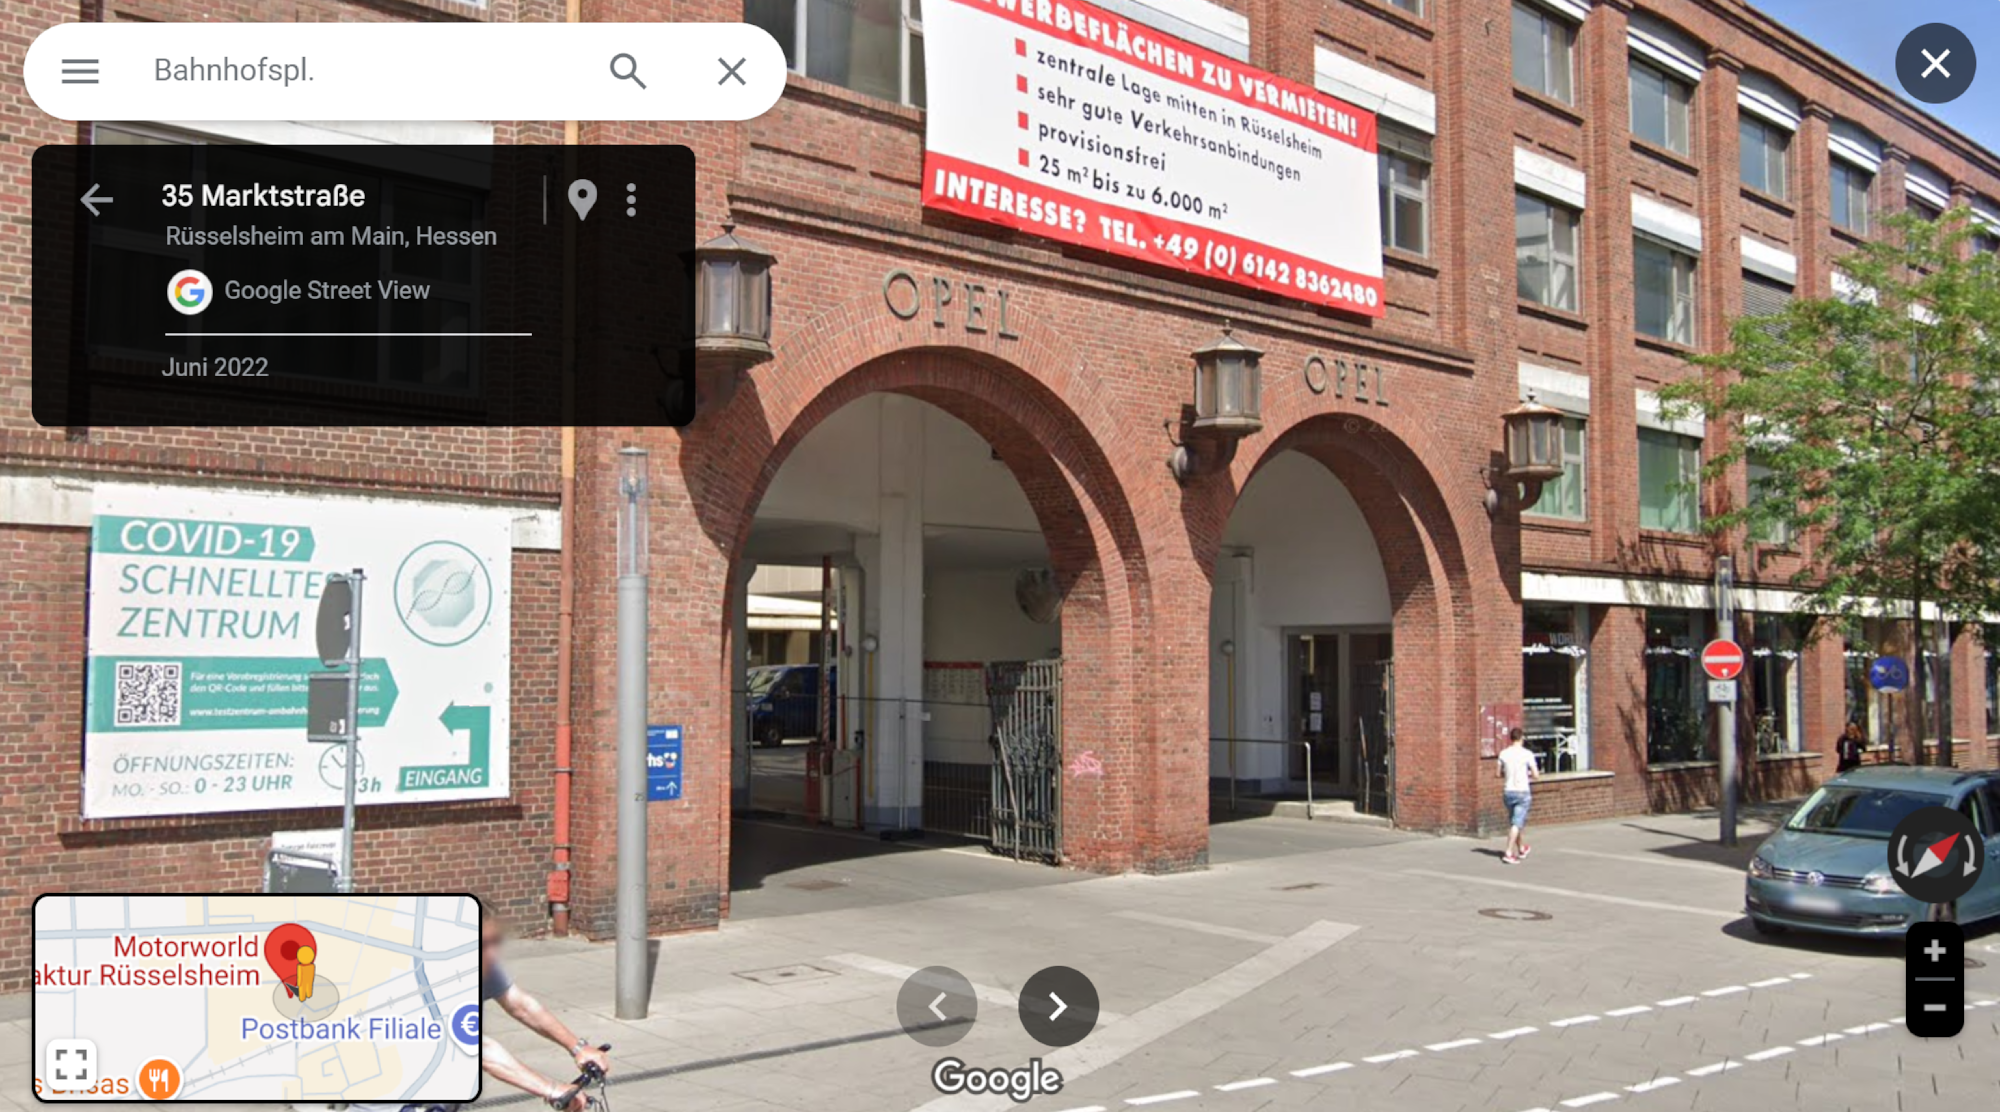
This is where the clip with the Citroën DS was filmed: Marktstraße 35, 65428 Rüsselsheim am Main, Deutschland, Google Map
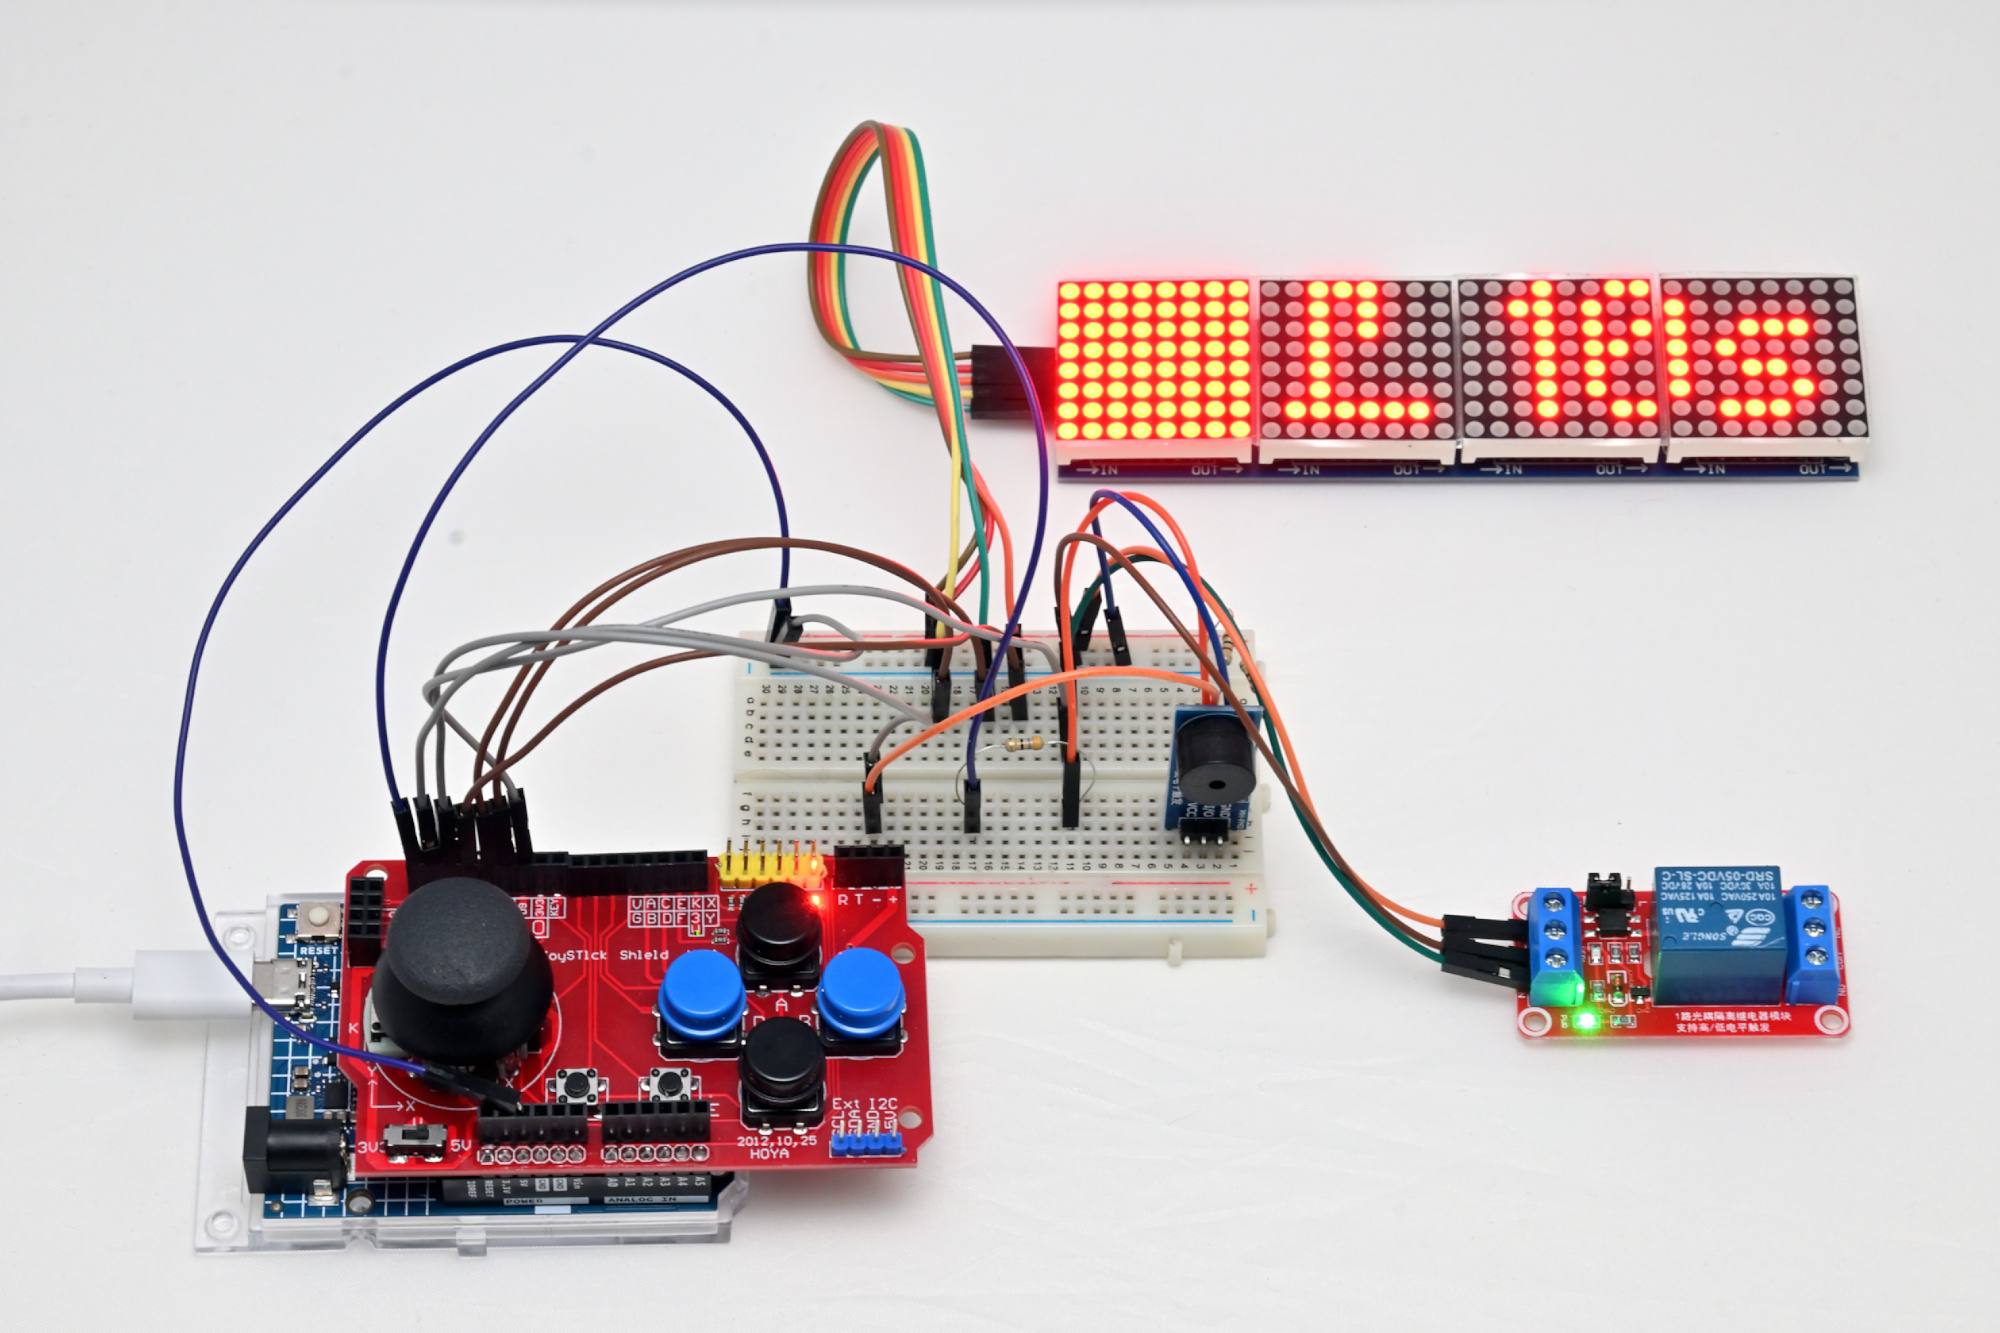
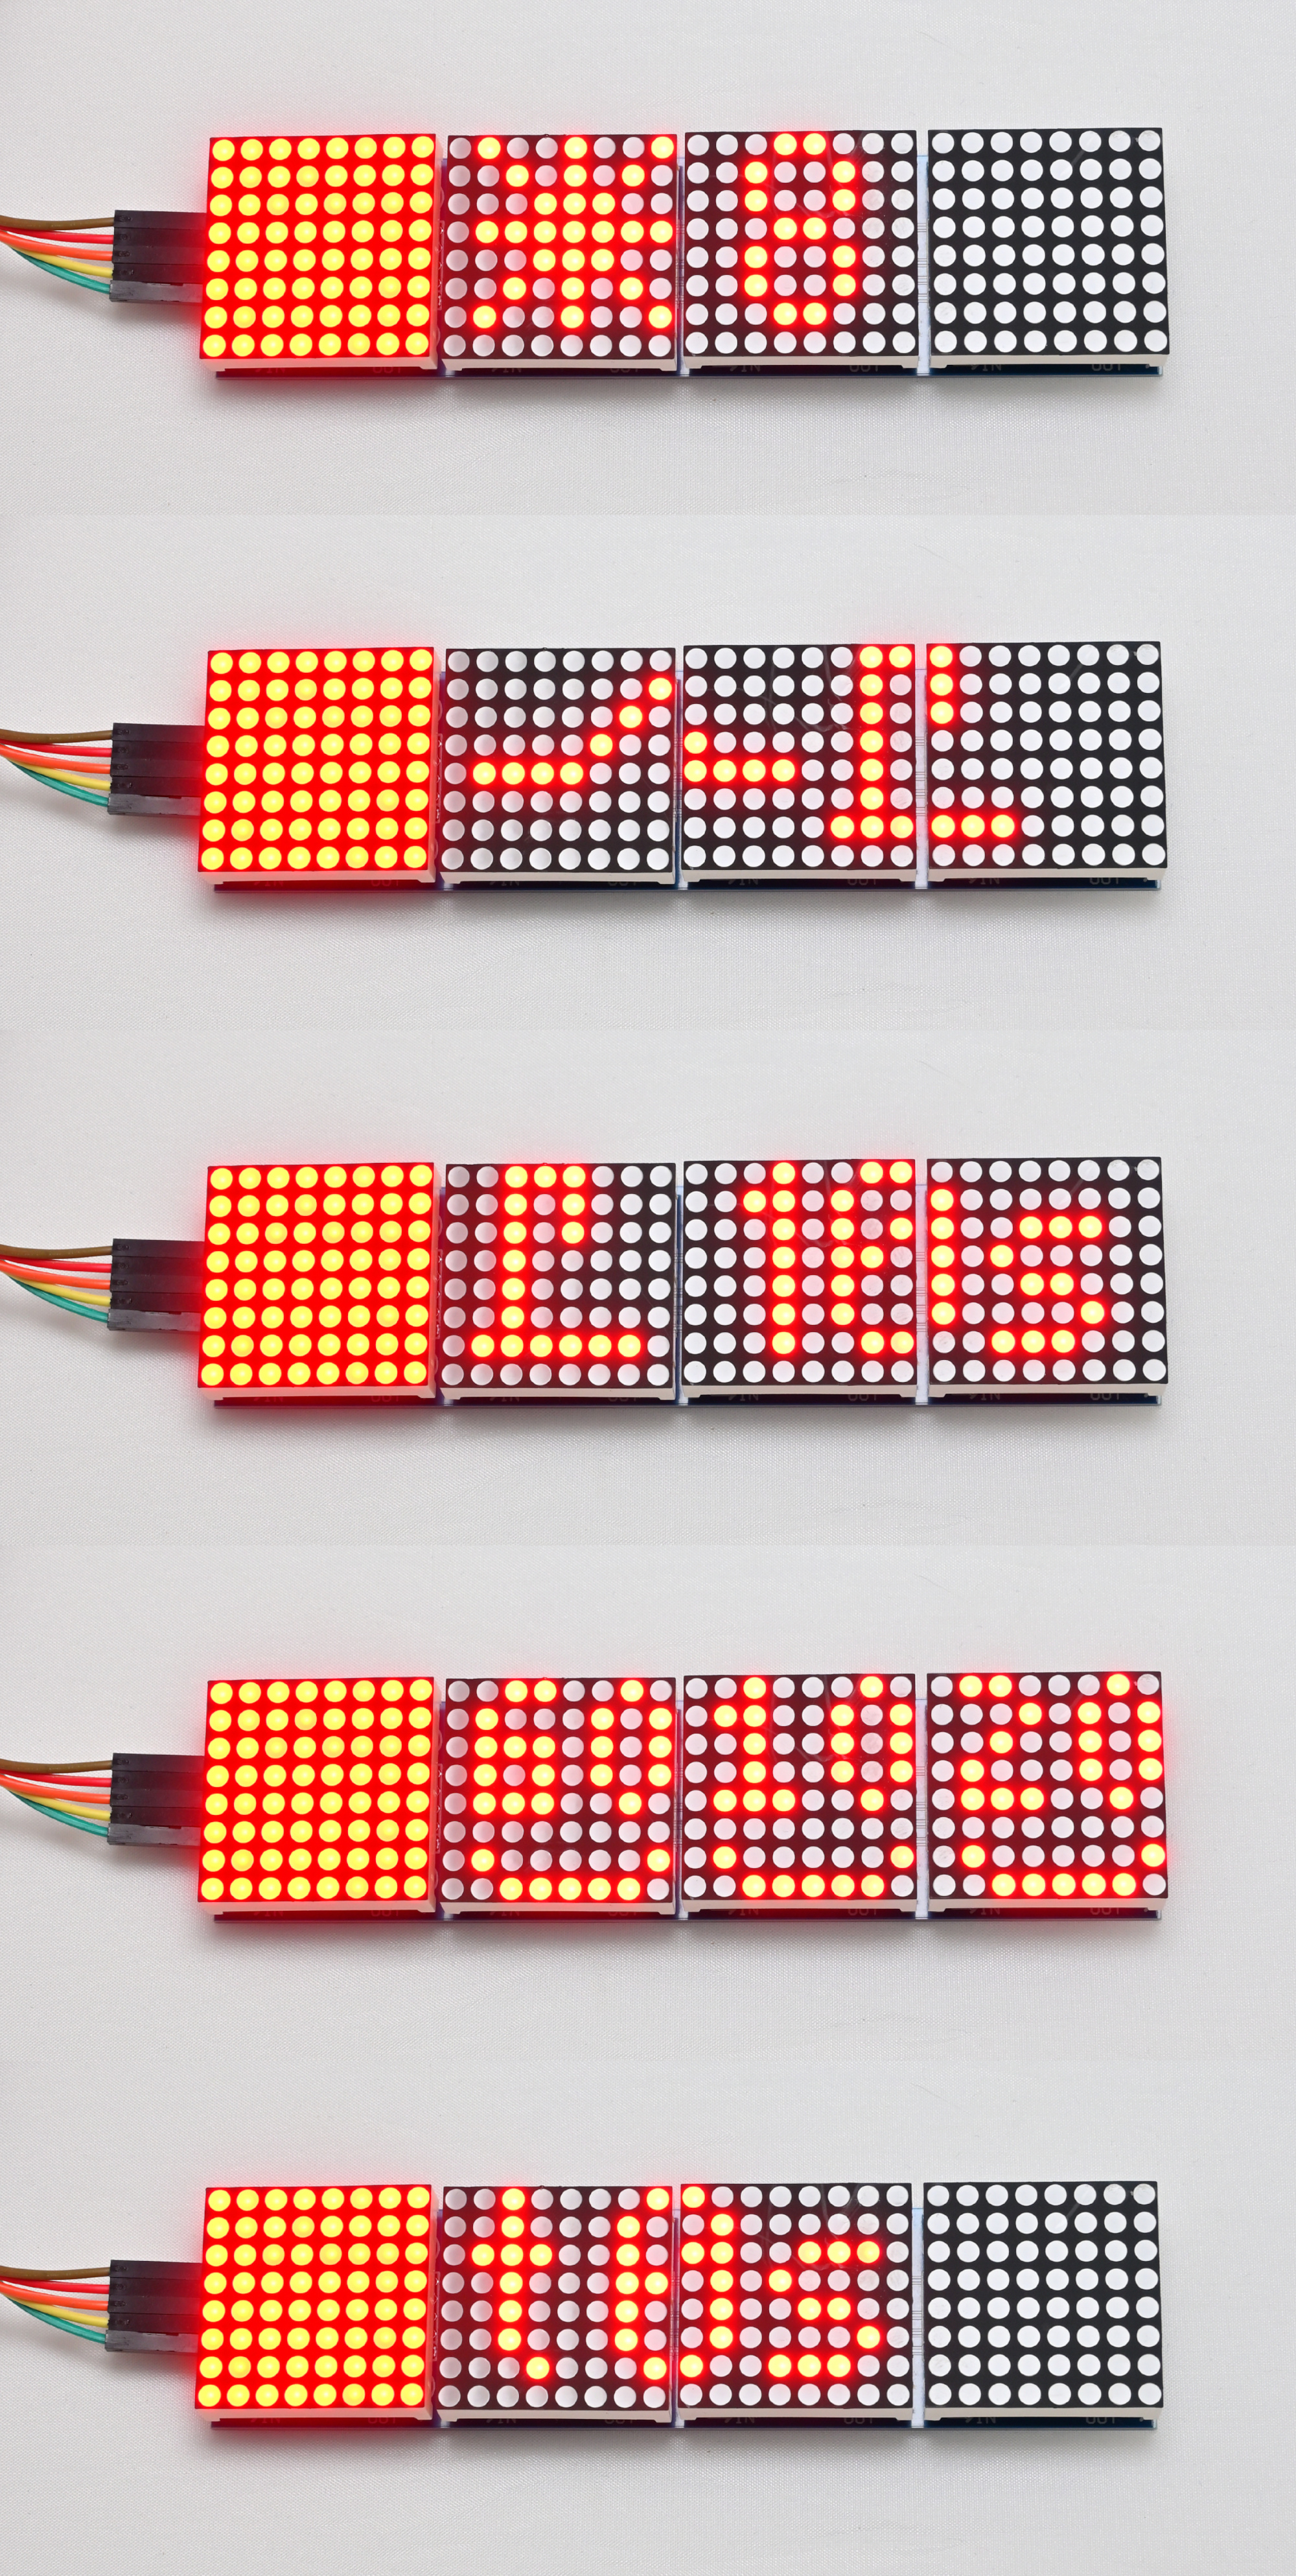
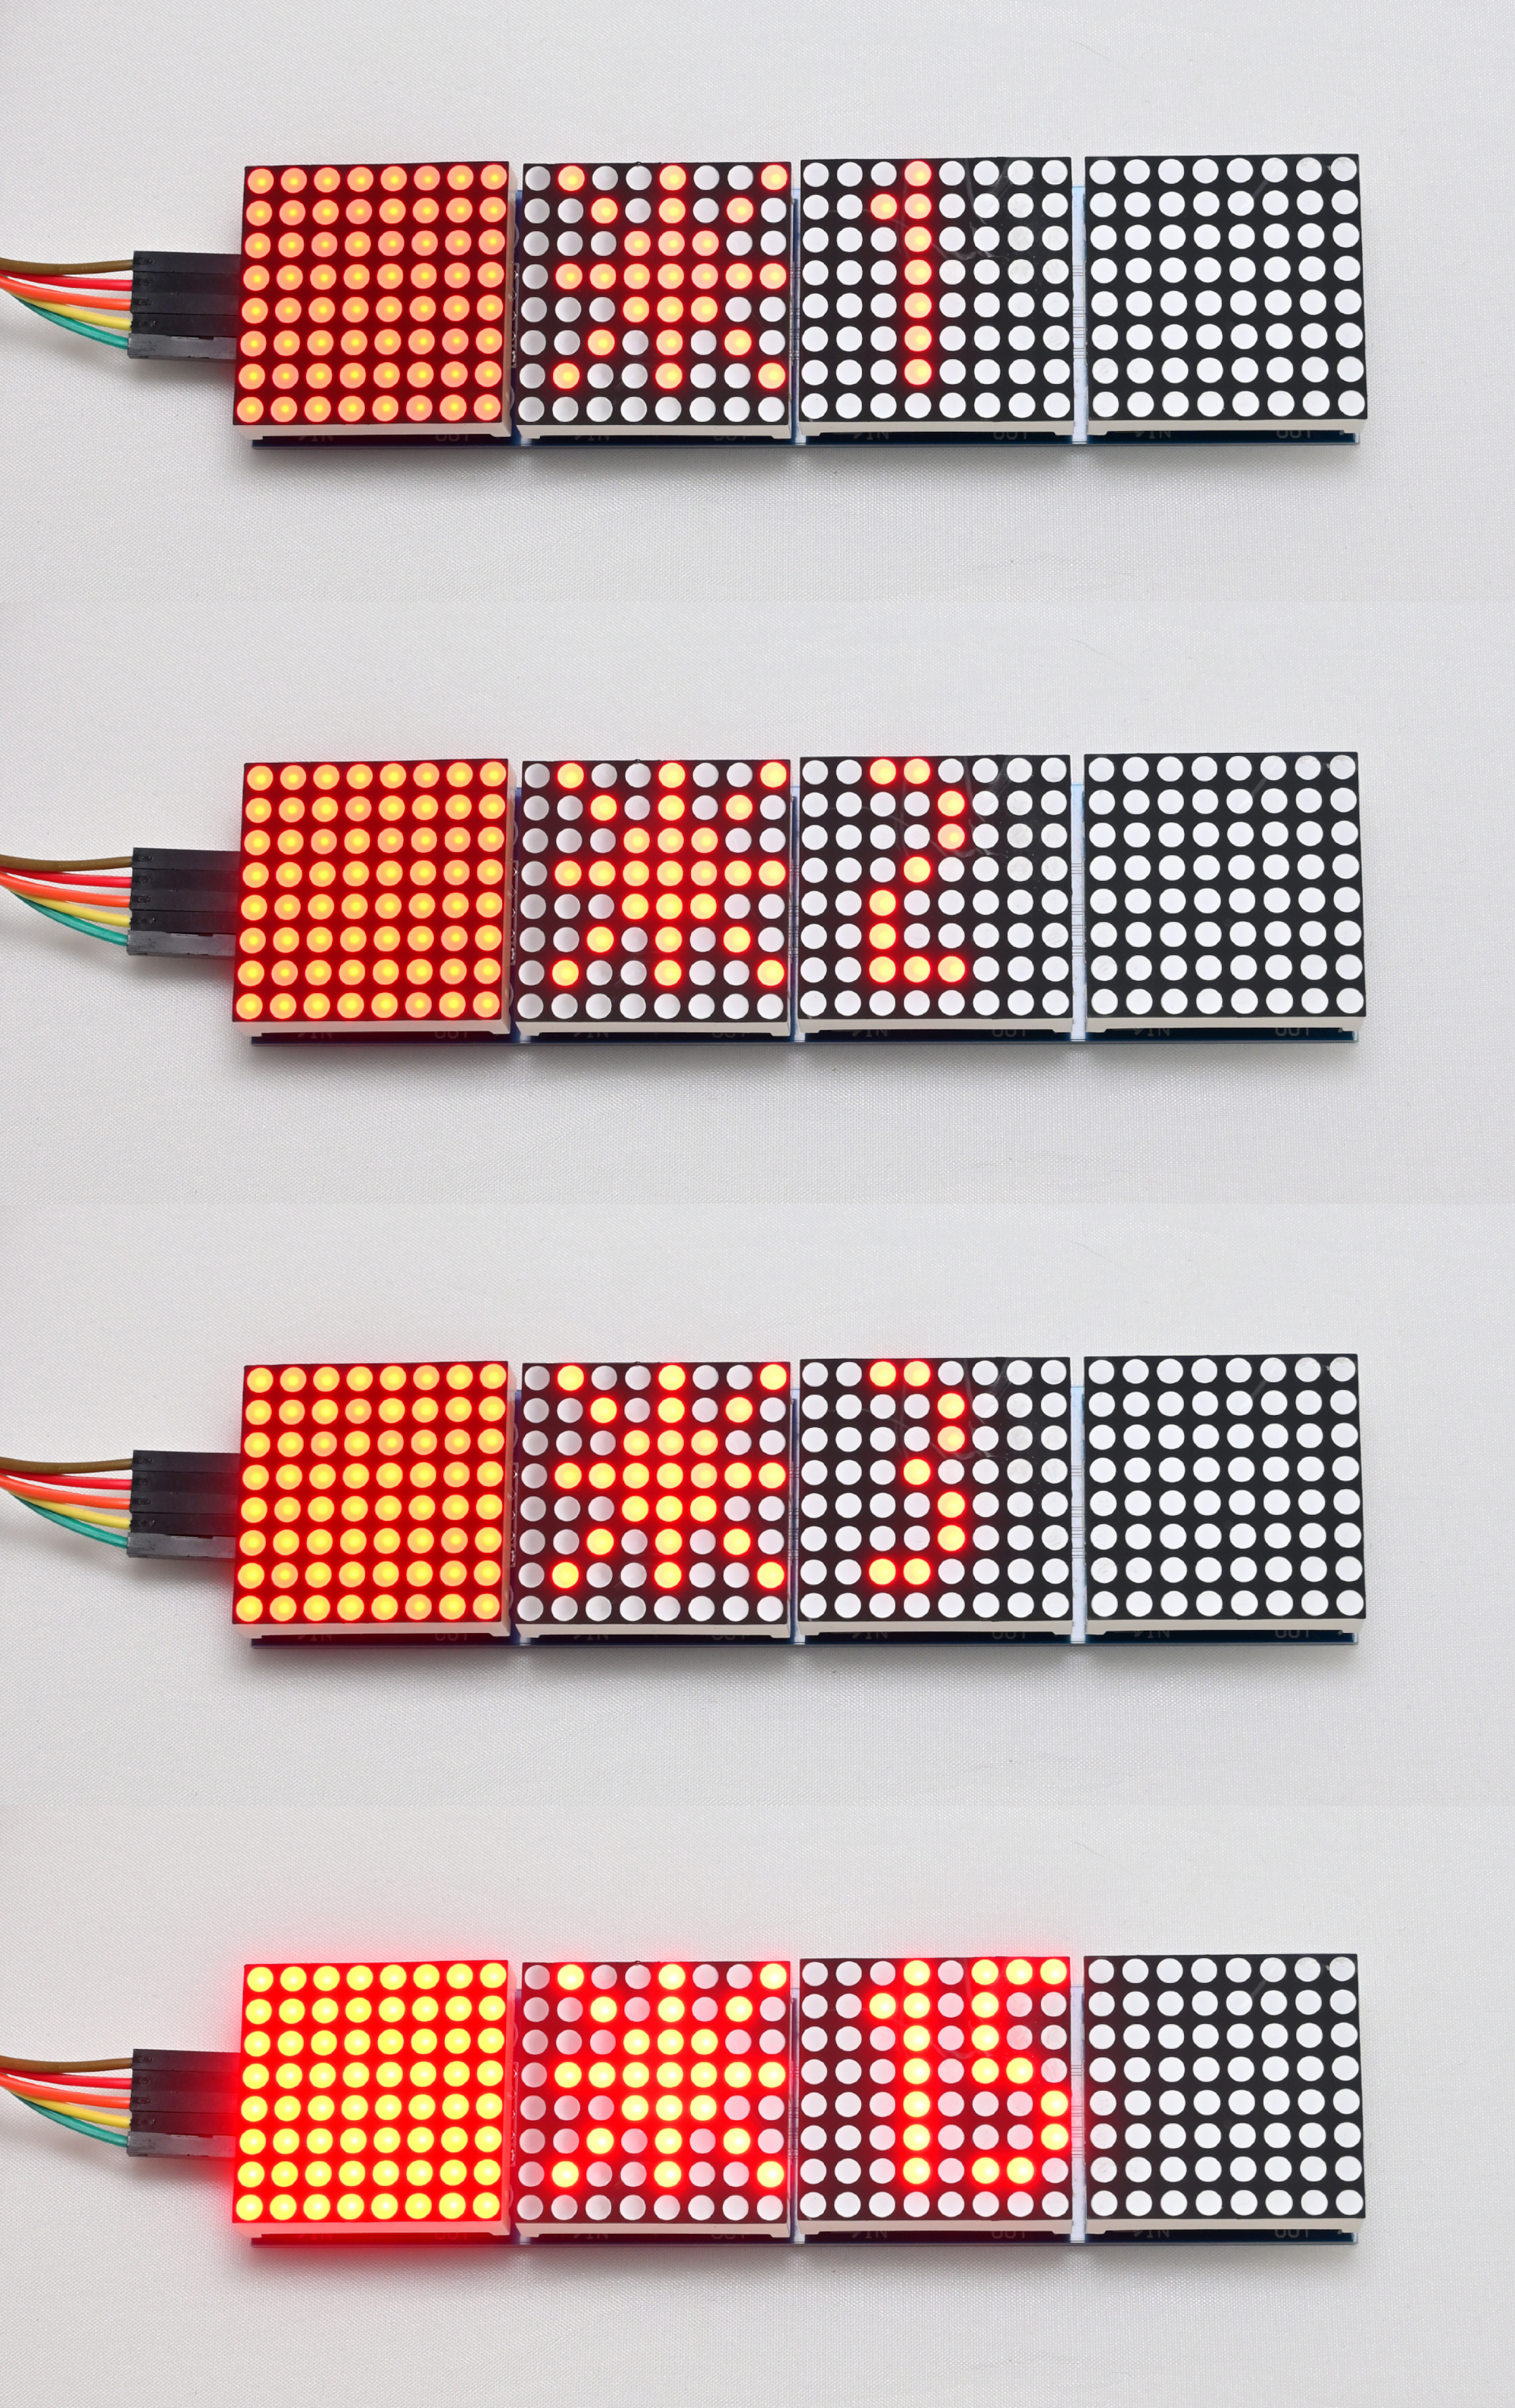
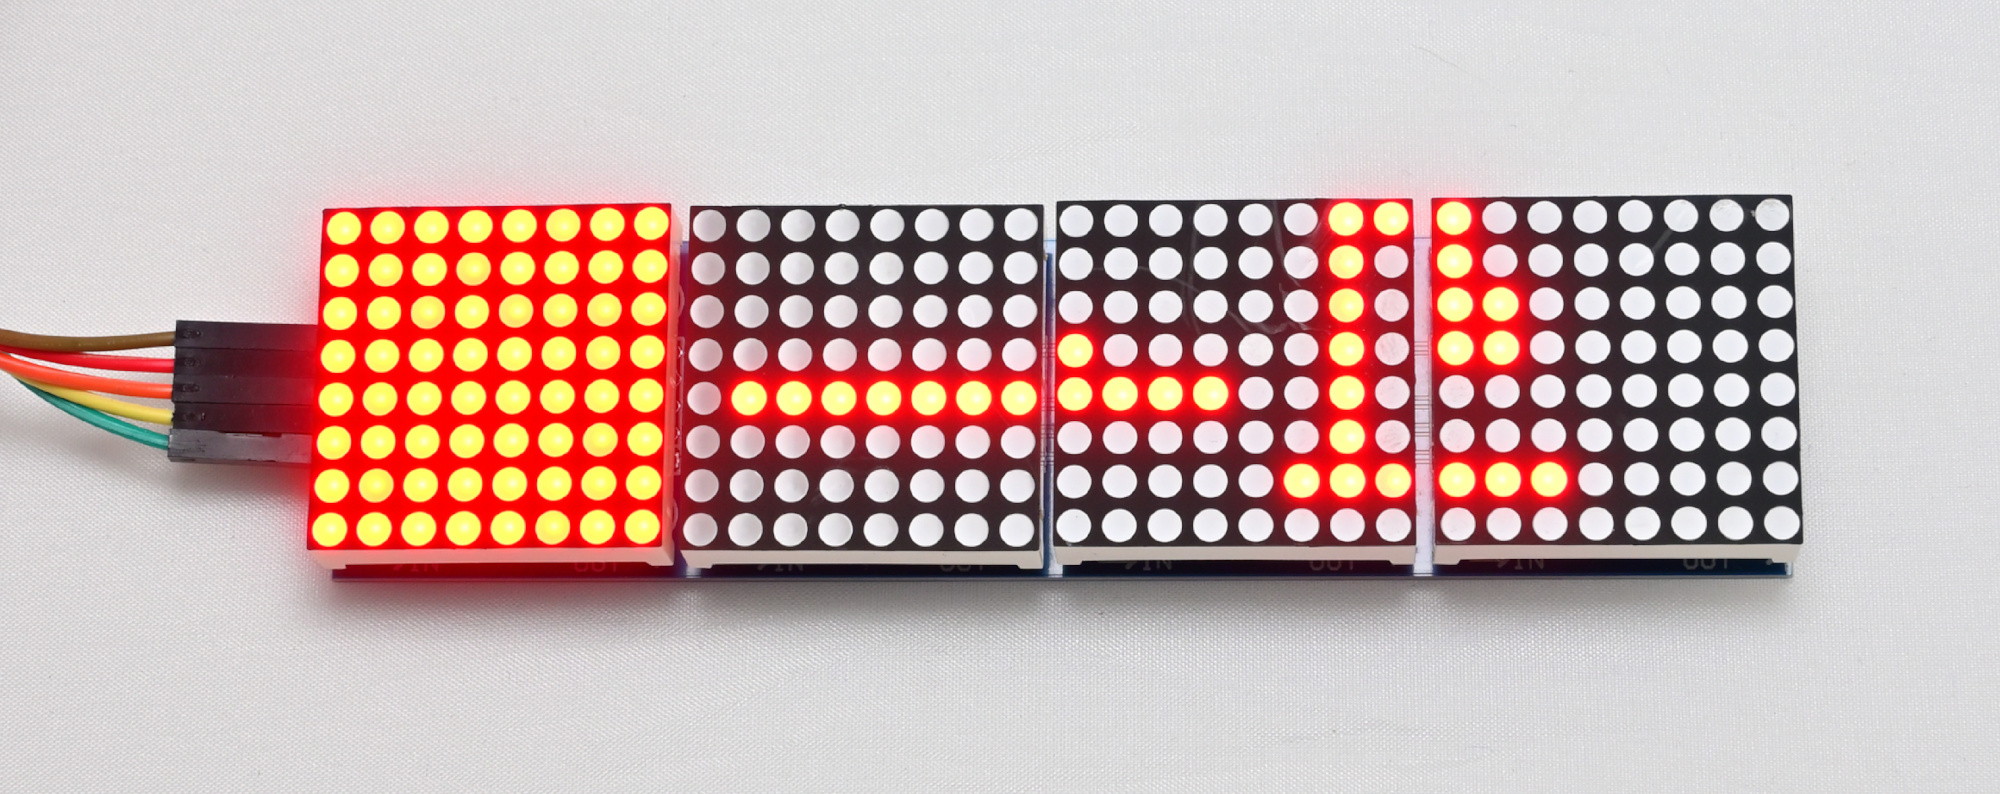
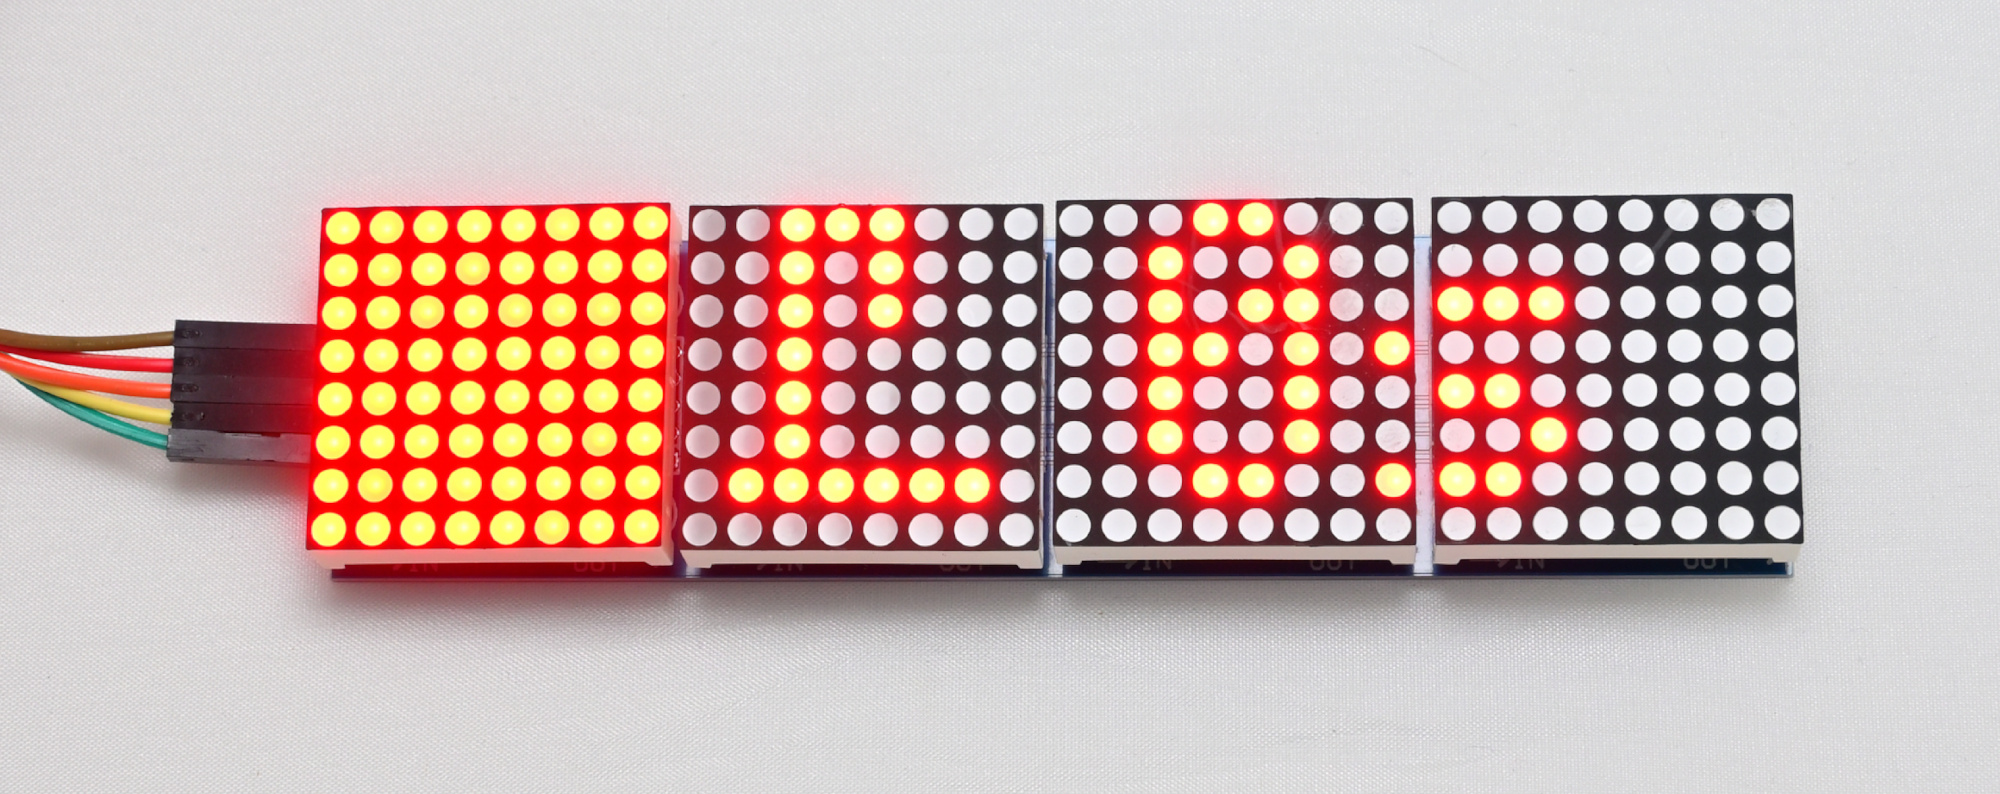
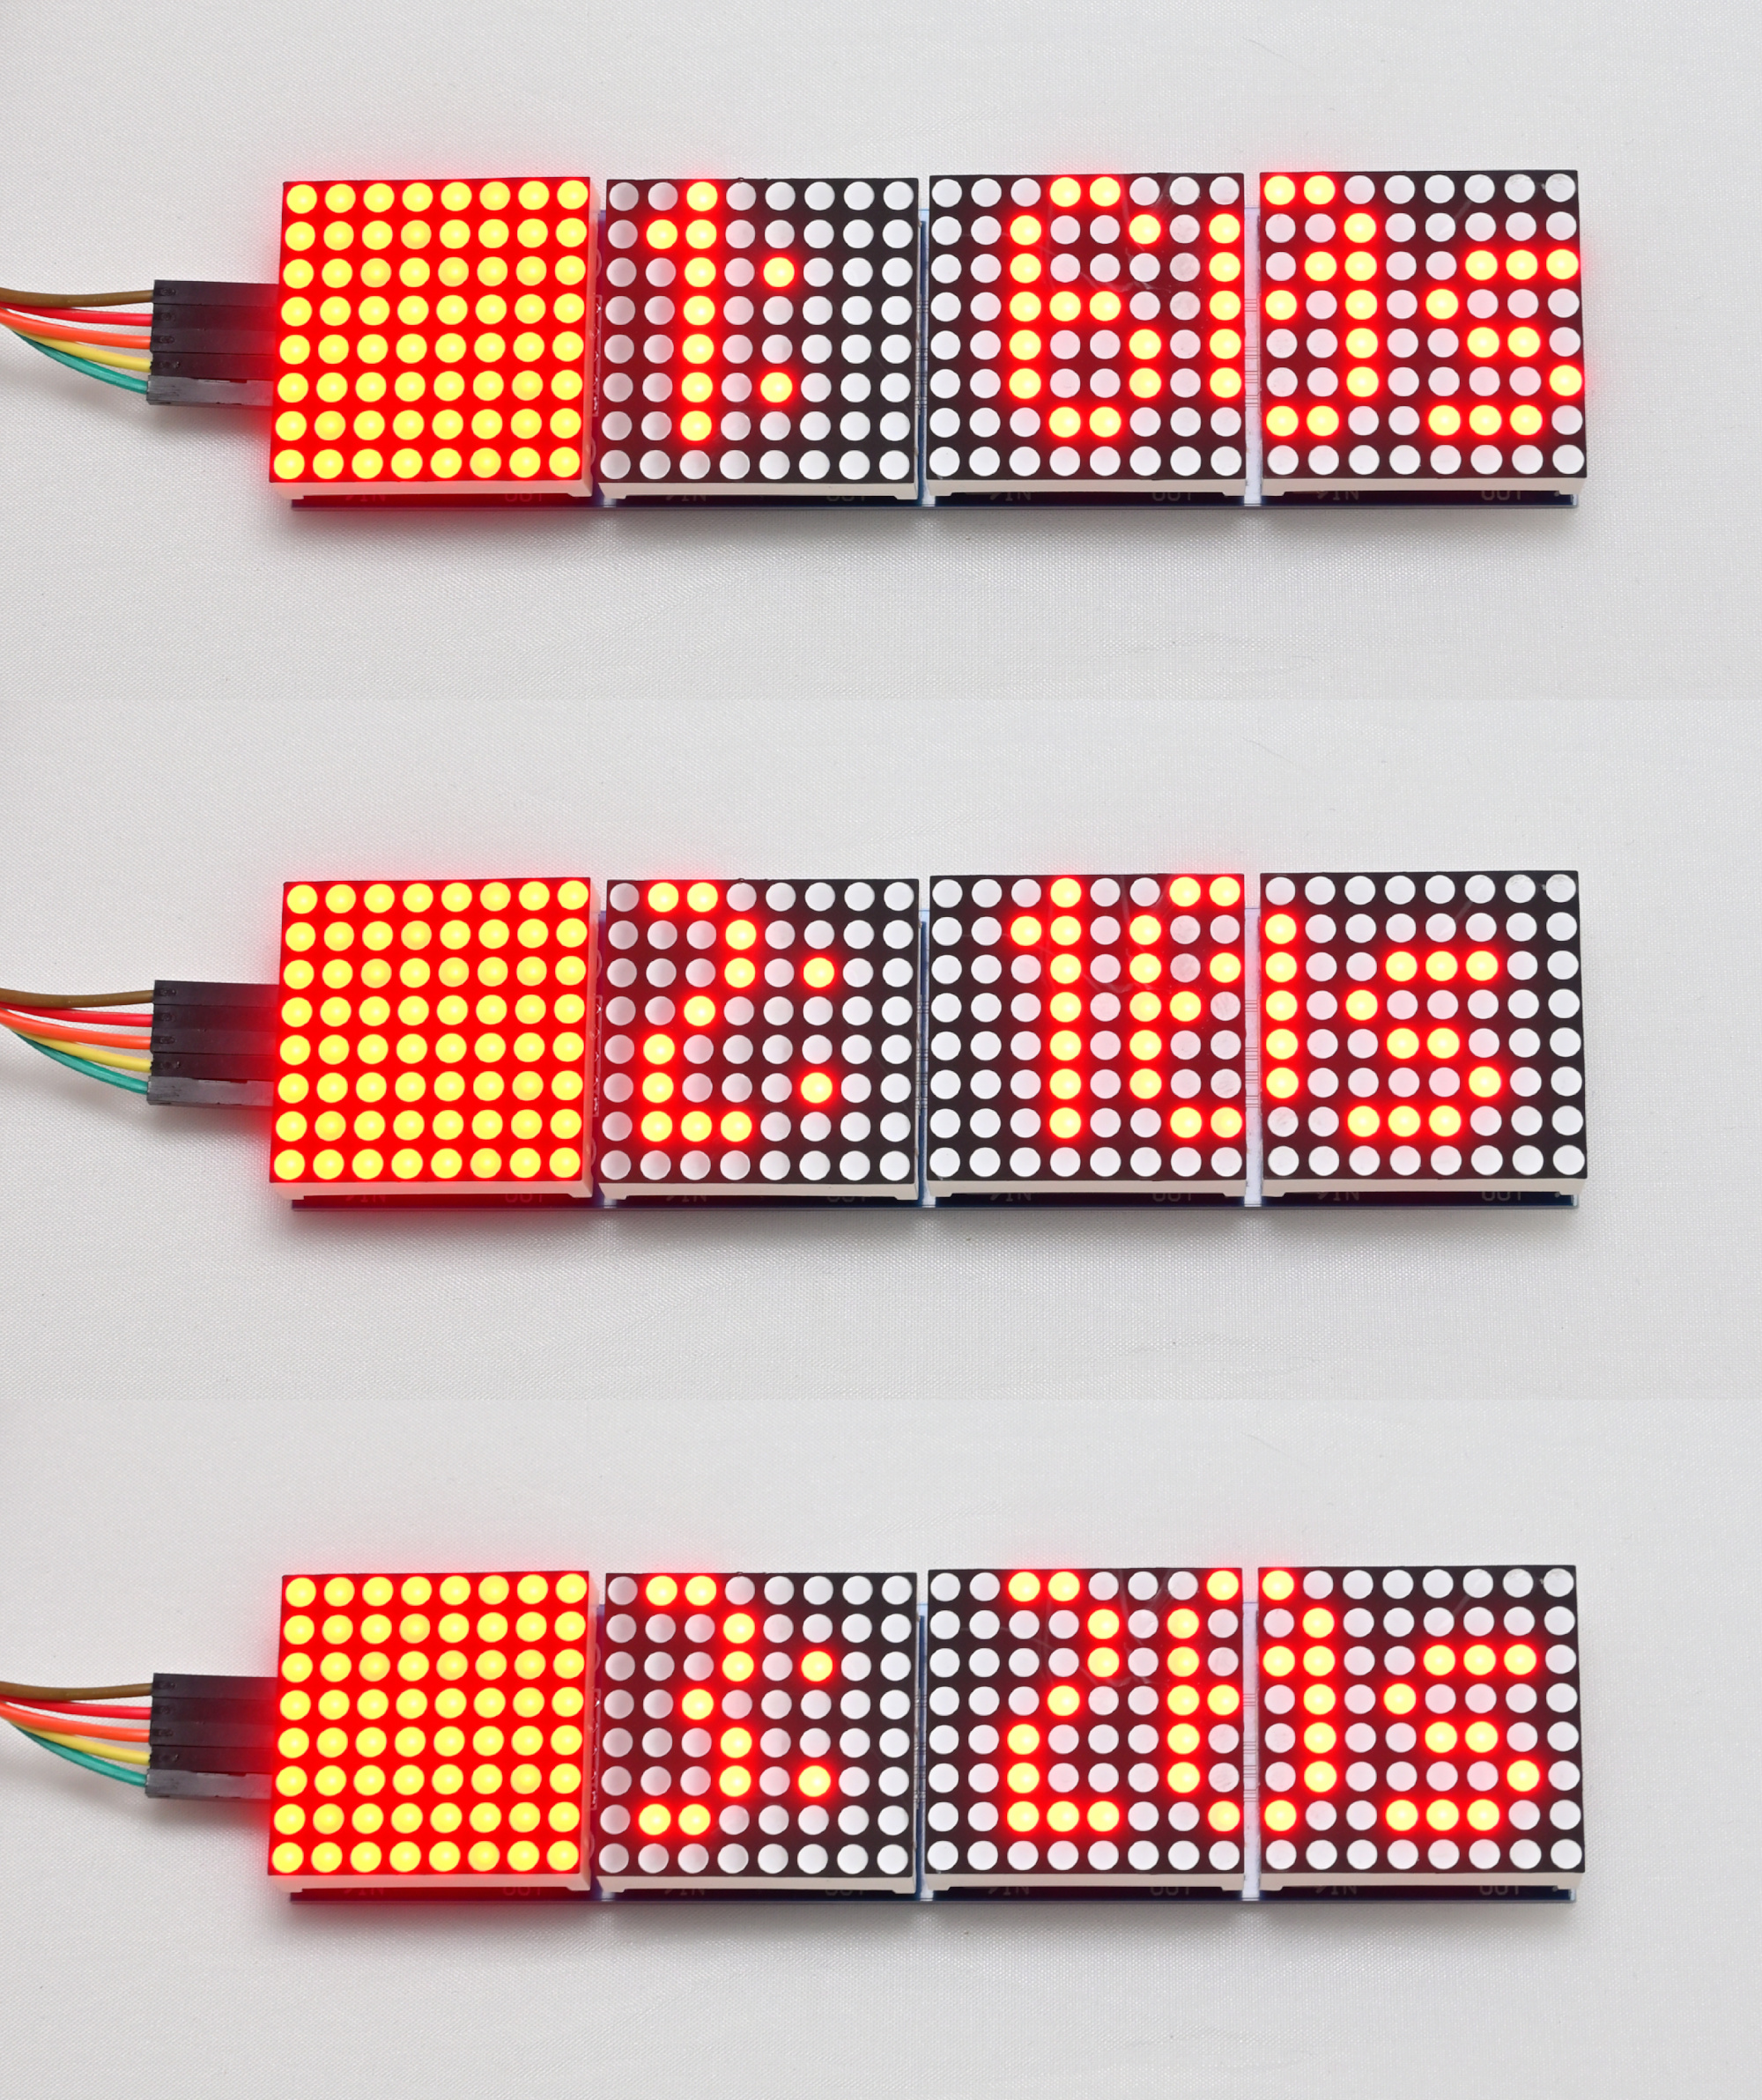
Precise timing is critical in analog photography, especially during the development process in the darkroom. This project presents a versatile darkroom timer built around the Arduino Uno R4 and Gamepad Input Shield, designed to support key photographic development tasks with tactile control and visual feedback. It features an 8x8 LED matrix for ambient illumination and implements five distinct modes: LED brightness adjustment, manual and timed enlarger control, chemical bath sequencing, and a general-purpose timer. Navigation is intuitive via joystick or button input, making it a practical and user-friendly tool for analog photography workflows.
This project uses the Gamepad Input Shield and Arduino Uno R4. Wiring details are available in the source code. The joystick or up/down buttons are used to switch between tasks, while left/right buttons adjust the state or settings.
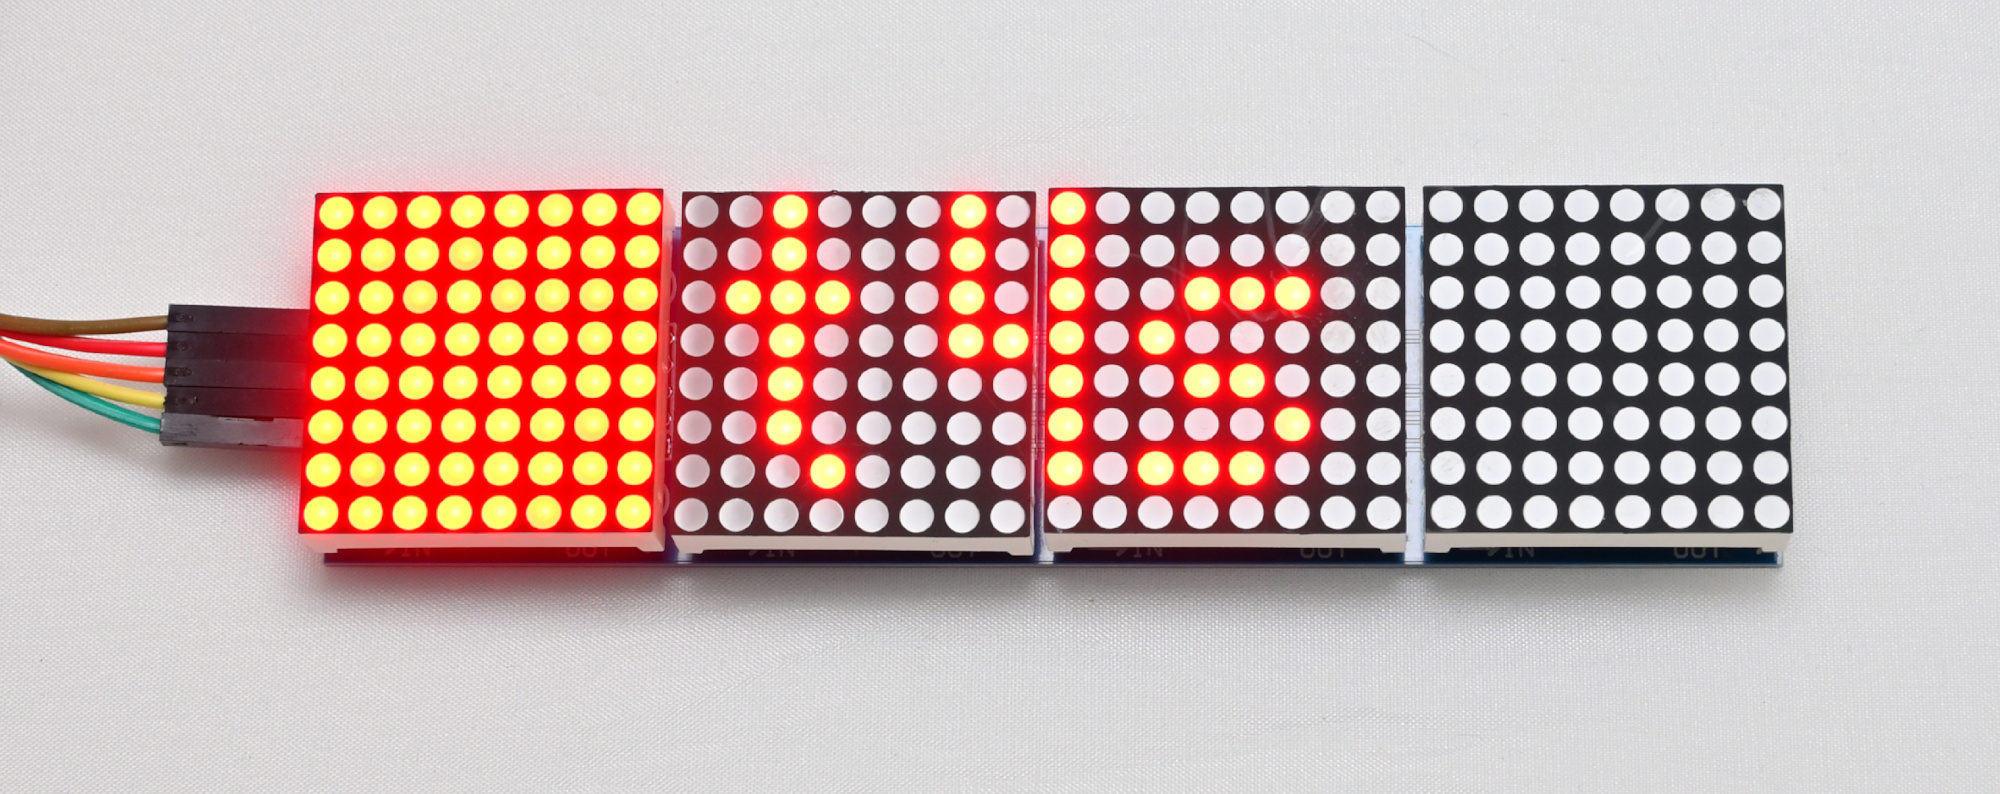
The first 8x8 LED block is used to illuminate the darkroom.
The timer implements five tasks:
- LEDBrightnessTask: Adjusts LED brightness from 0 to 15.
- EnlargerOnOffTask: Manual control of the enlarger.
- EnlargerTimerTask: Timed control of the enlarger.
- DevelopStopFixTask: Three timers for develop, stop bath, and fix stages.
- GeneralTimerTask: A general-purpose timer starting from 0 seconds.
LEDBrightnessTask
Sets the brightness of the 8x8 darkroom illumination LEDs from min 0 to max 15.
This darkroom timer project combines modern microcontroller technology with the tactile simplicity of gamepad input to support essential analog photography tasks. Whether you're timing enlarger exposures or chemical baths, this tool offers consistent performance and flexibility for both amateur and professional darkroom enthusiasts. With five dedicated modes and intuitive controls, it provides a reliable and customizable solution for anyone working in a traditional darkroom. The open-source design invites further experimentation and adaptation—whether you're refining your workflow or building your own version.
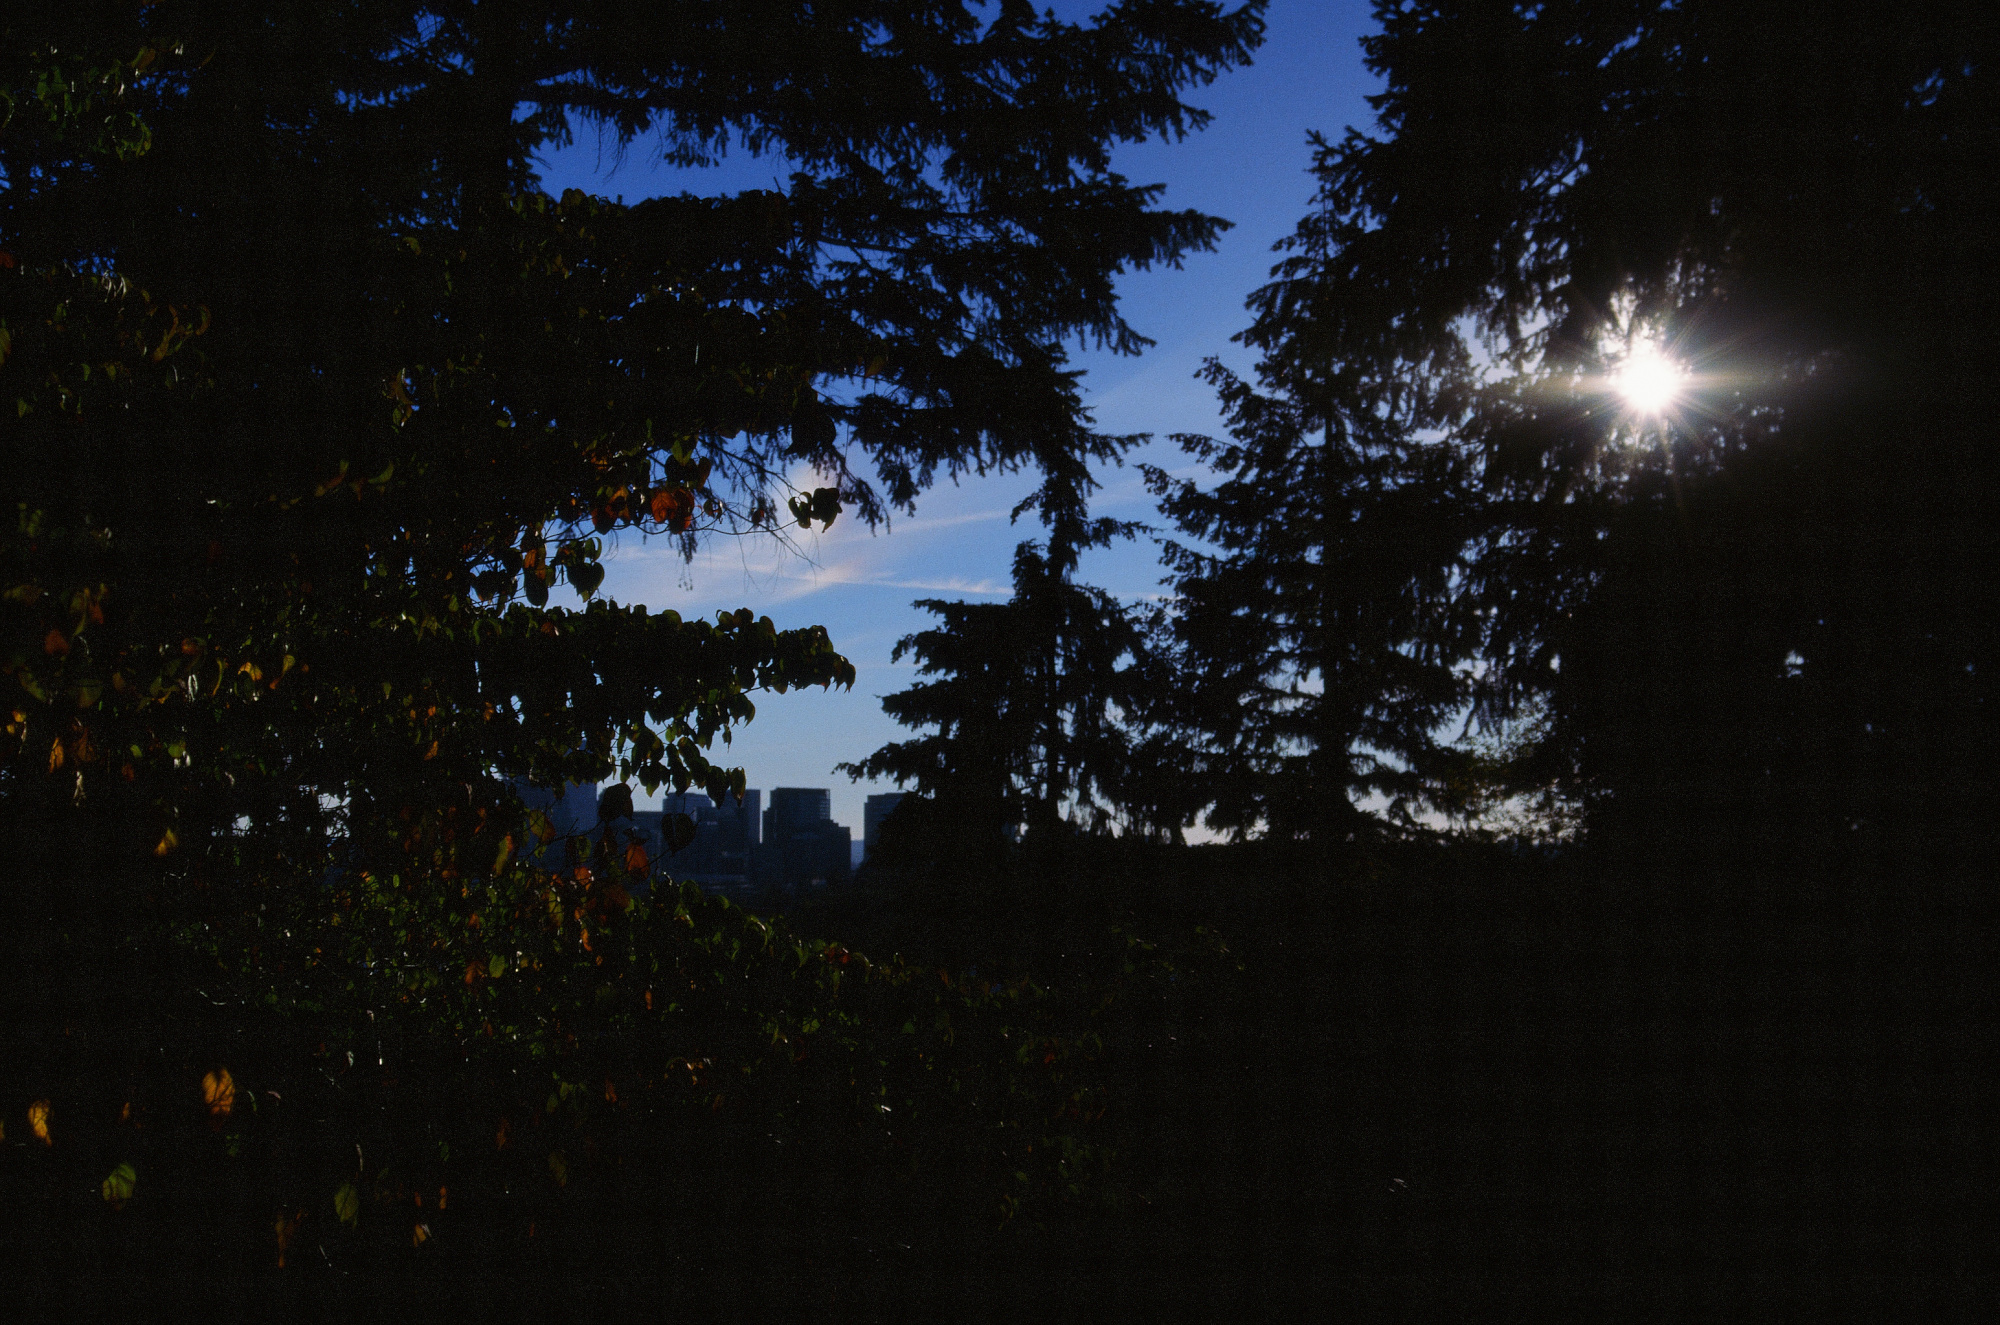
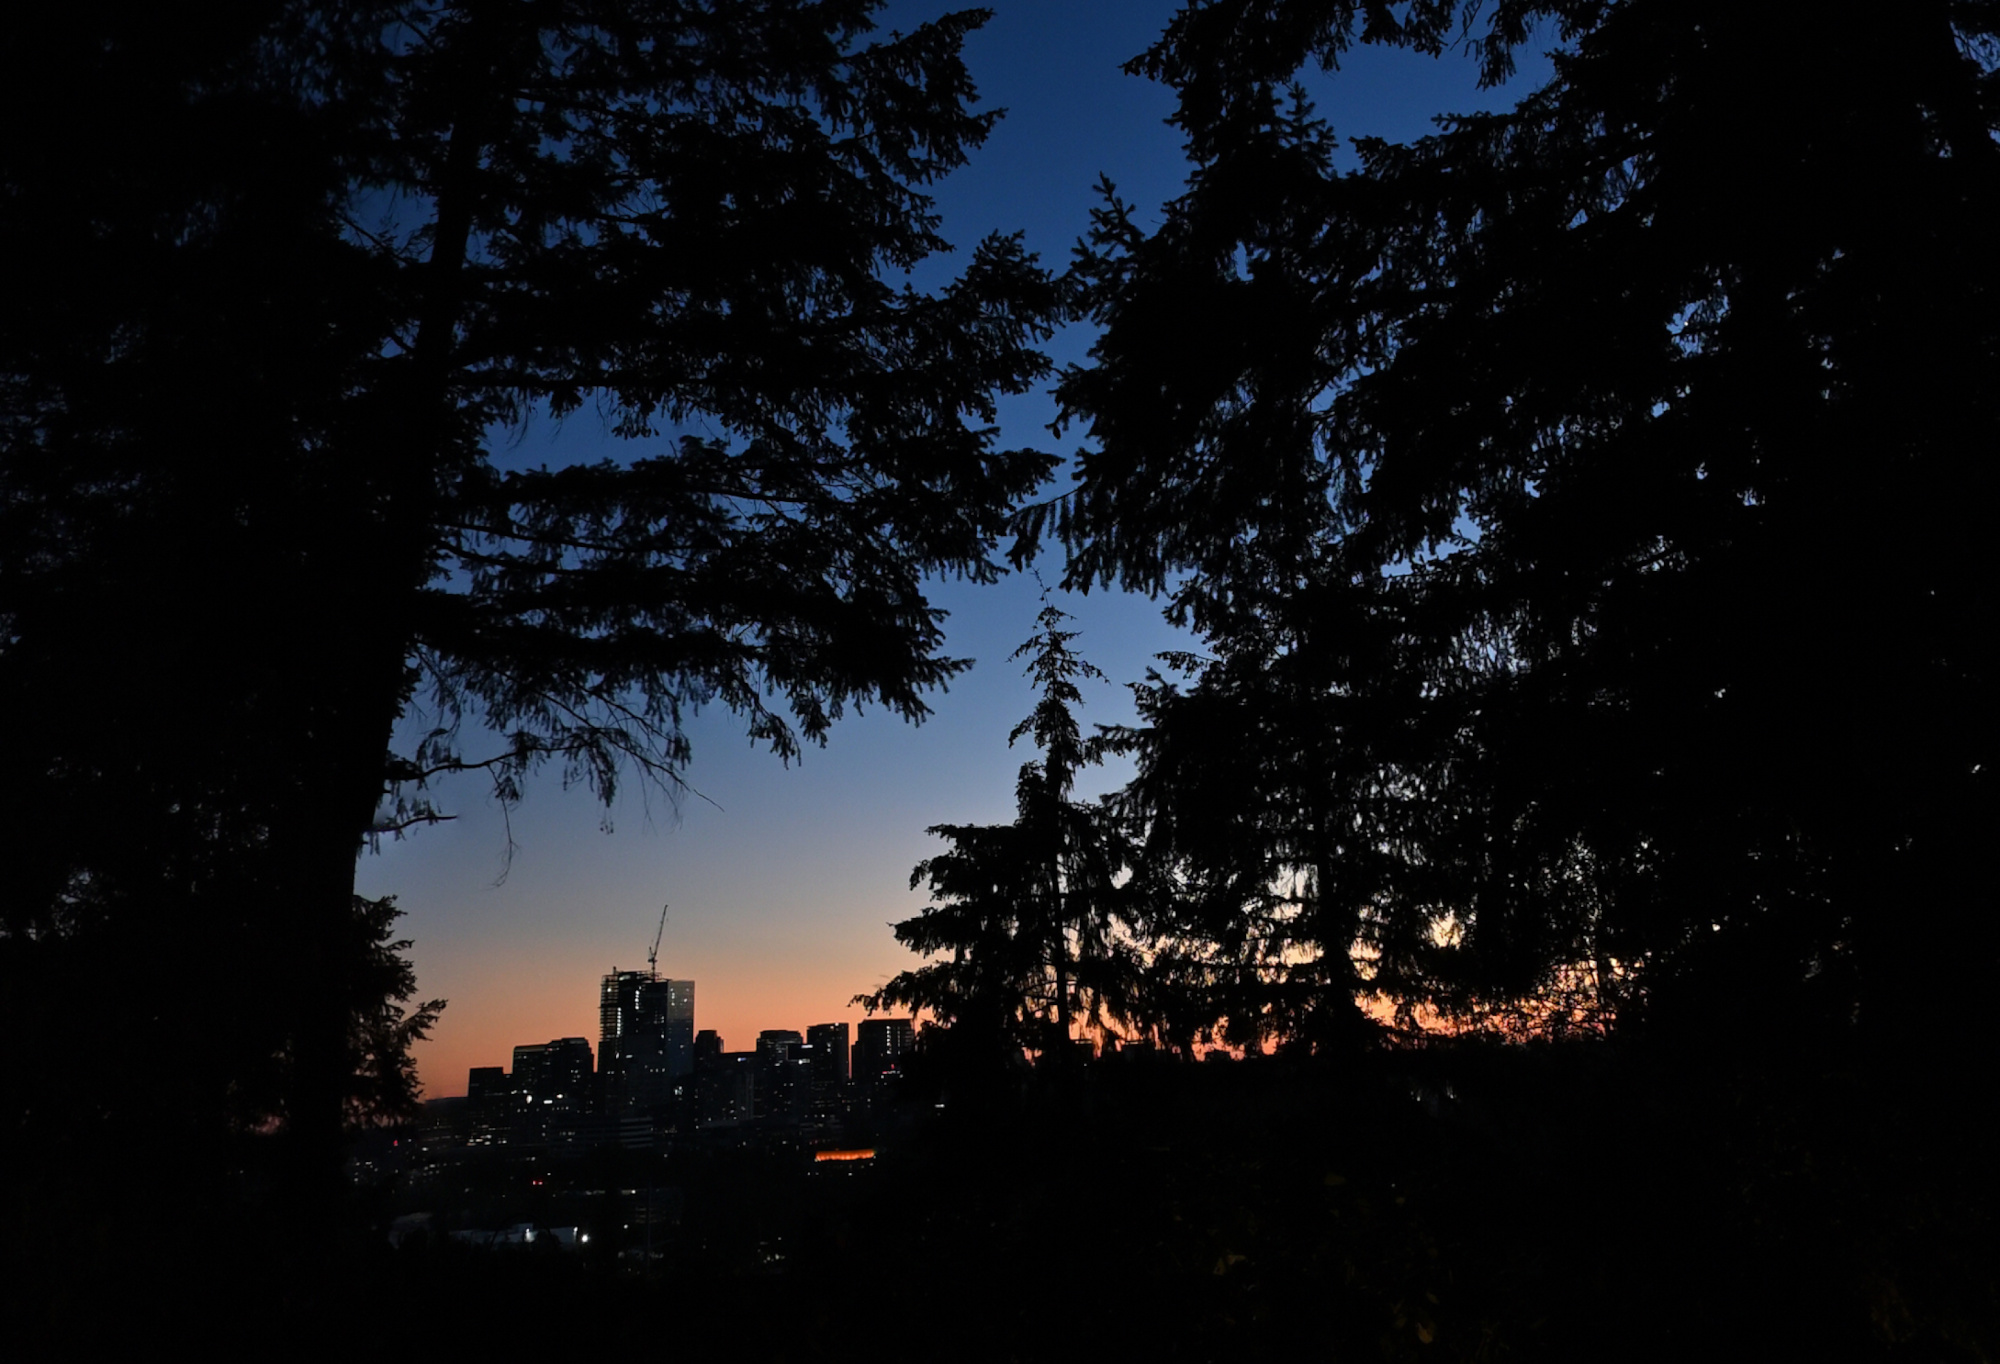
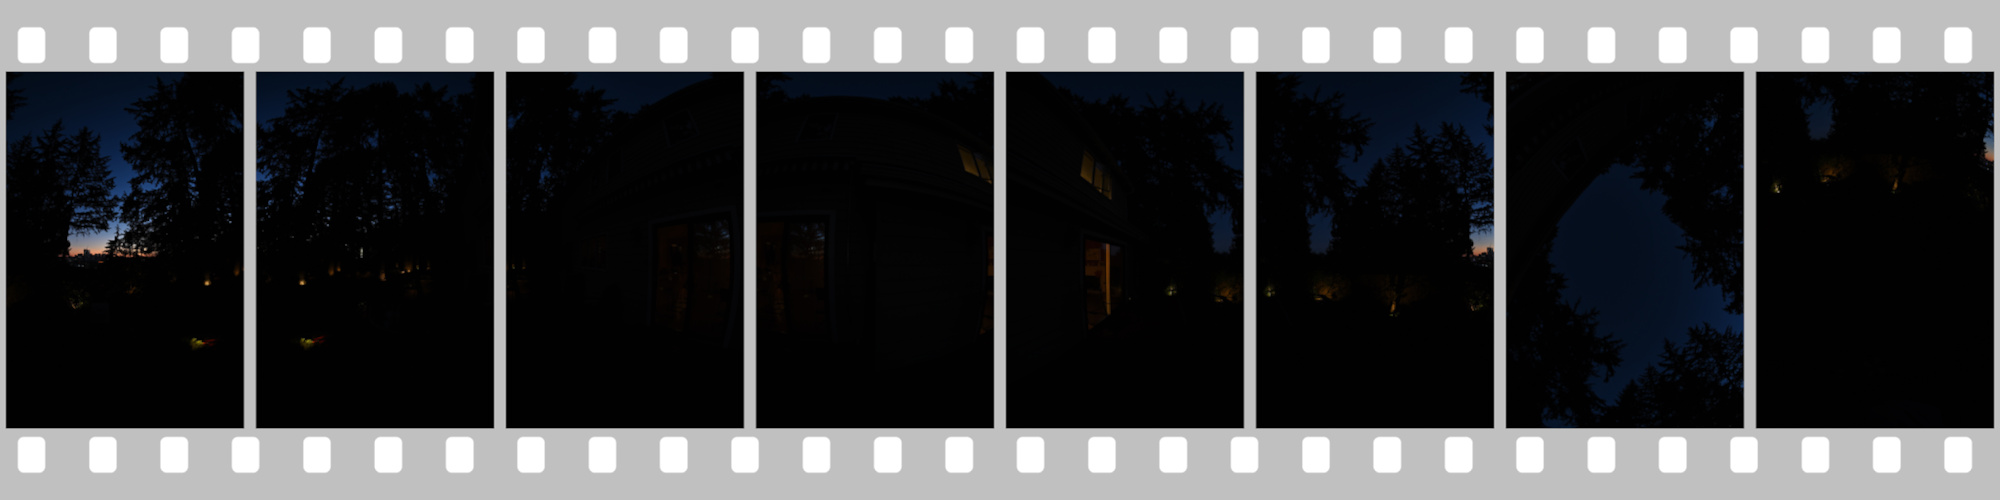
This is the sunset that occurs closest to the Autumn equinox, which is the point in the year when the sun crosses the celestial equator heading southward, marking the transition from summer to fall. This event results in equal lengths of day and night, creating a unique and balanced twilight experience.
But with so many trees around, the experience is limited to a narrow field of view towards the sunset. Nevertheless, the experience remains wonderful.
This panorama is the September 2024 Equinox contribution for the 'September Wrinkle' event of WorldWidePanorama.
Automated control points aren’t an option here because the individual images are predominantly black:
There are 6 pictures taken every 60°, including Zenit and Nadir (6+Z+N). To establish the control points, the brightness in PTGui was increased by +5EV.
Without precise control points, a 360°x180° panorama can become warped and distorted. It might seem that creating panoramas with large areas of uniform dark color would be easier, but unfortunately, there are no shortcuts in this process. Accurate control points are essential for maintaining the integrity of the image.
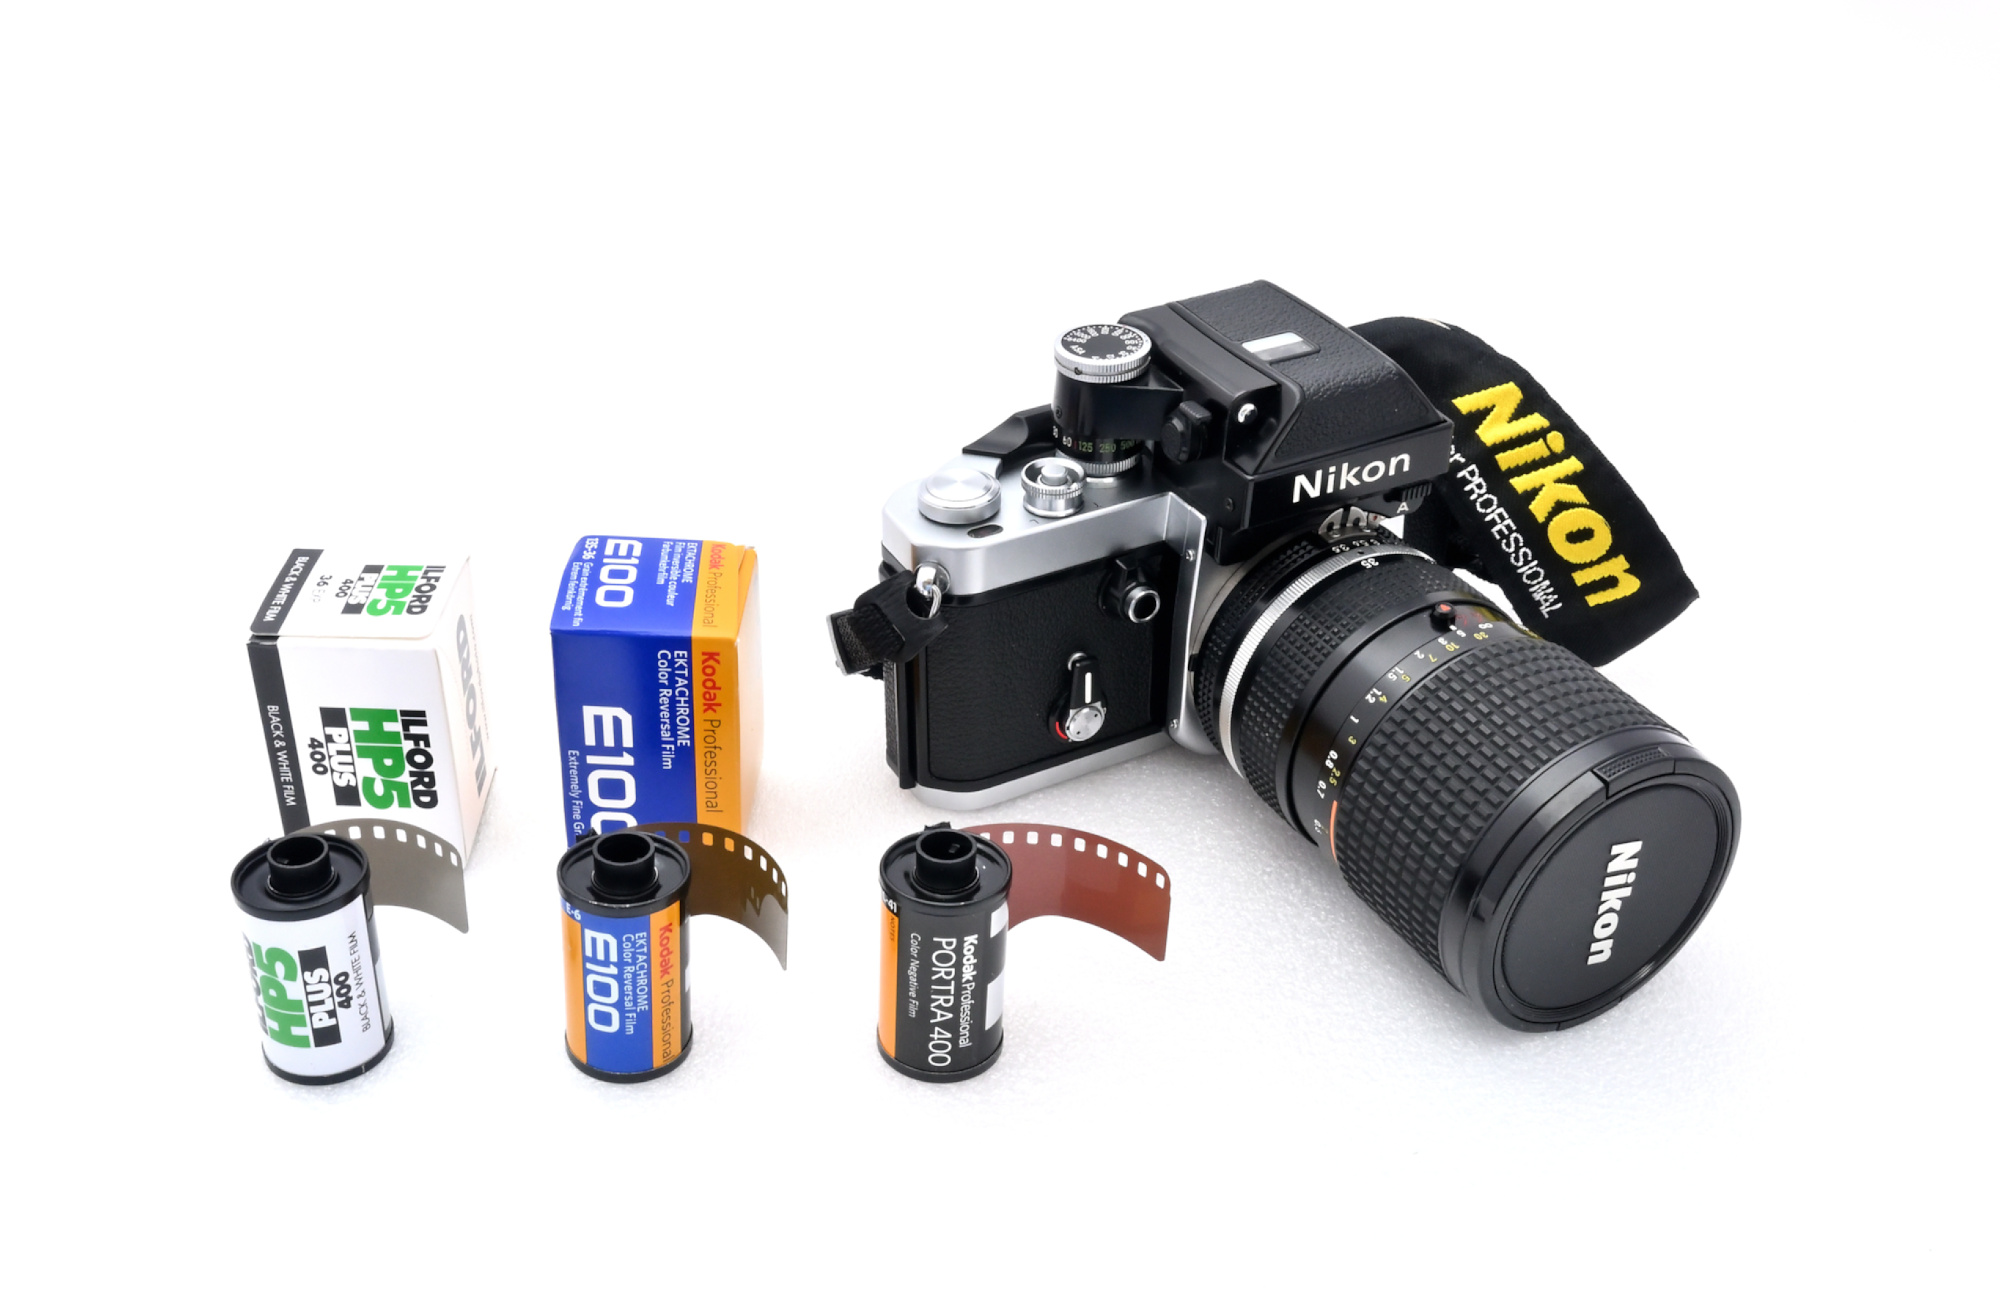
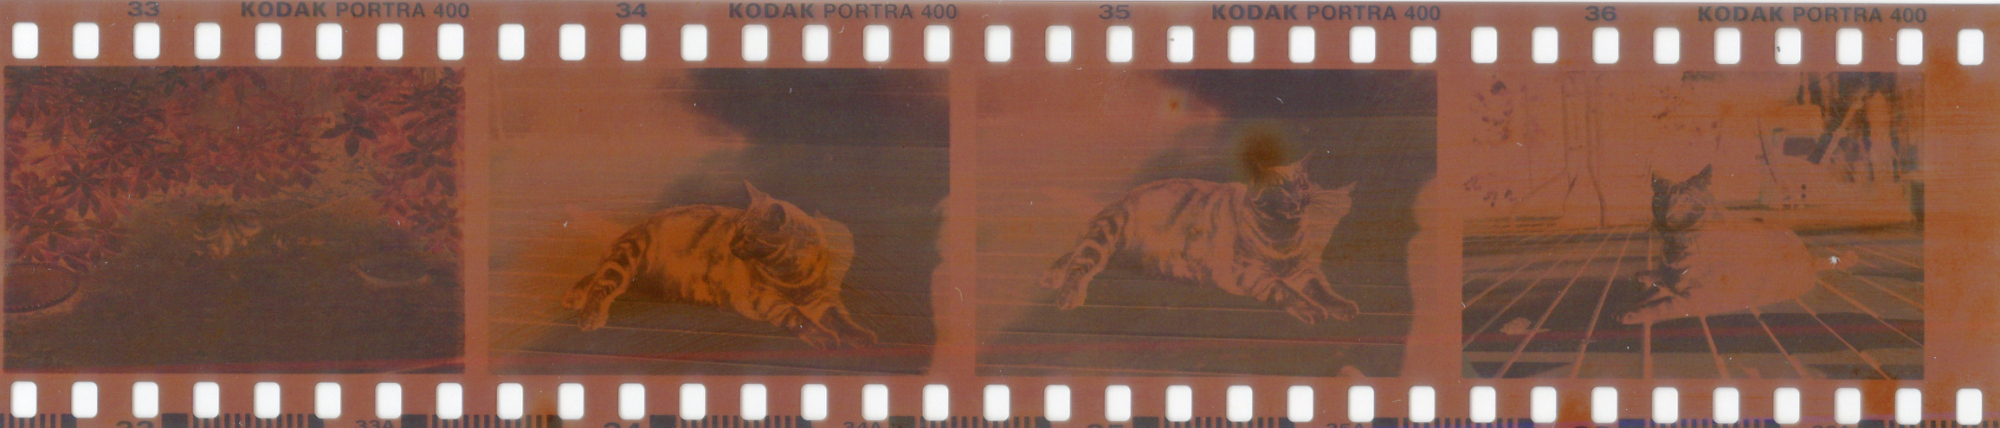
🧪 Developed and scanned by The Darkroom1 using the 'Enhanced' scan option (available choices: 'Standard', 'Enhanced', 'Super Scan').
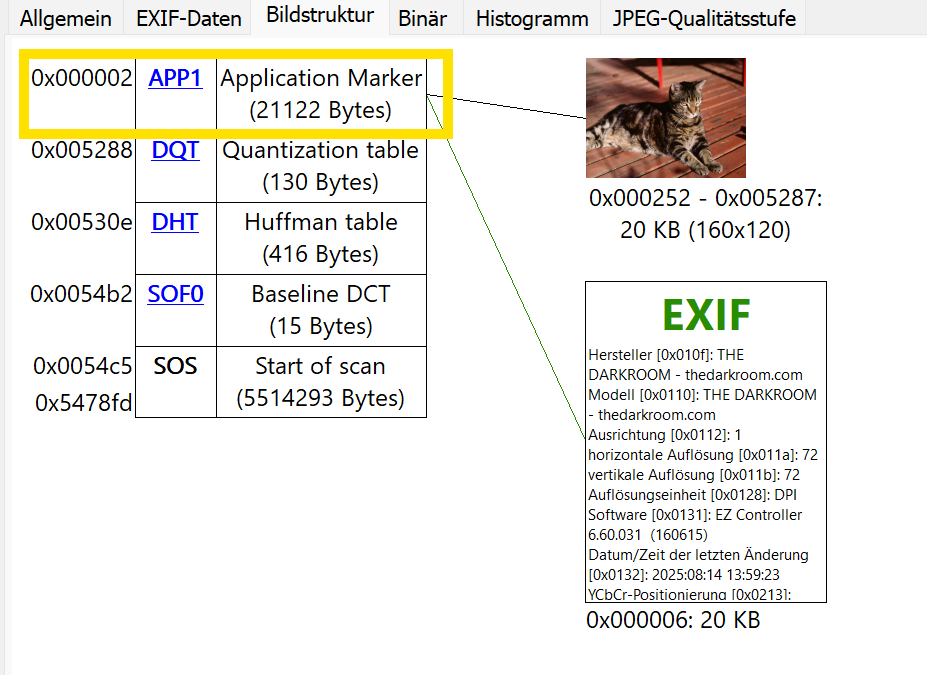
The scans are saved as sRGB JPEGs and include a standard EXIF header with the following metadata in one APP1 marker:
Image dimensions 3089×2048
Scan date
Embedded thumbnail: 160×120 pixels
Resolution marker: Standard 72 DPI
EXIF Version 2.20
EXIF Tag 0x0131 ('Software'): EZ Controller 6.60.031 (160615)
The JPEG quality level corresponds to luminance and chrominance settings of 97, resulting in an average file size of approximately 5 MB.
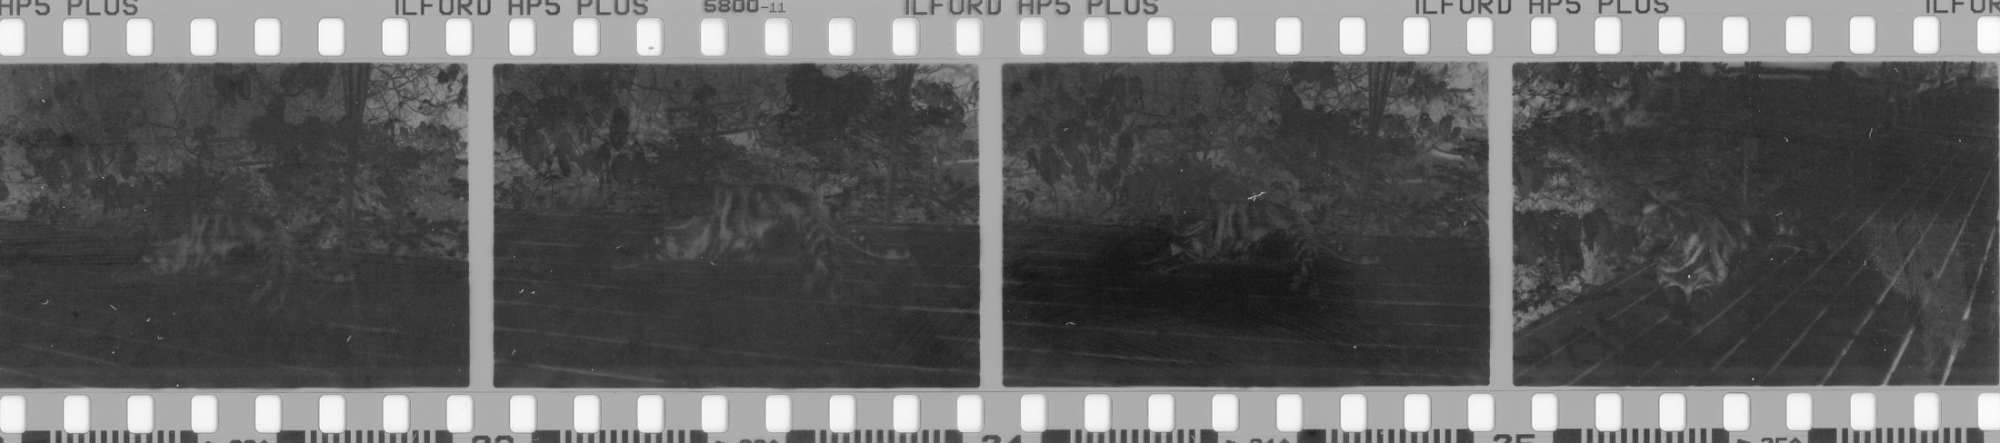
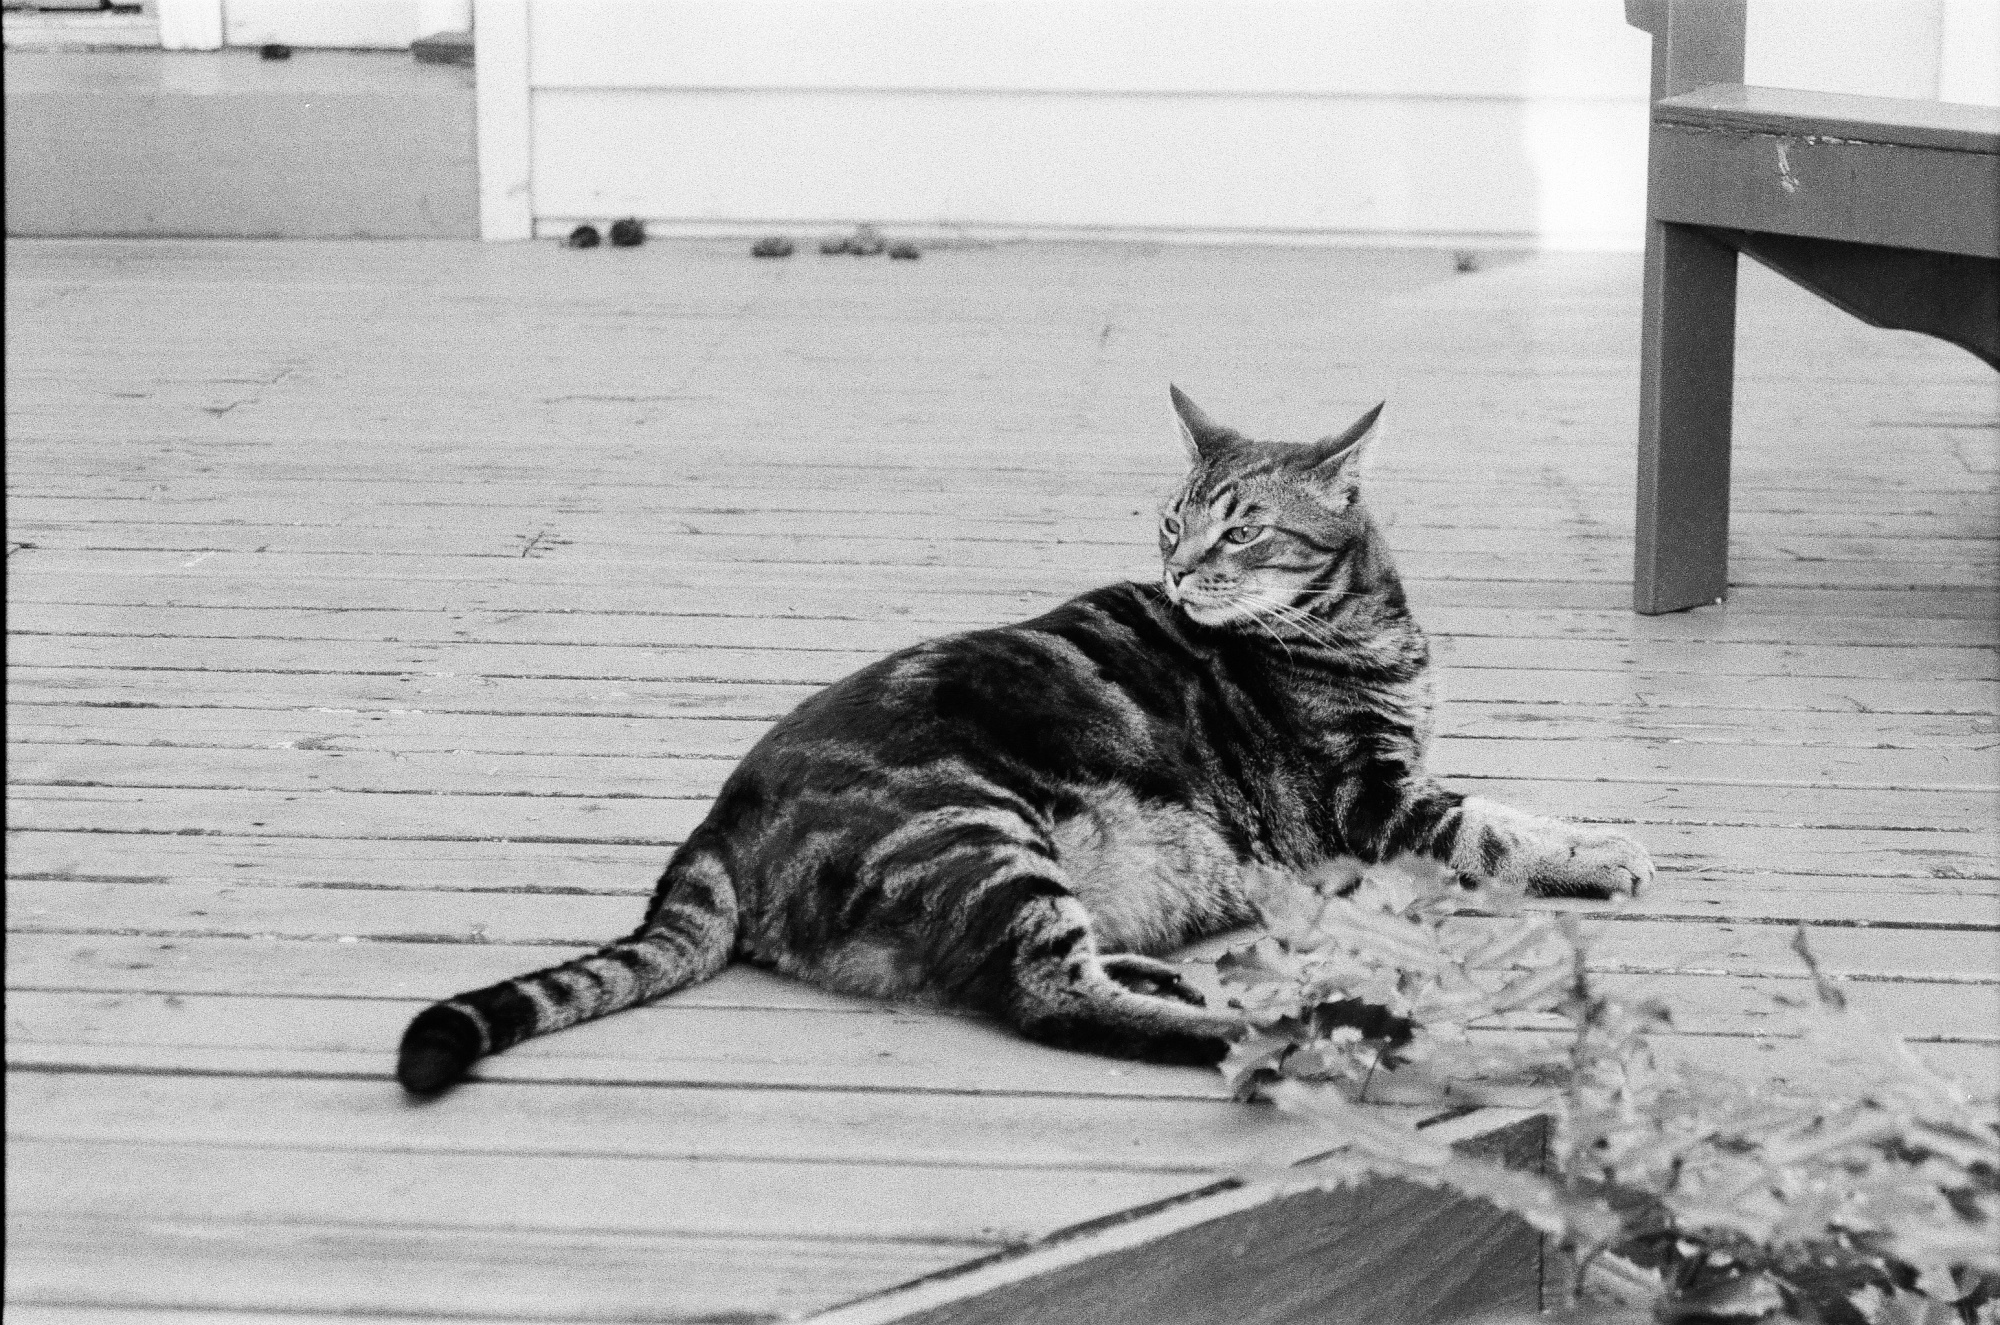
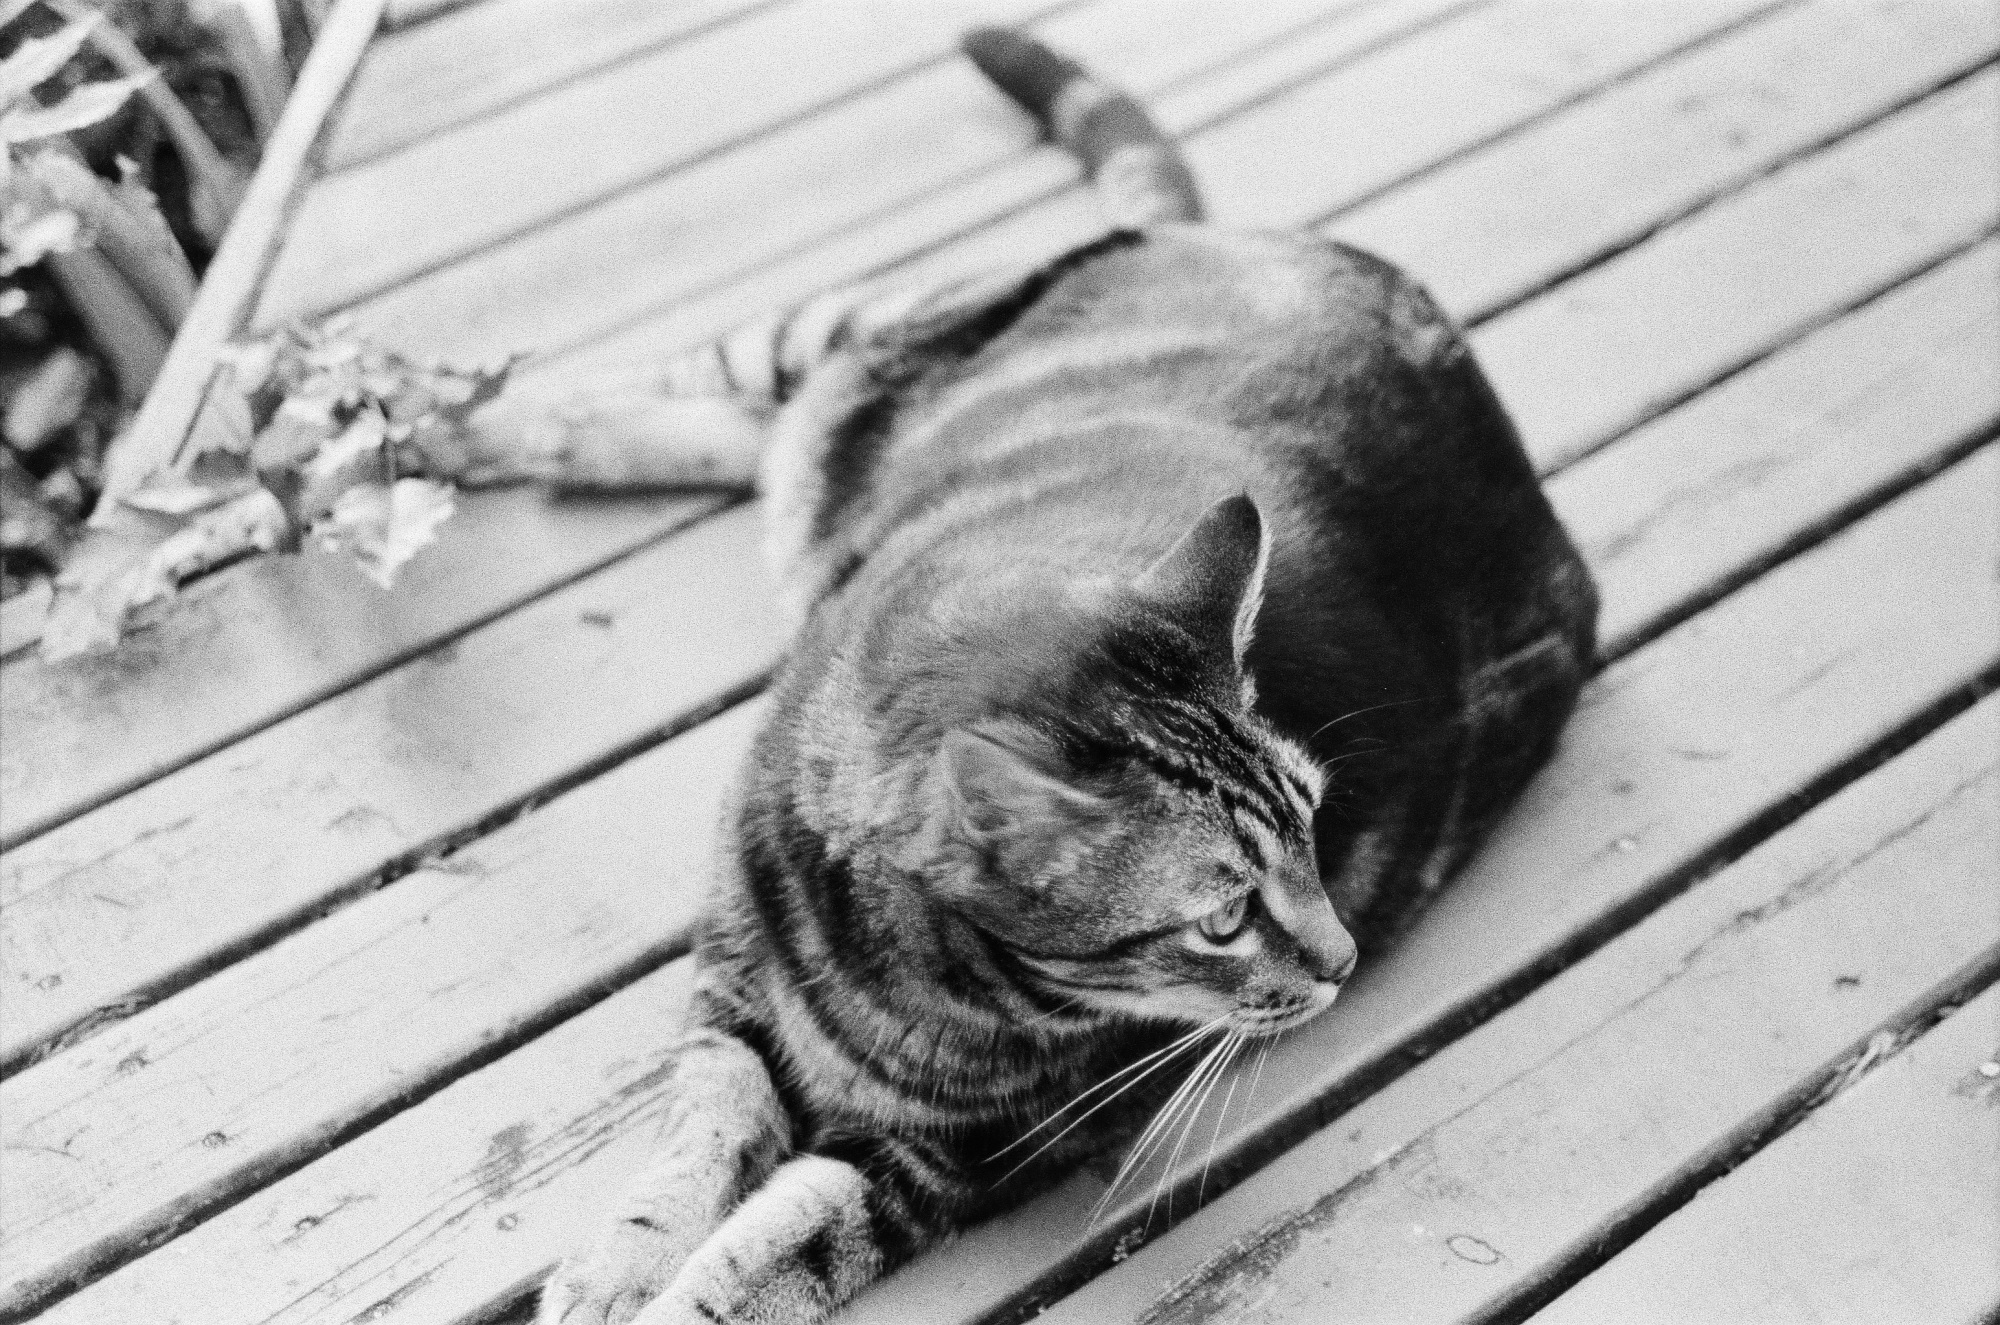
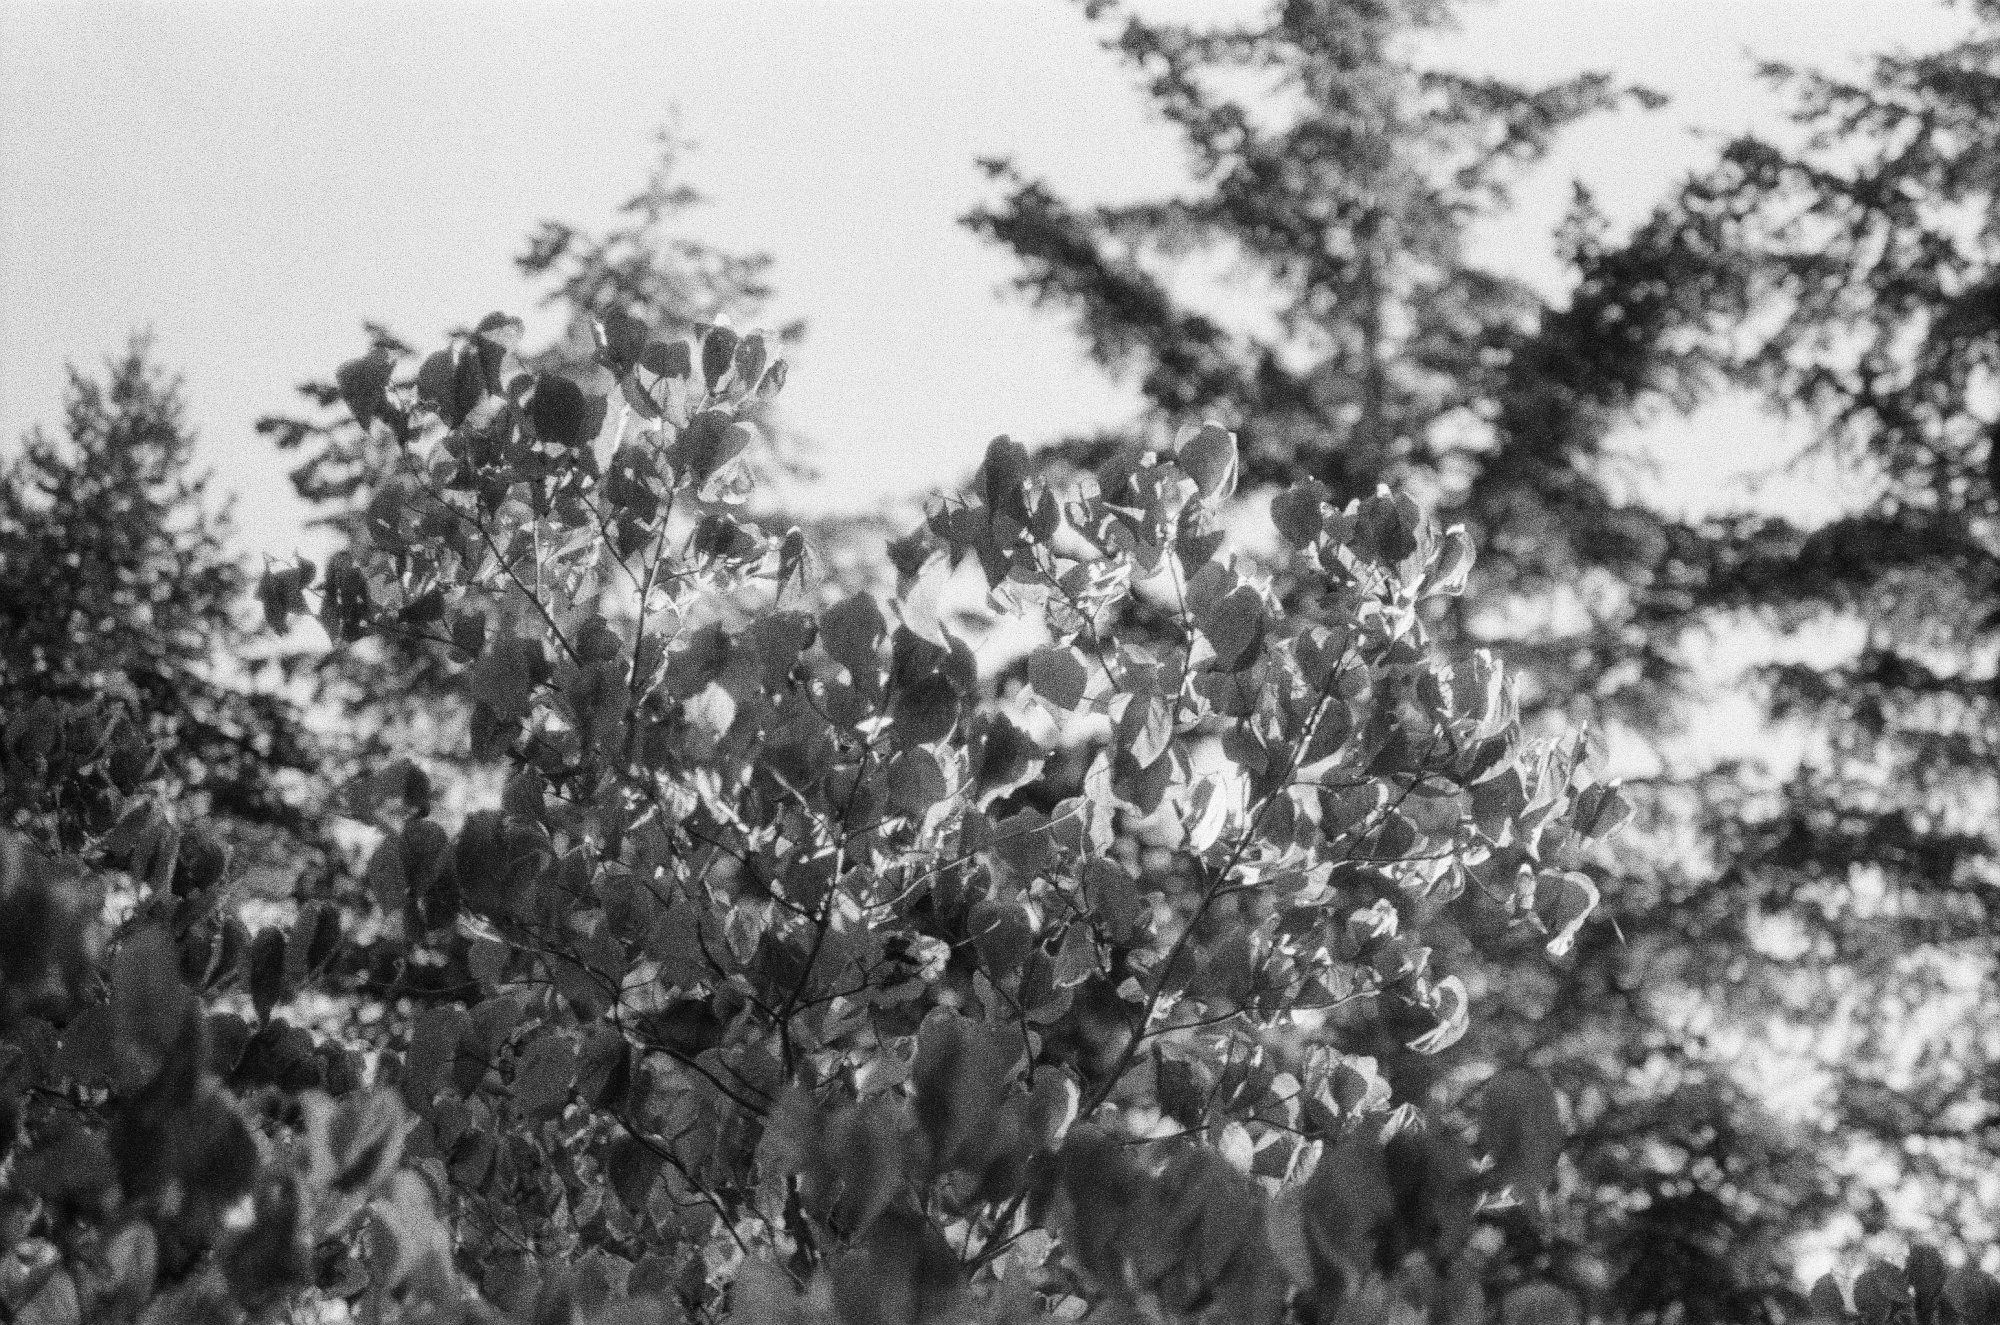
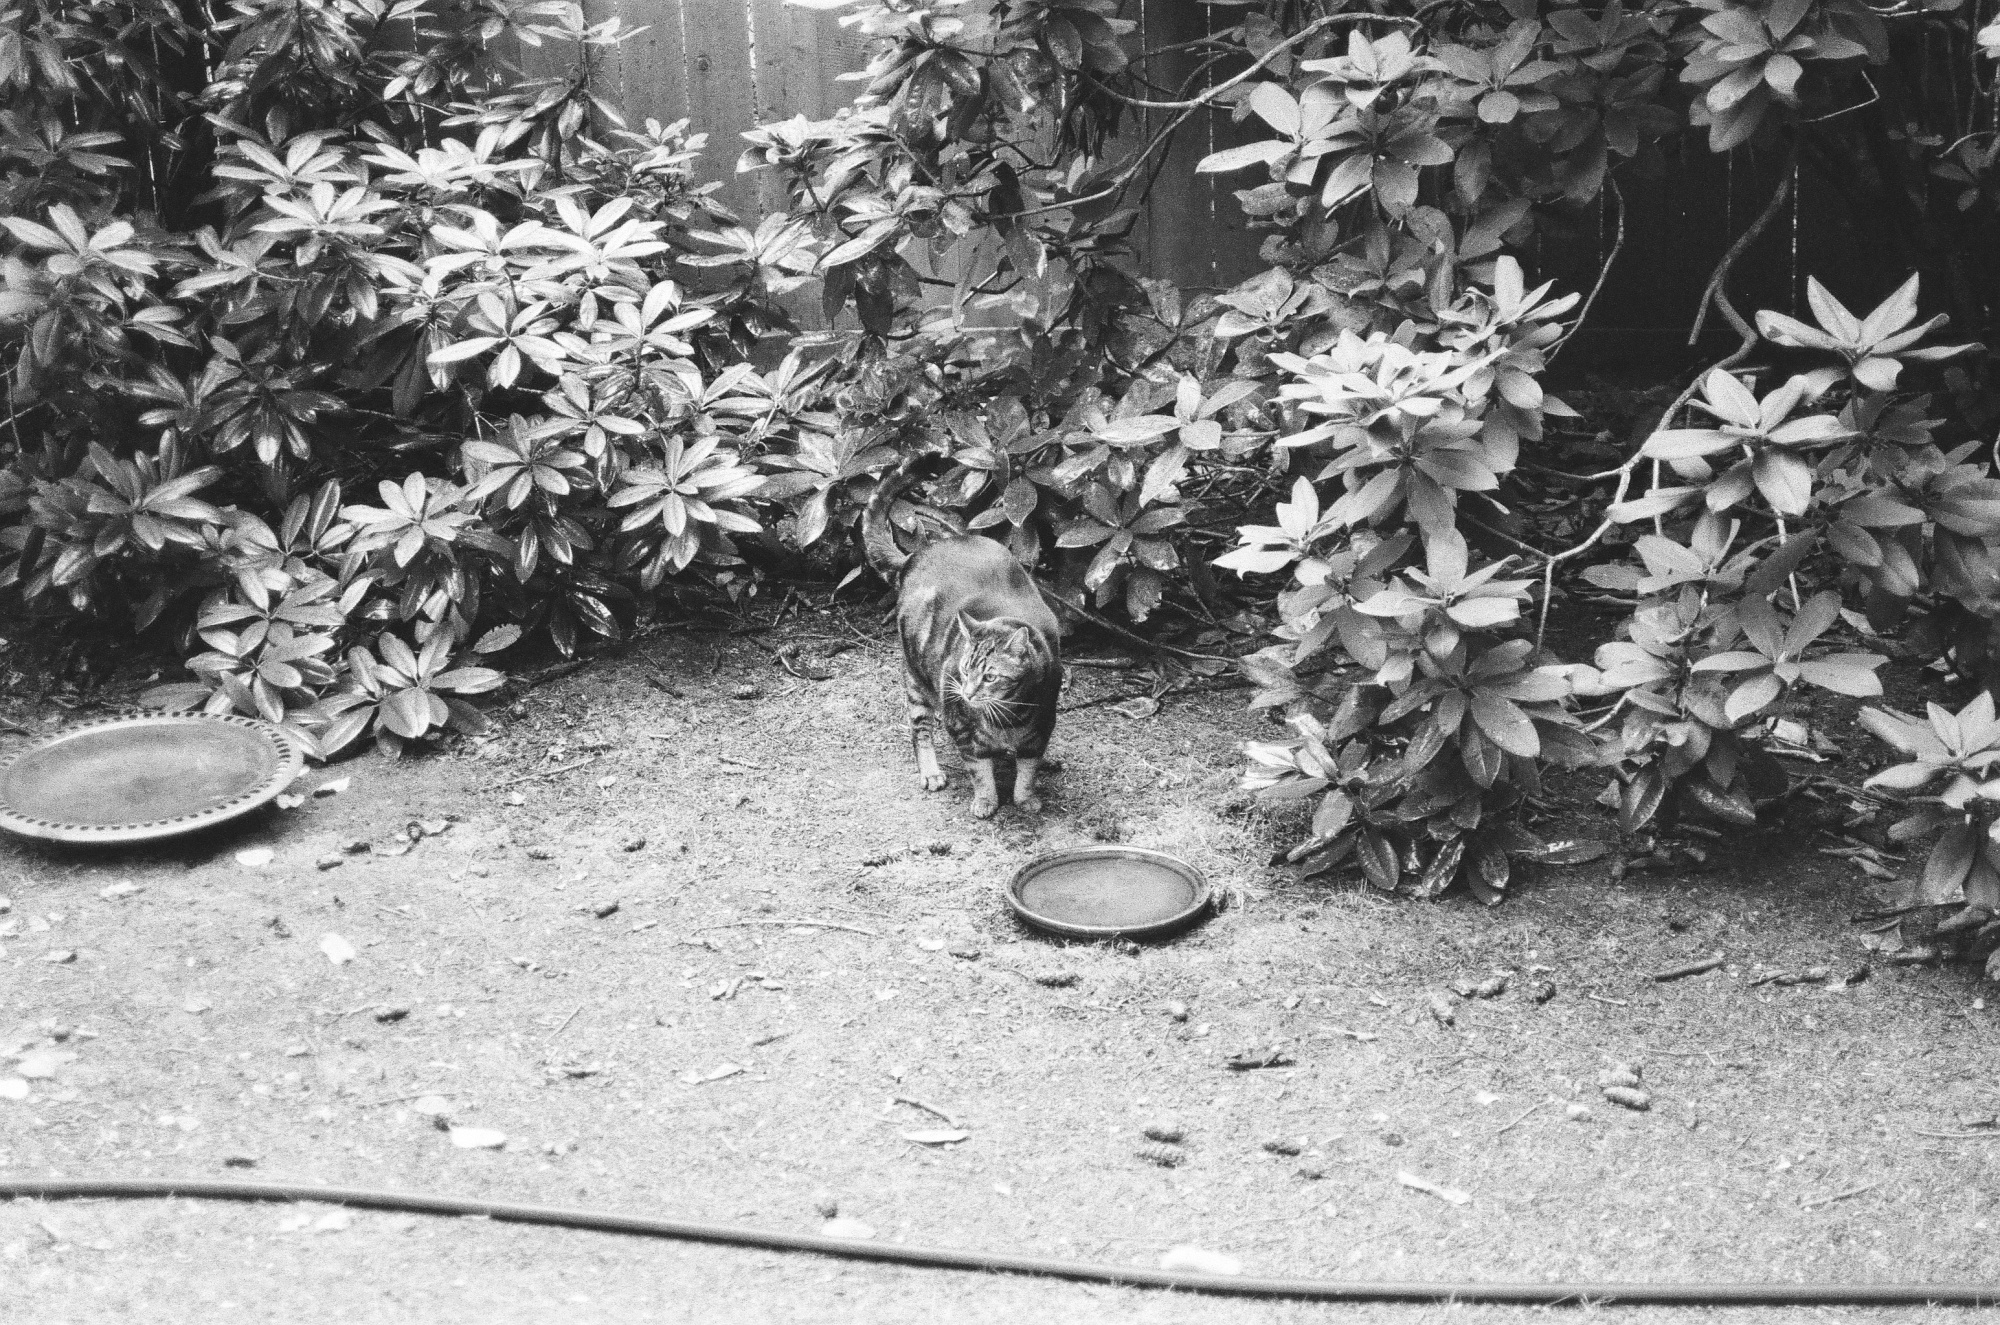
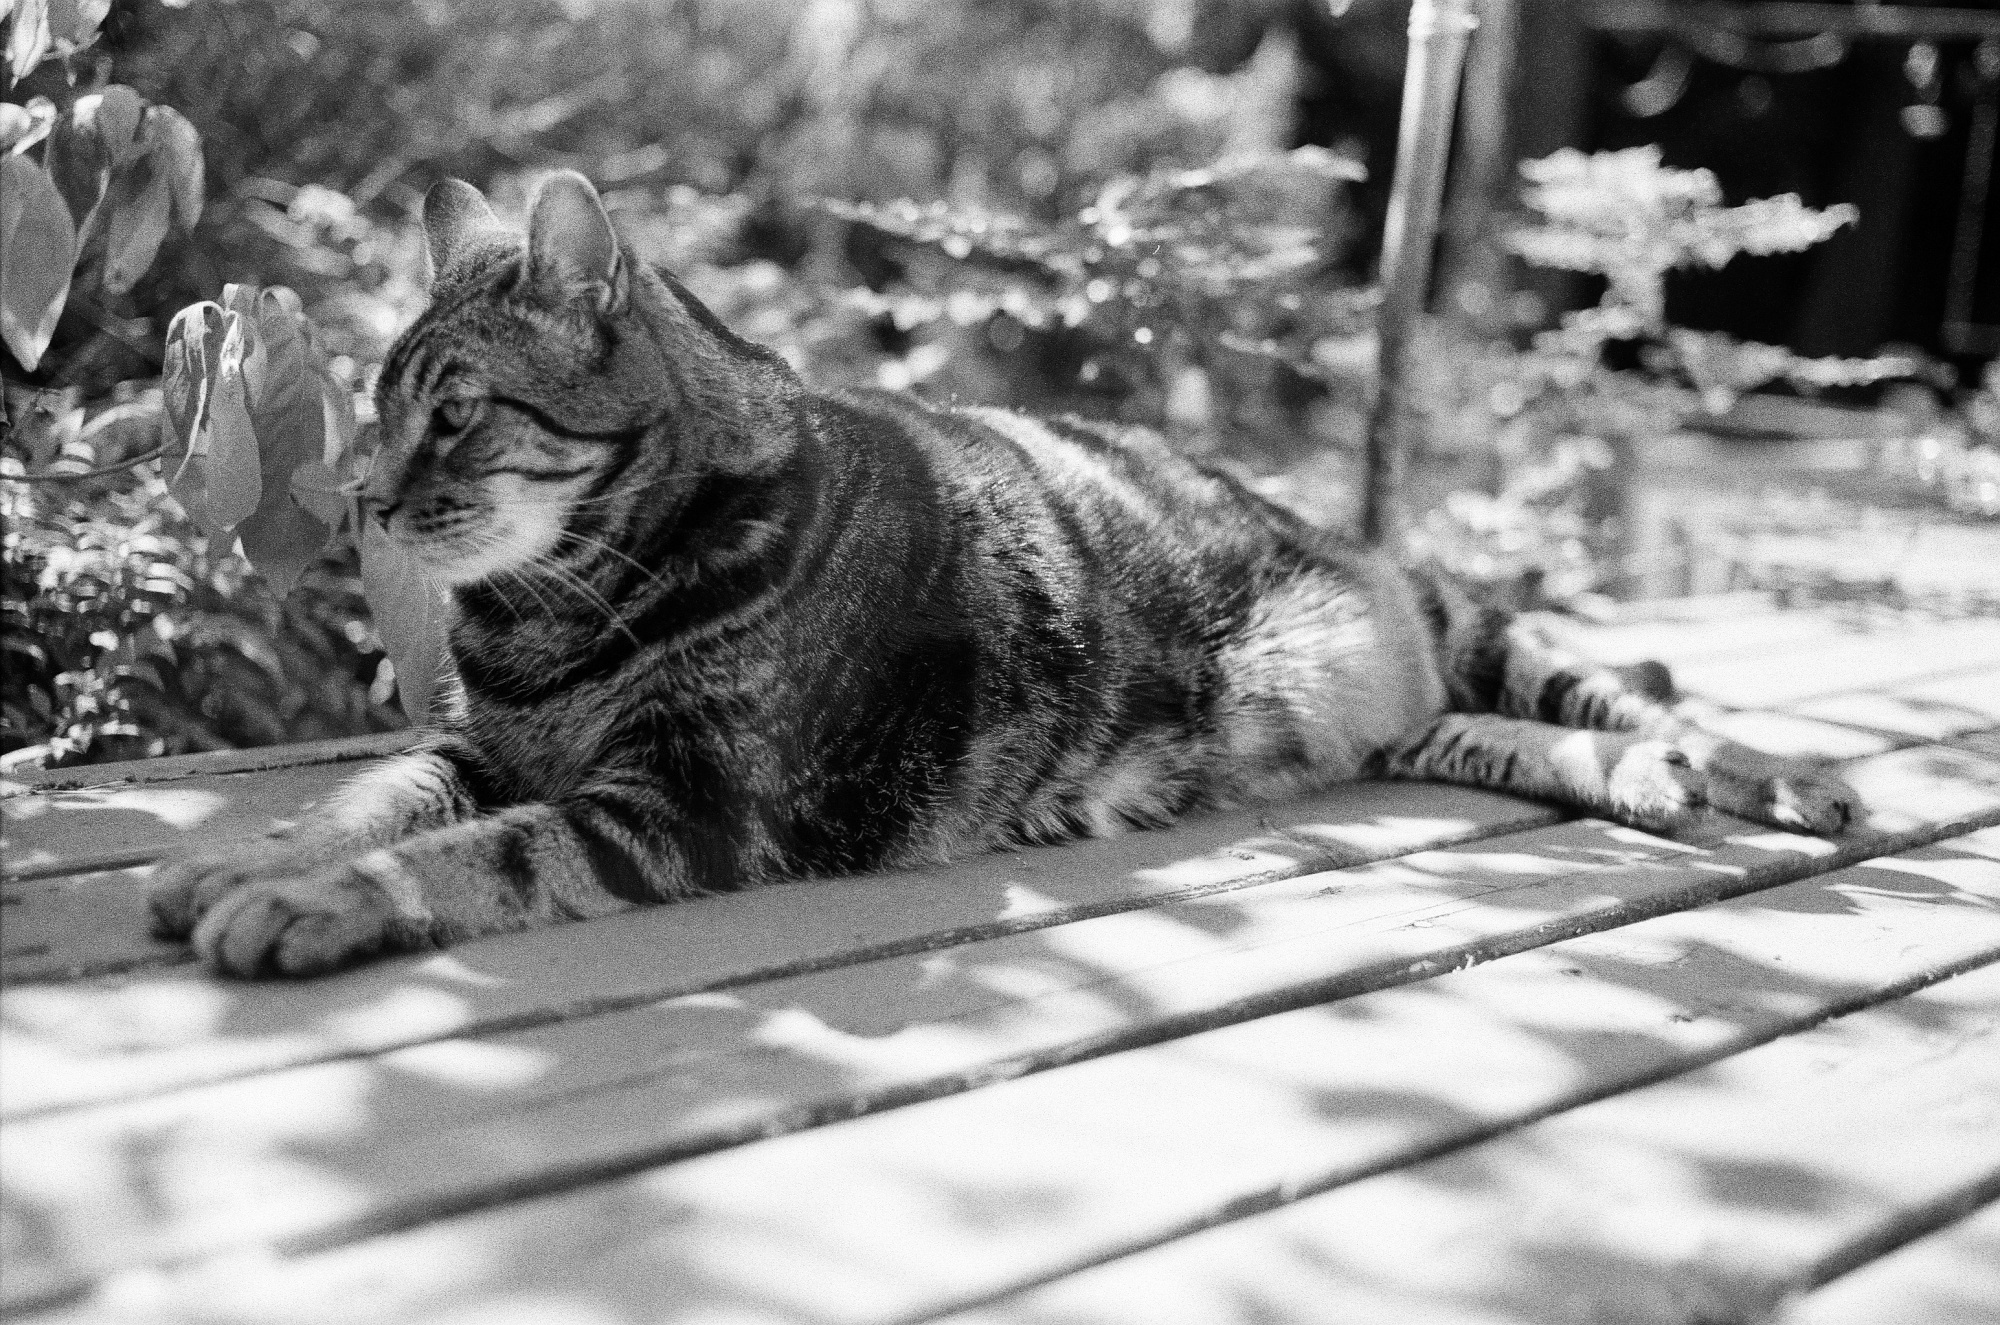
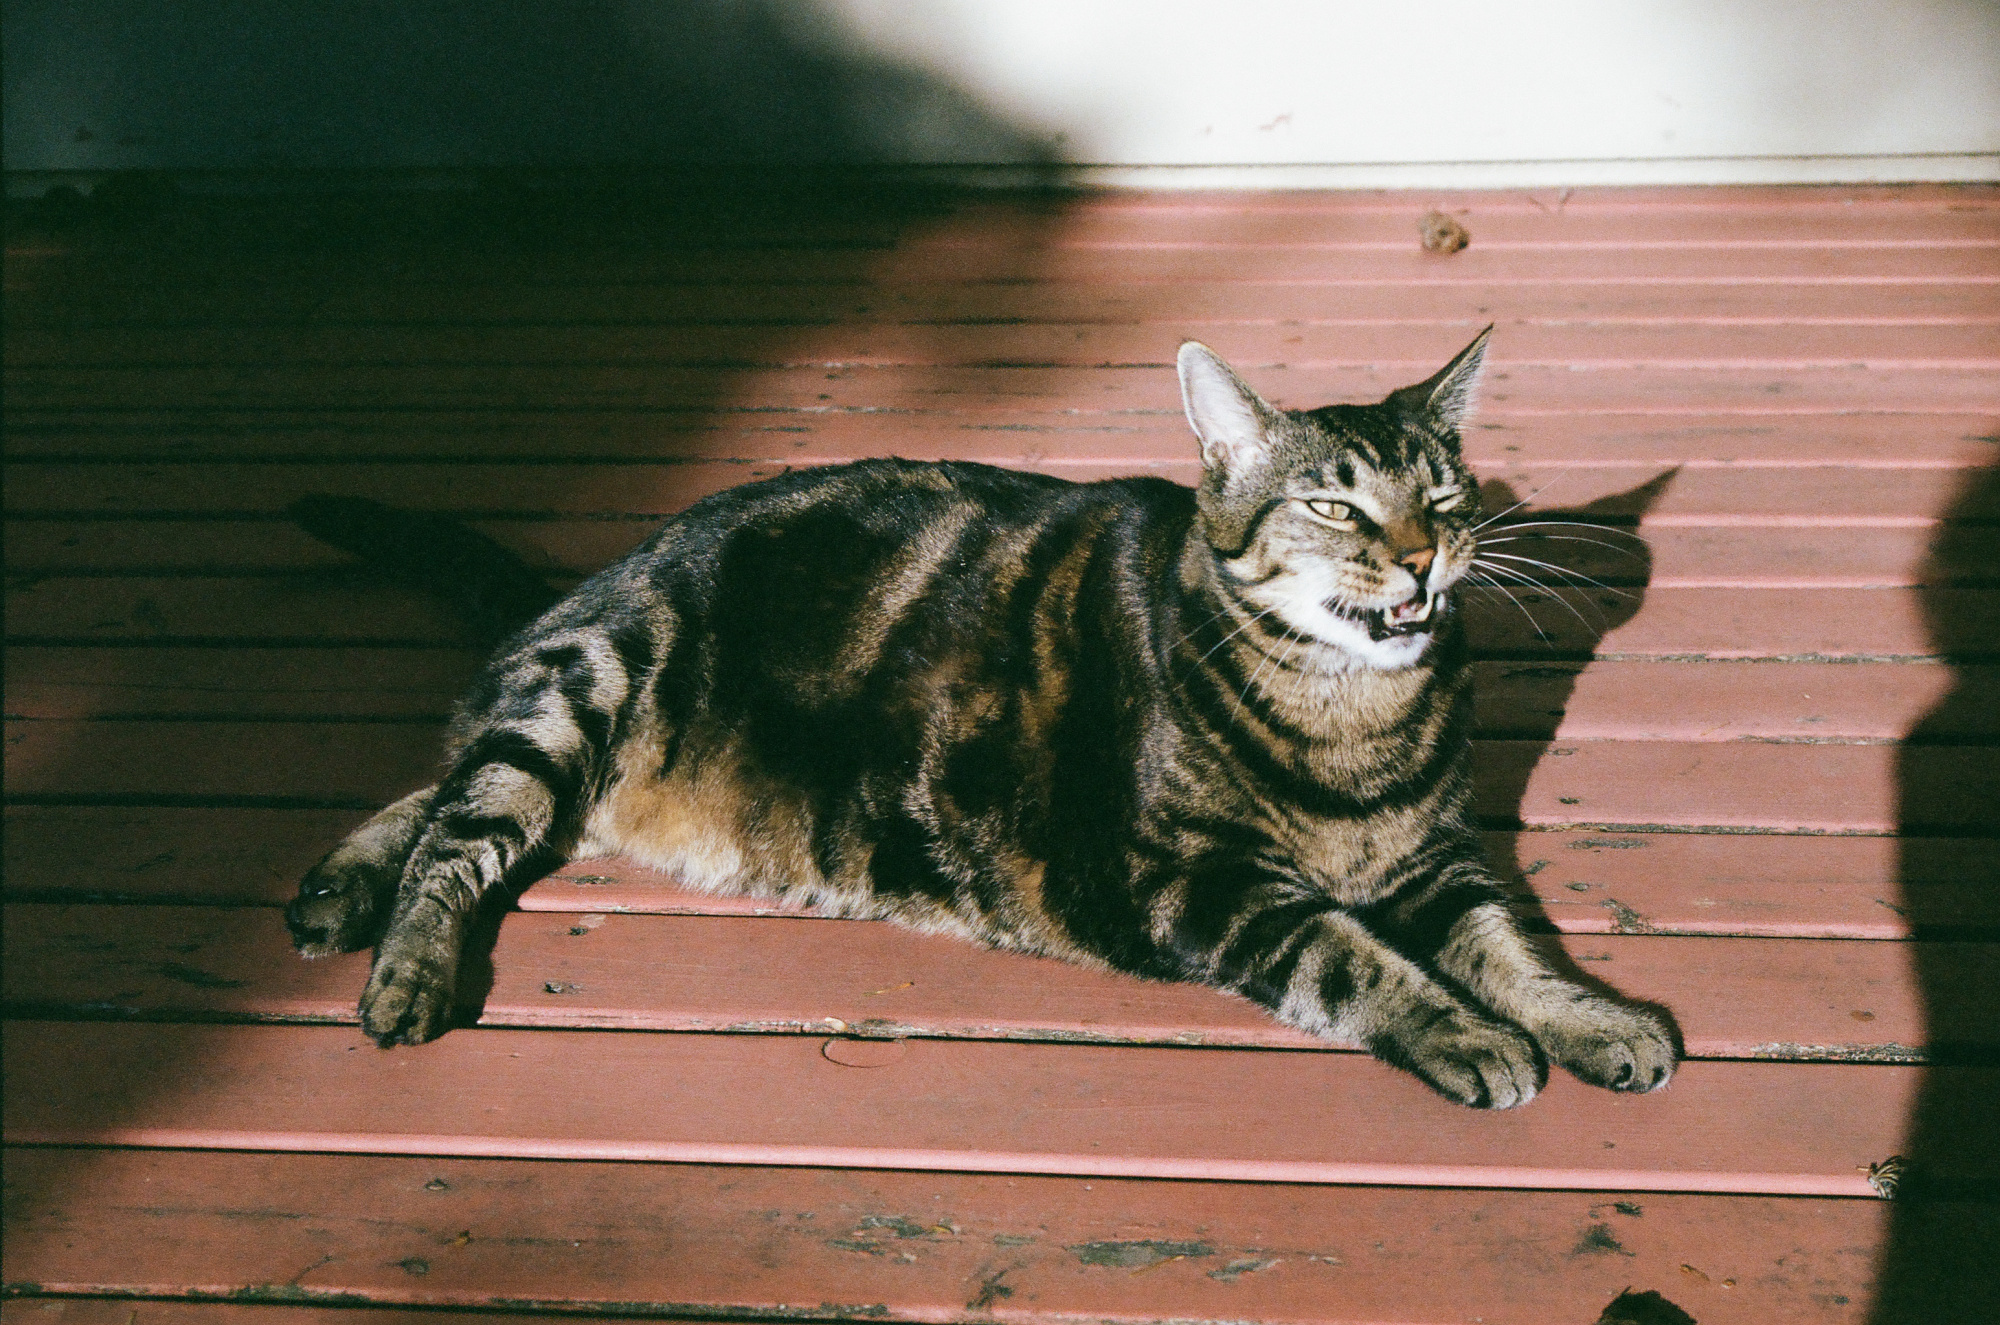
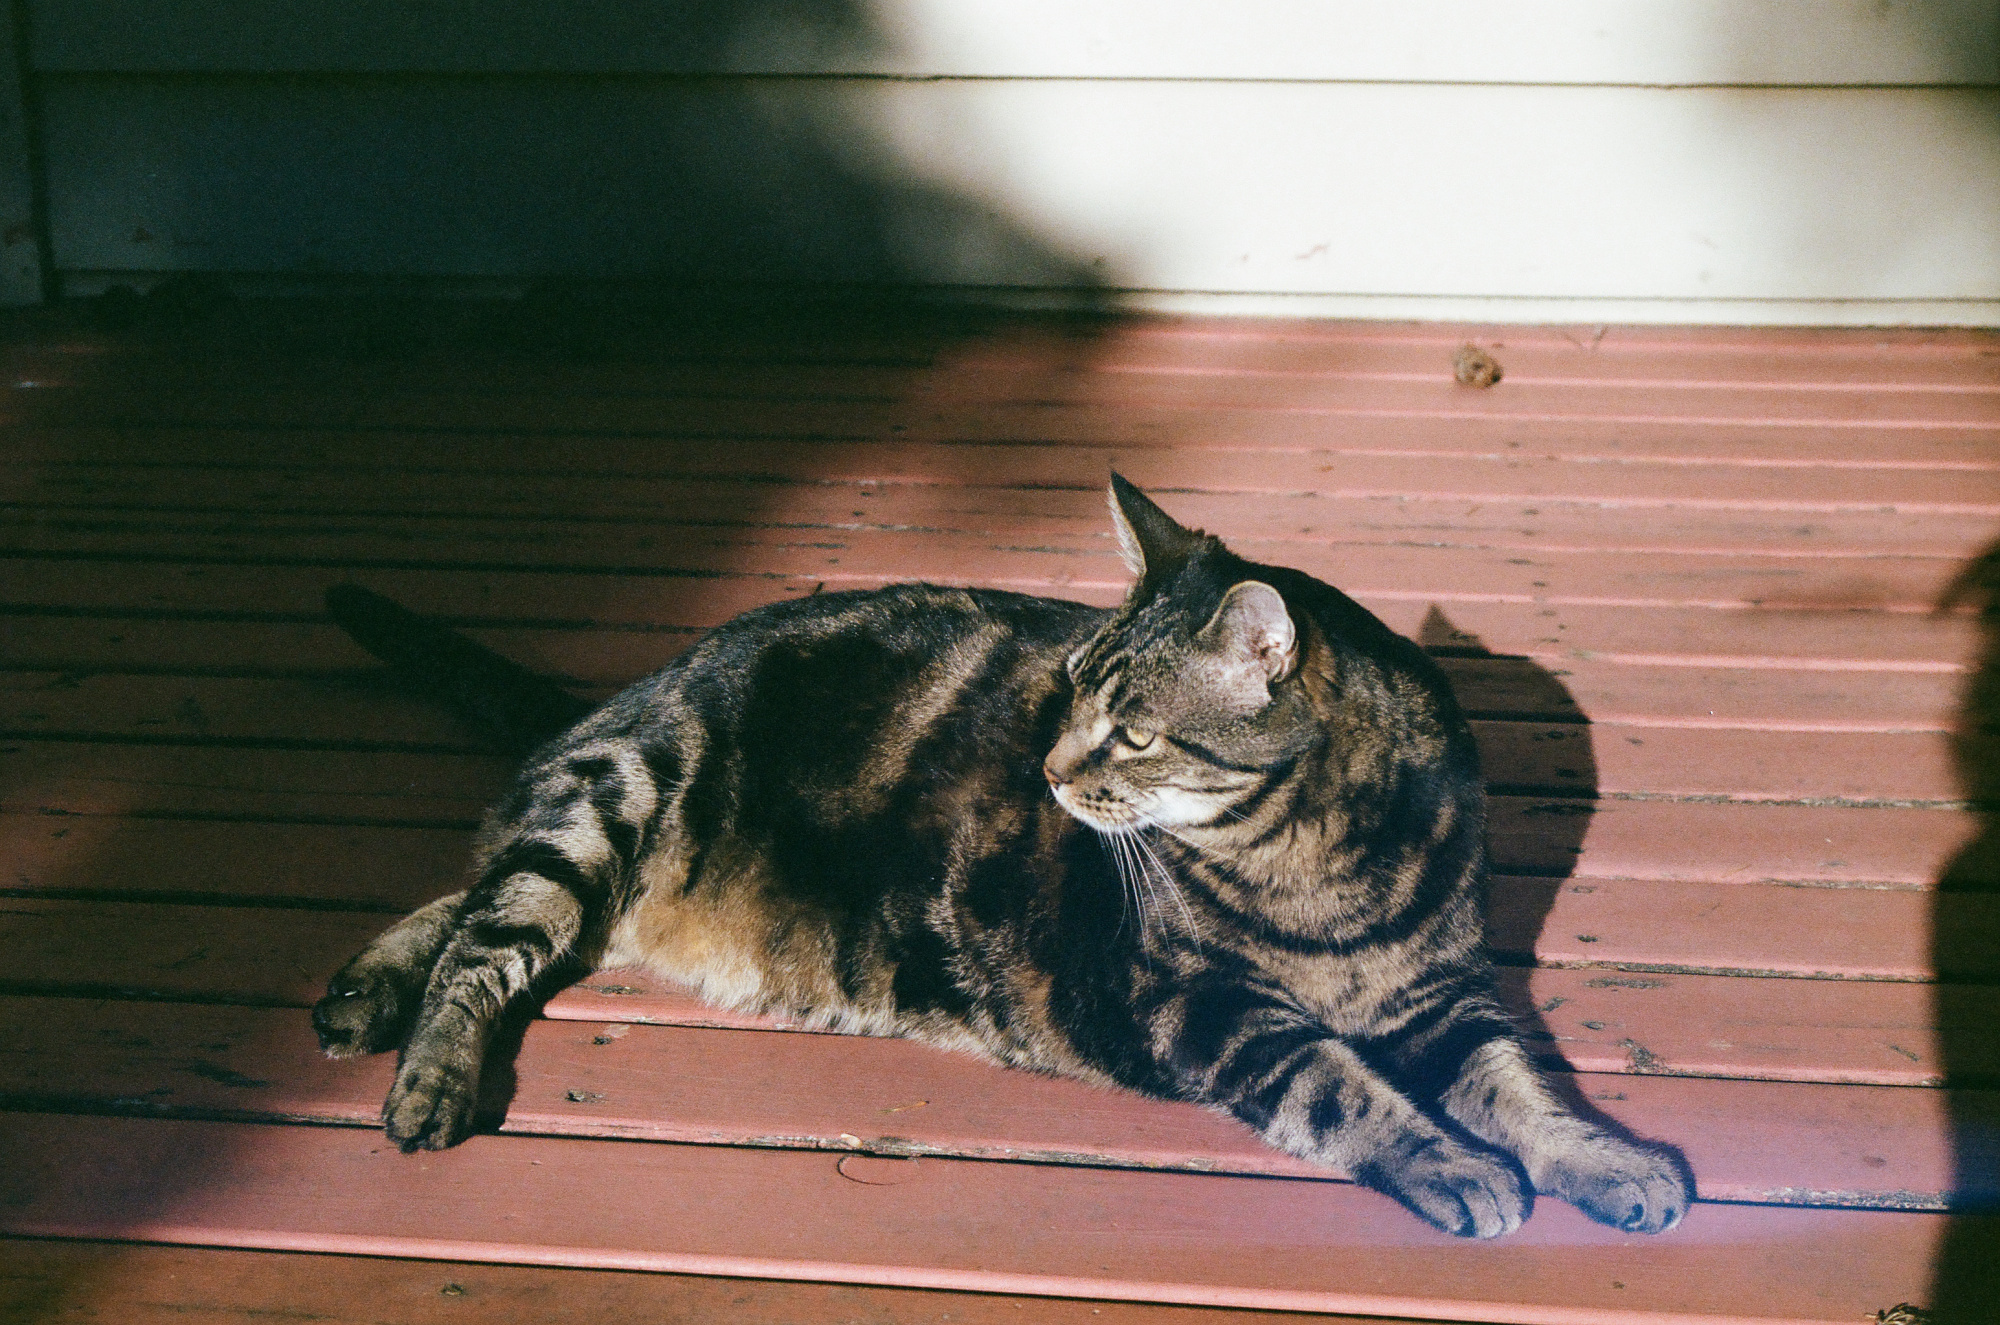
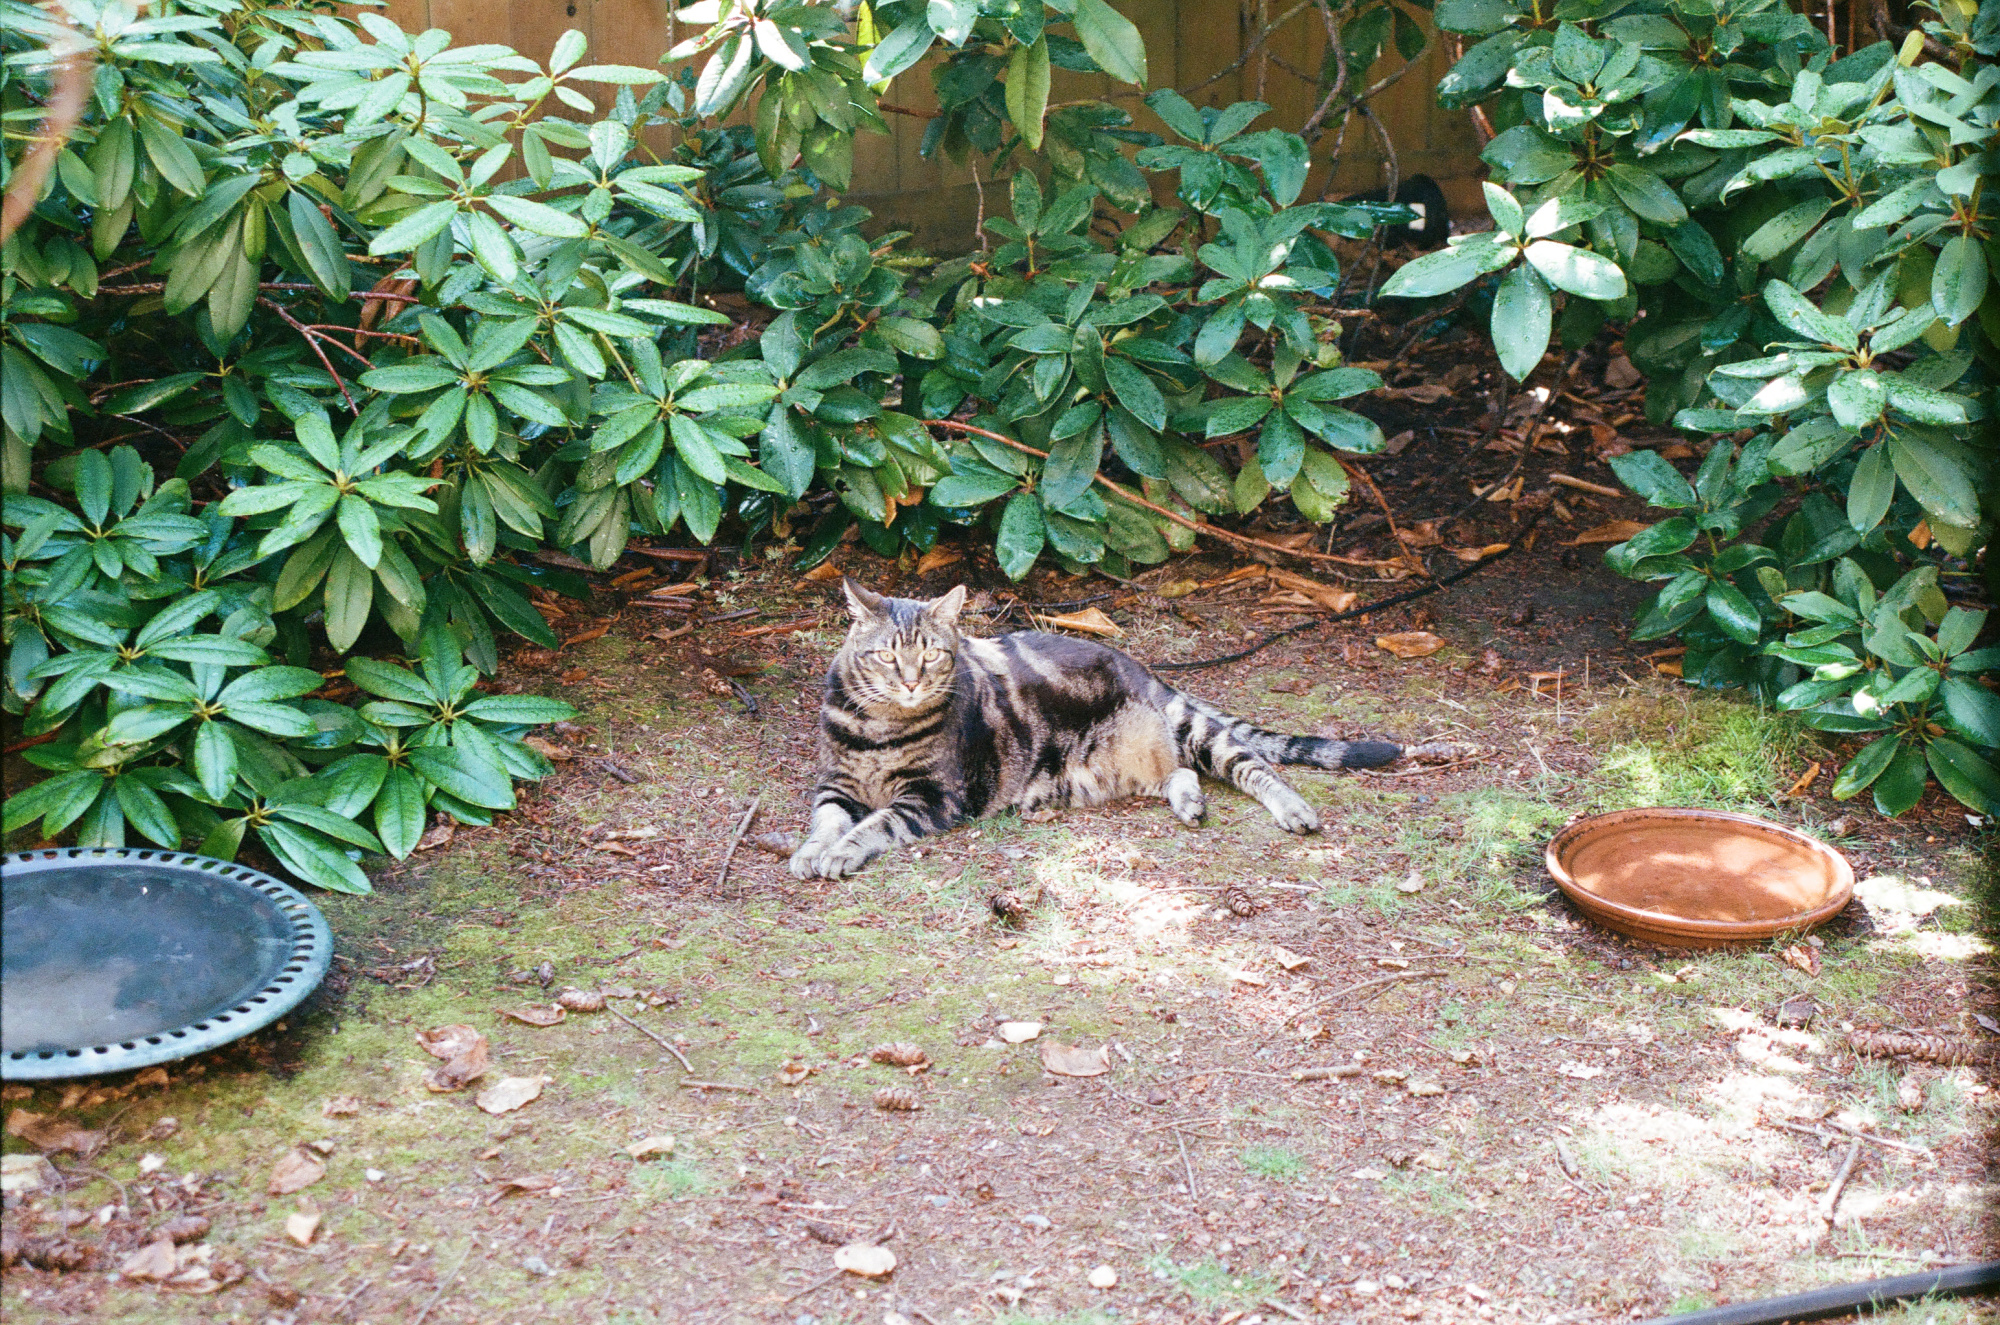
Black&White Film, Ilford HP5 Plus 400
A promising start.
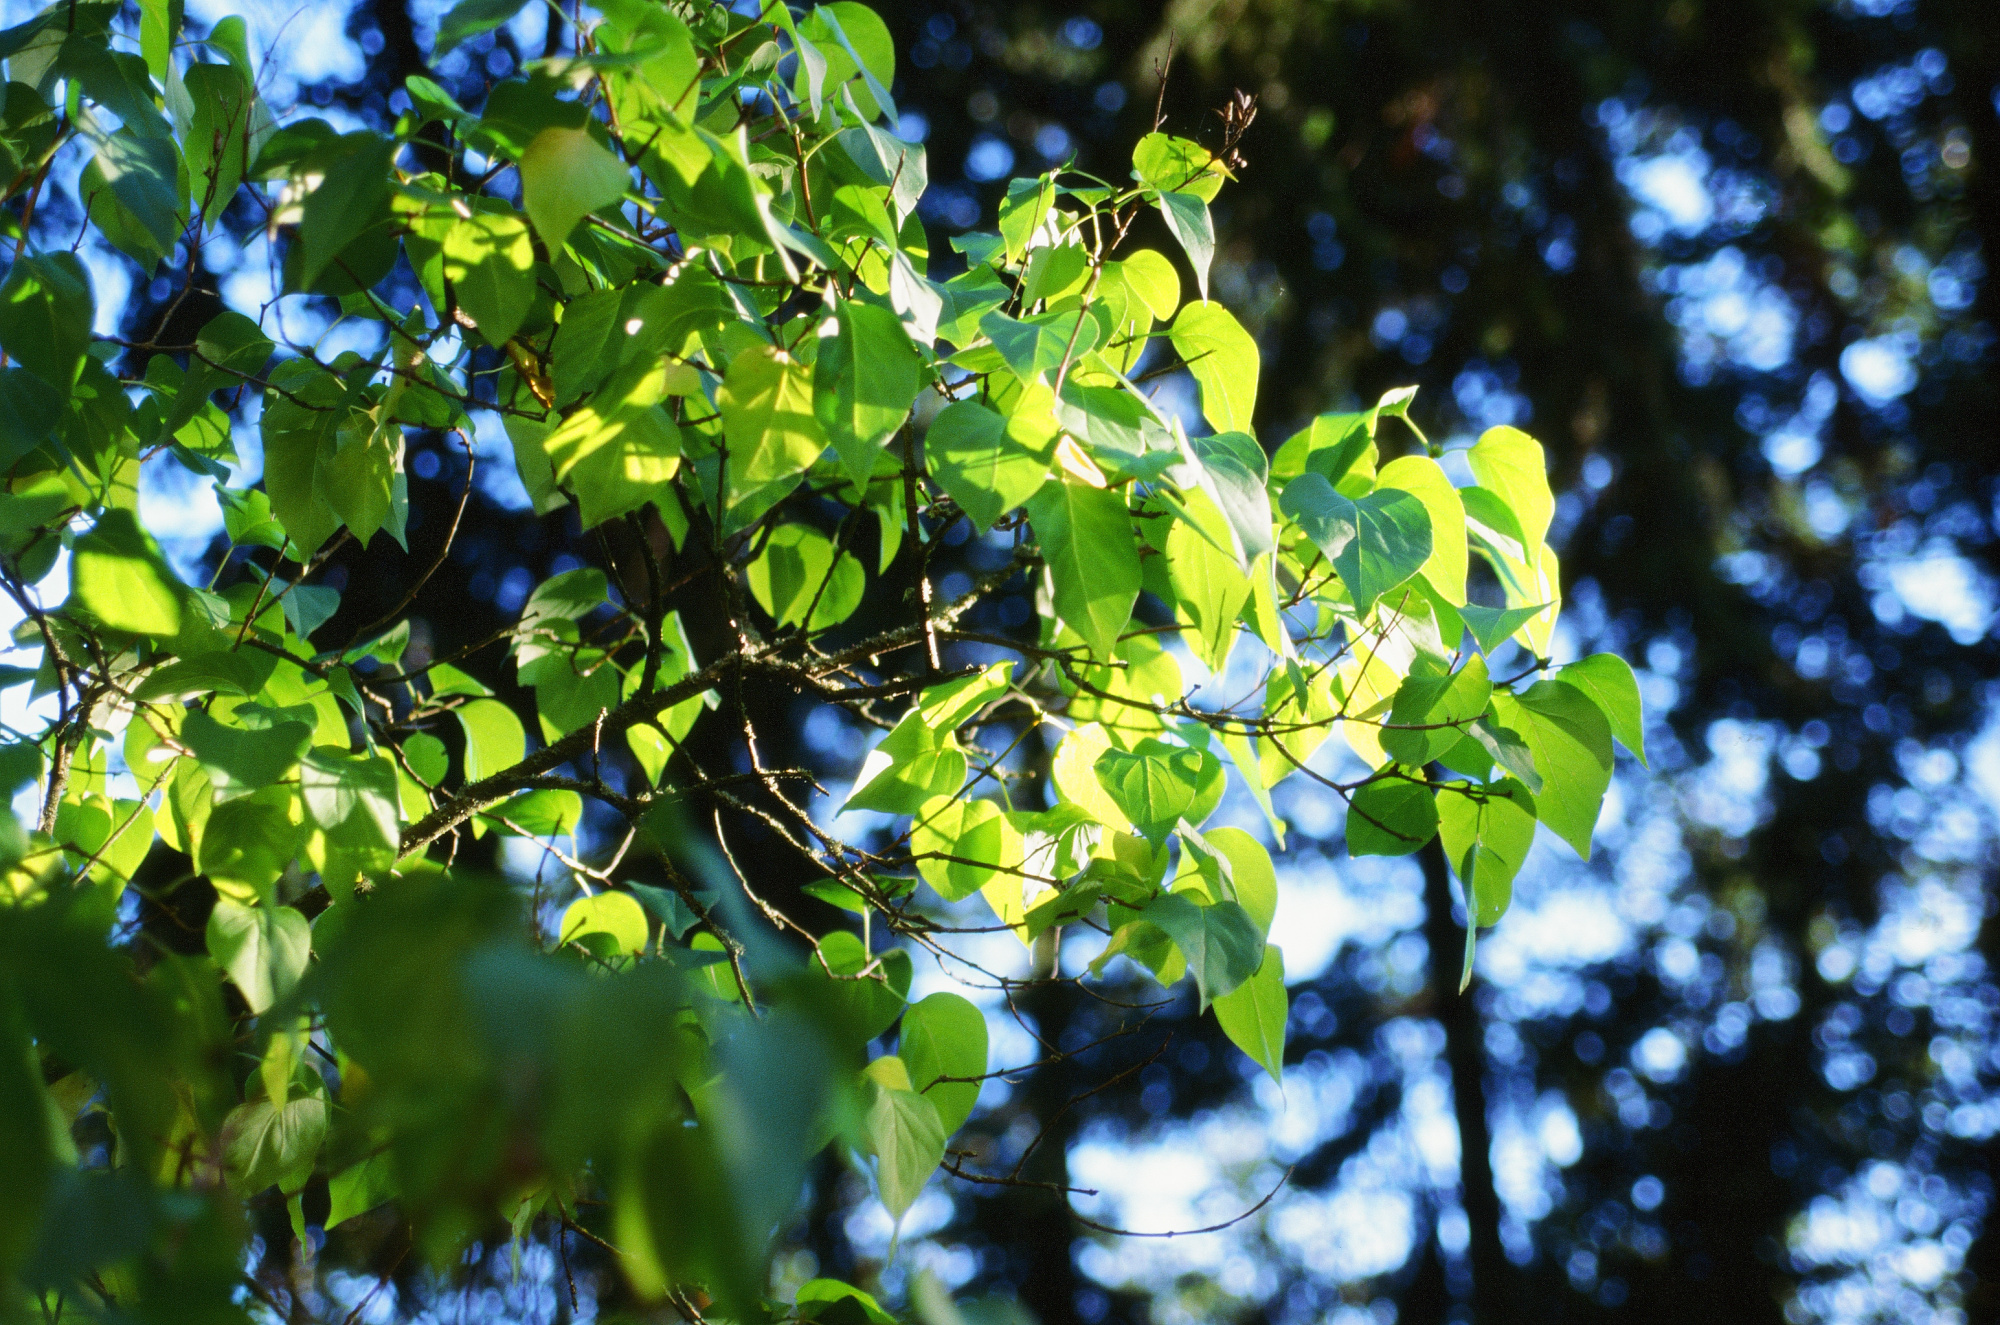
Color Slide Film, Kodak Ektachrome E100
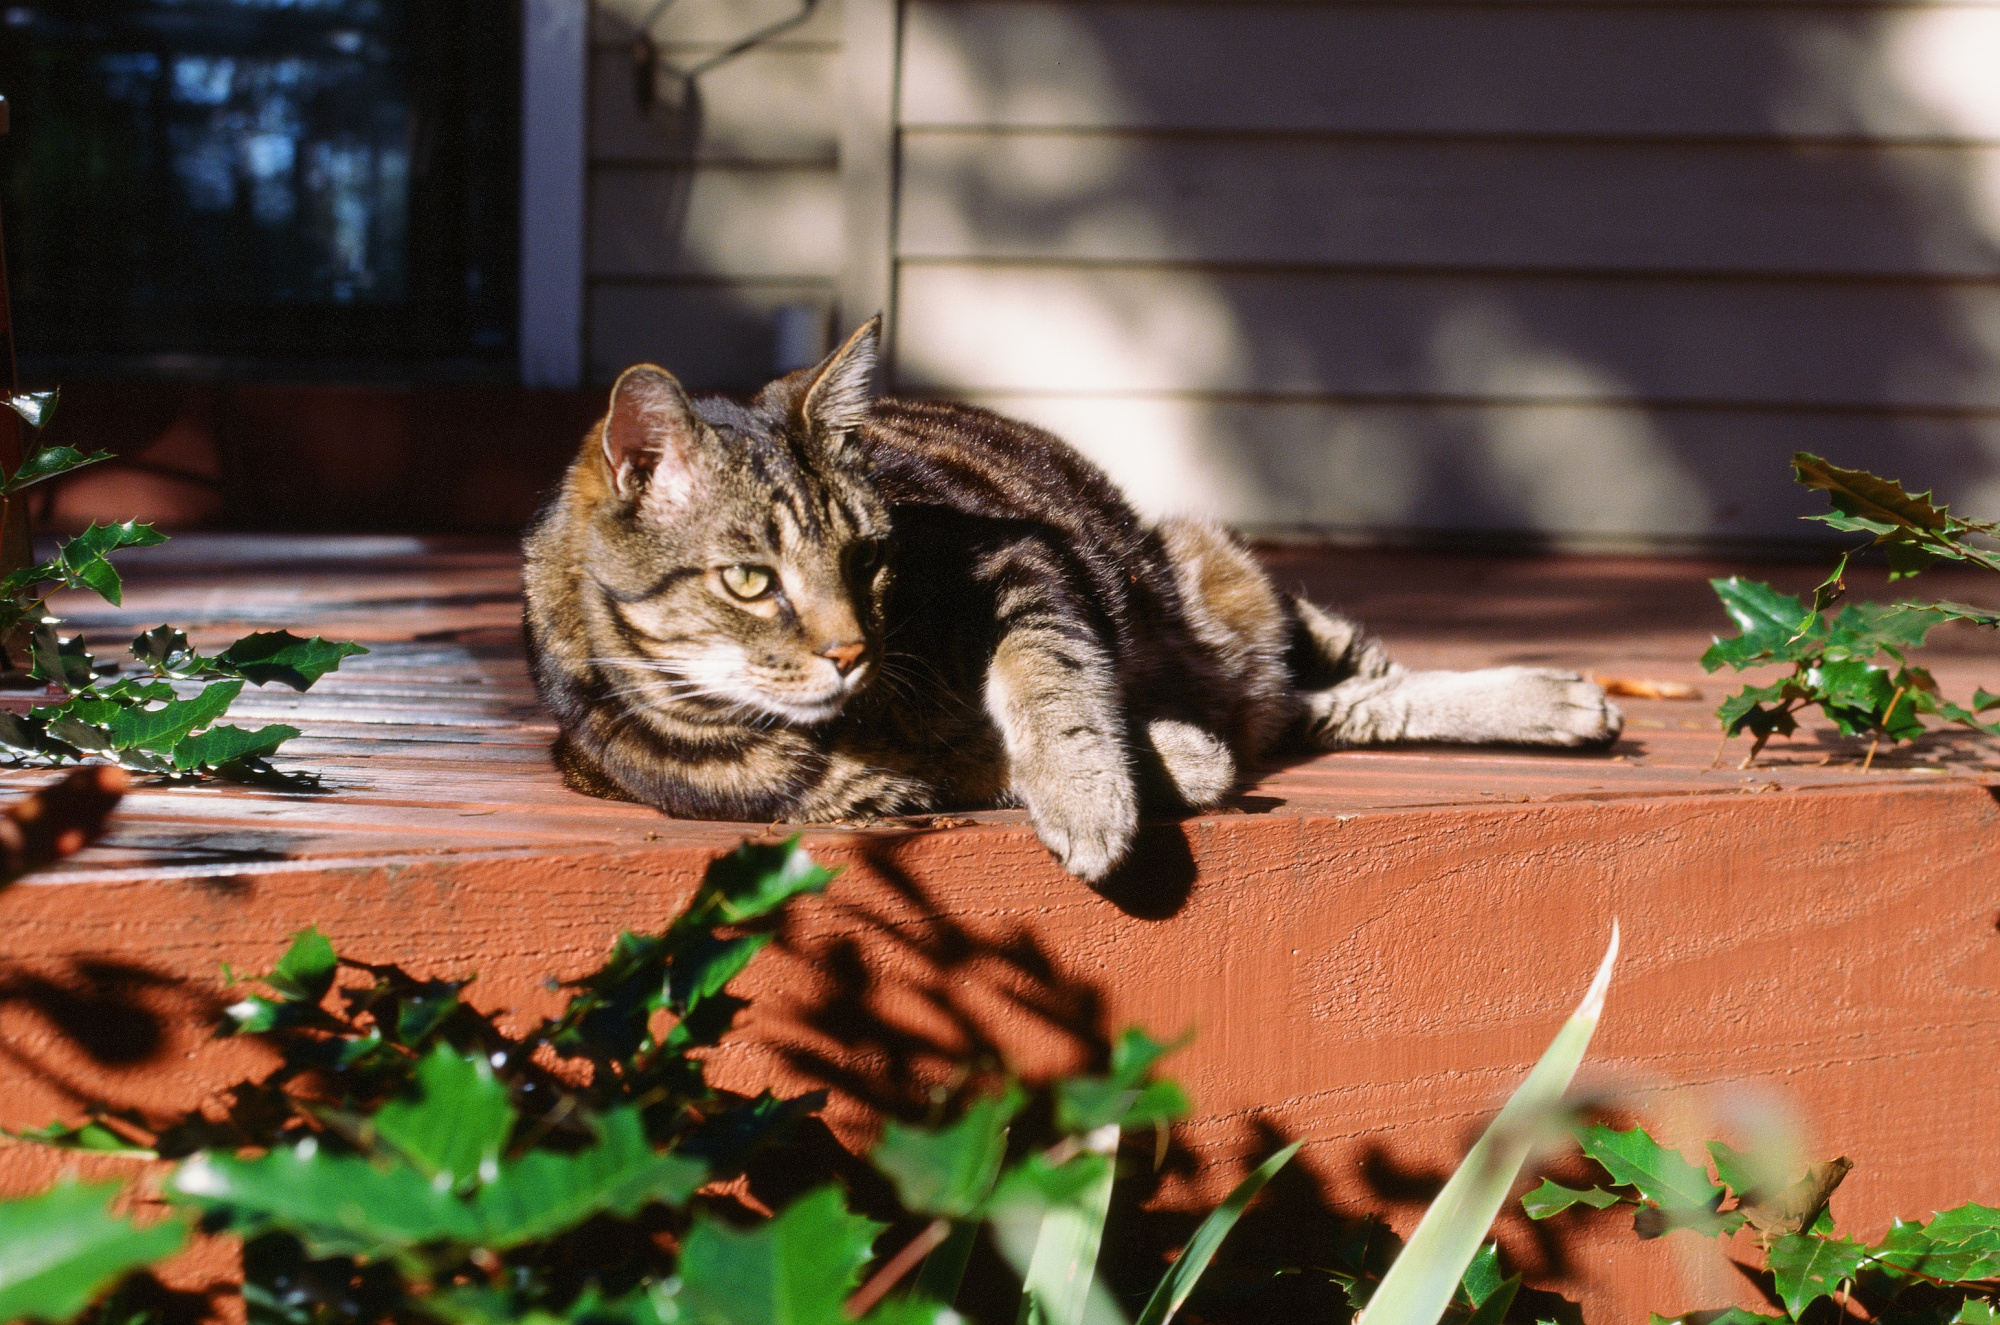
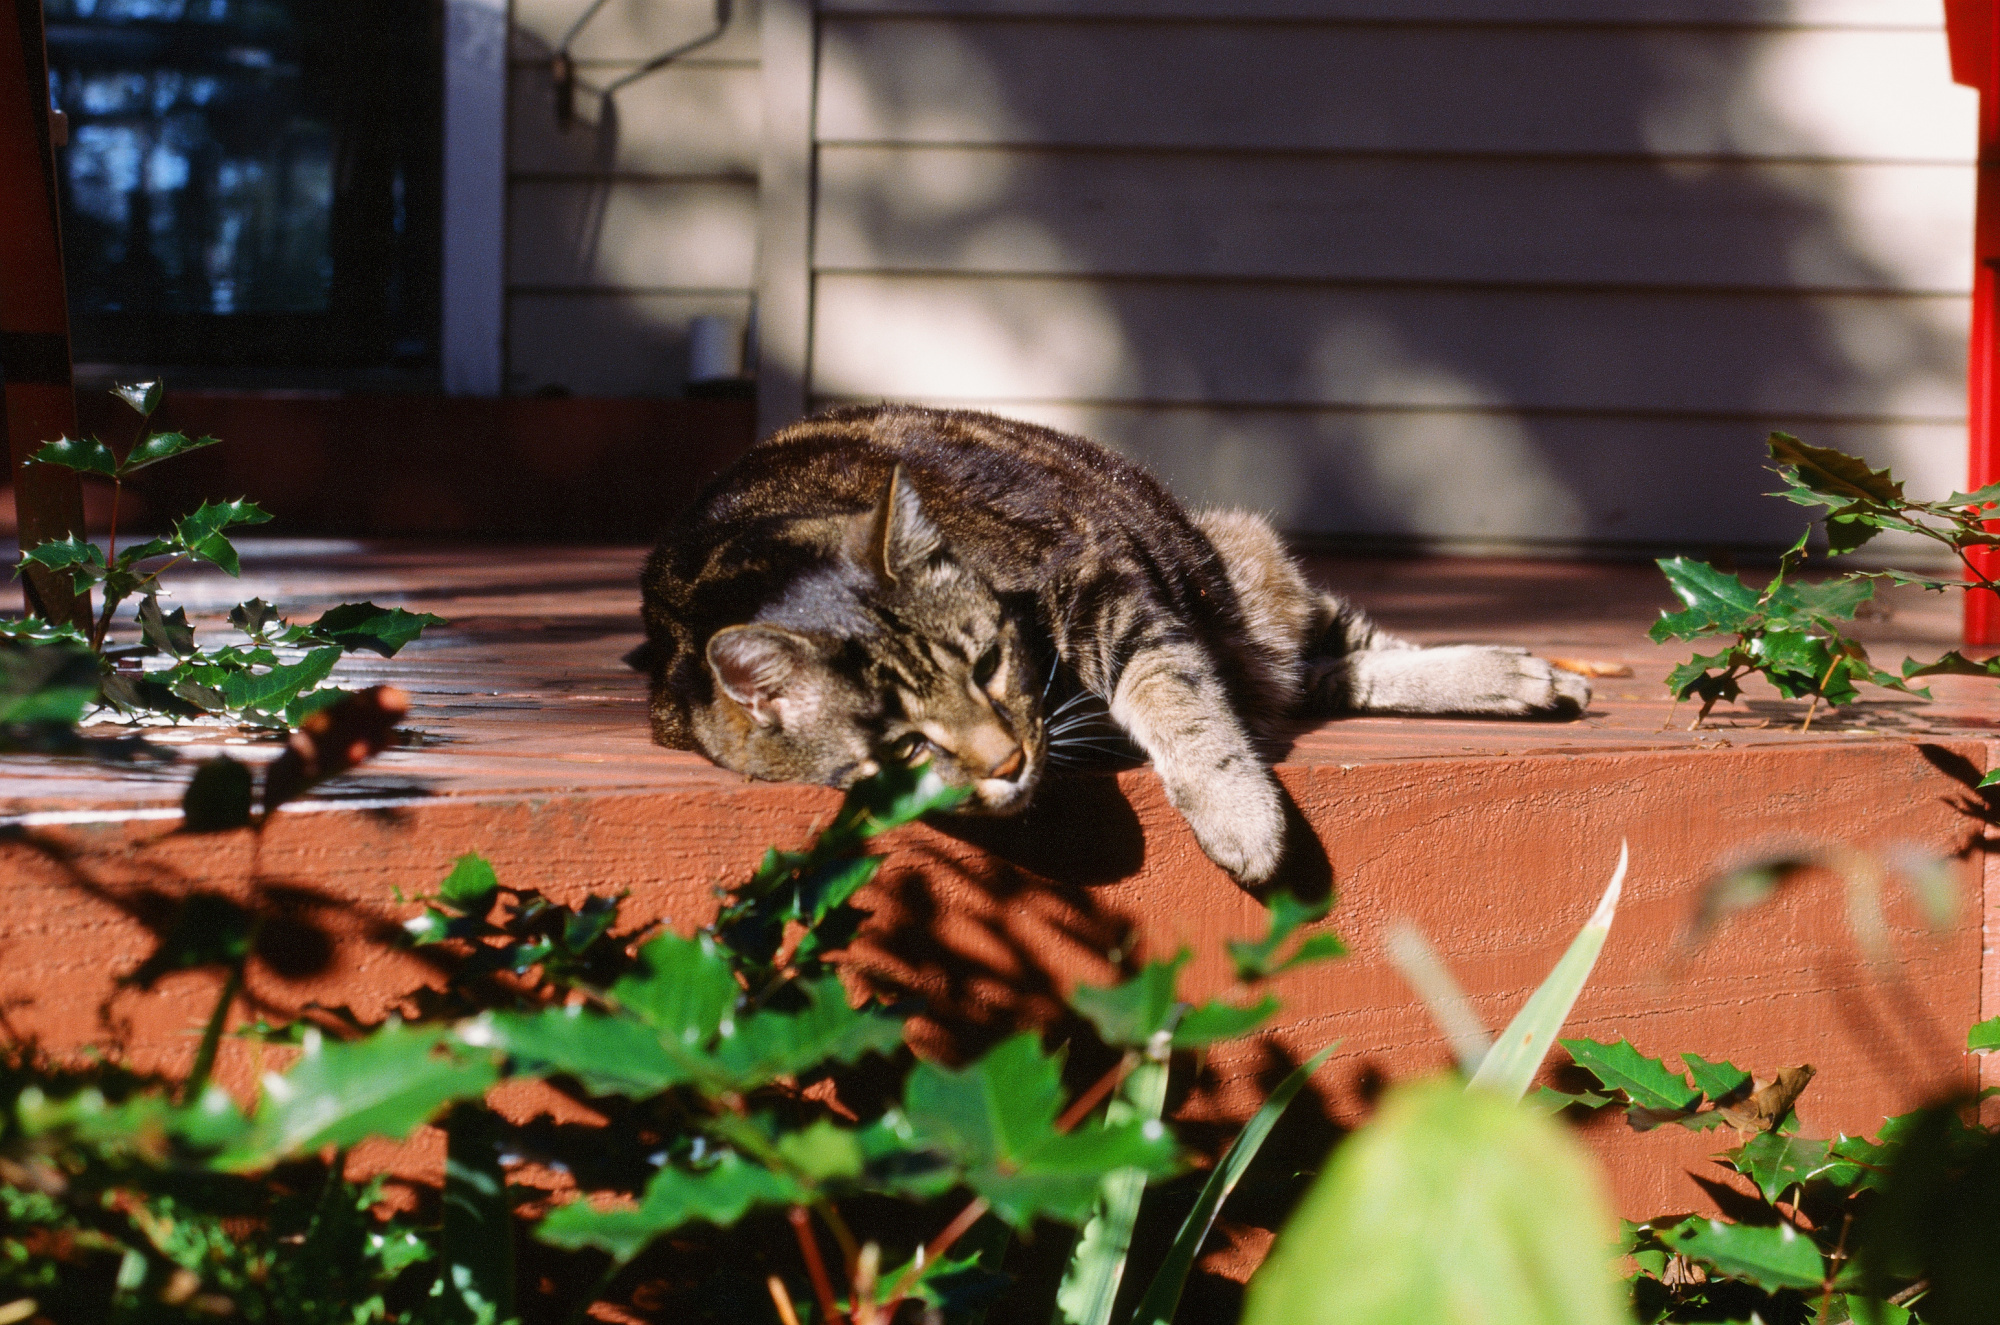
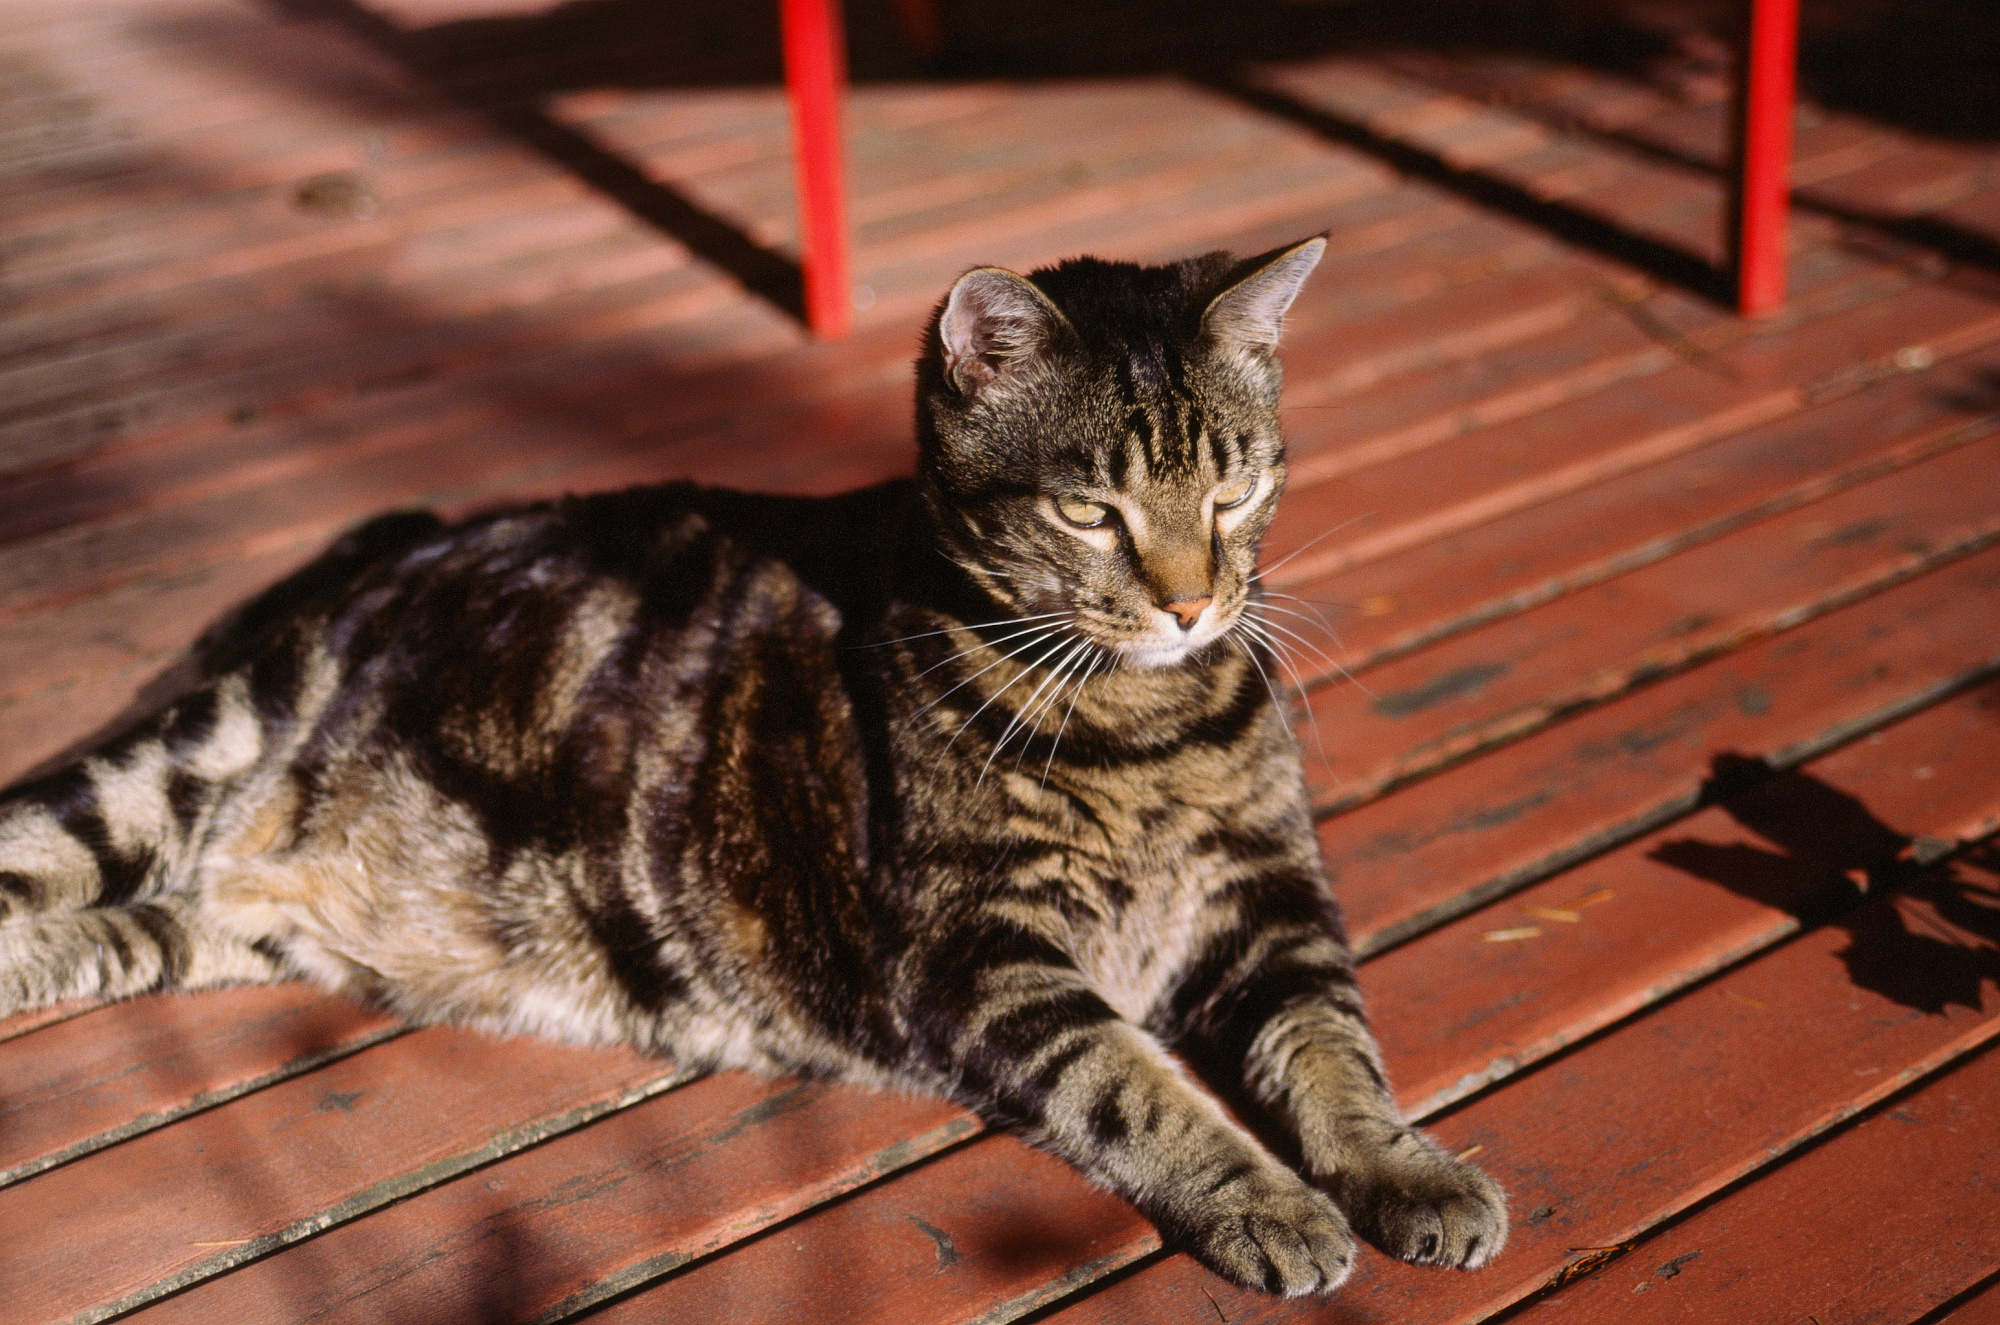
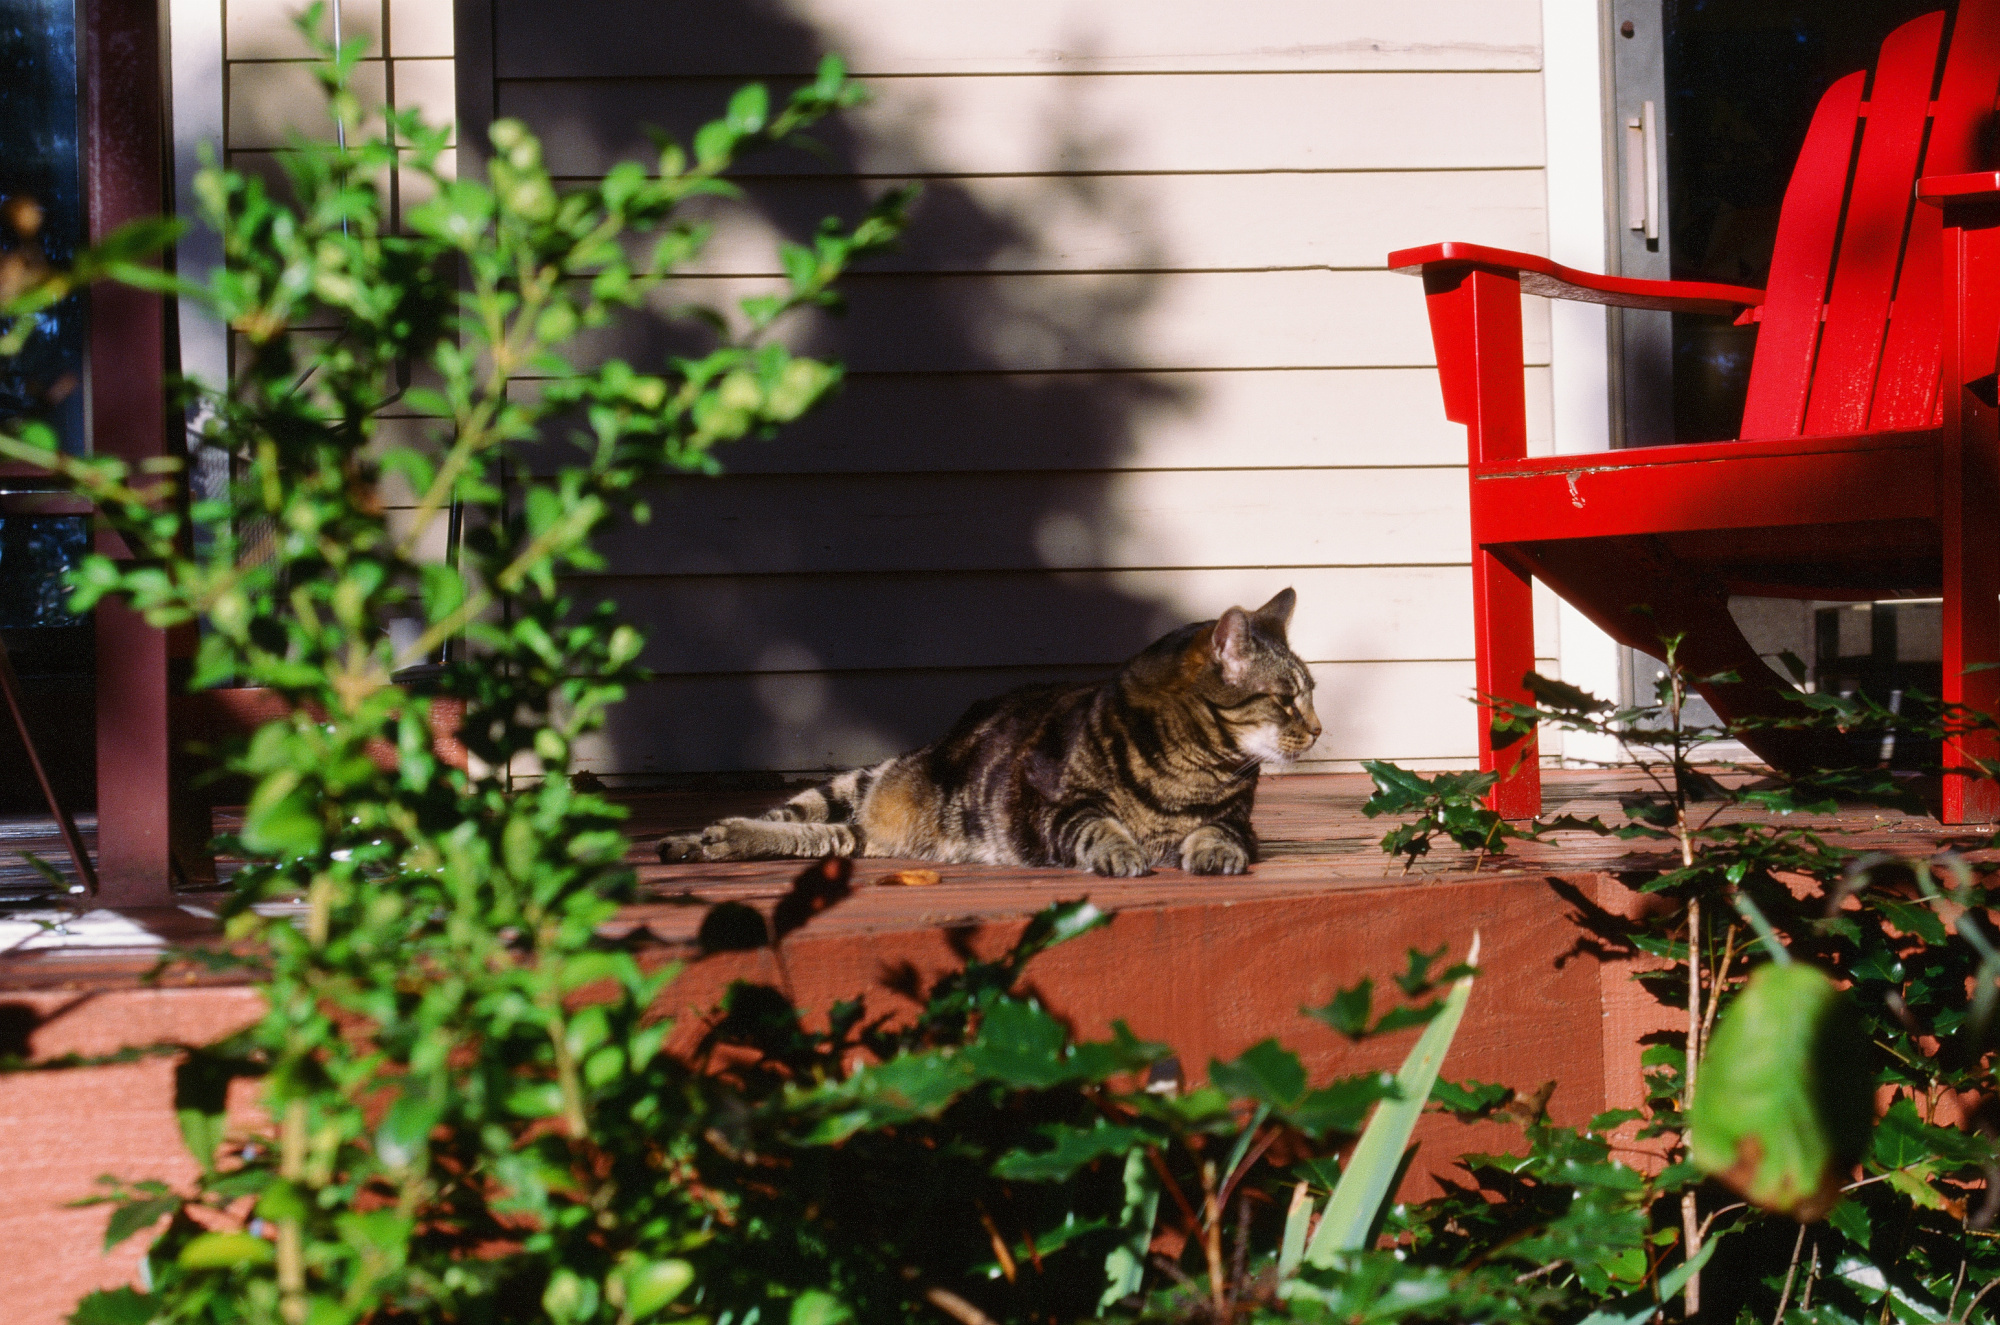
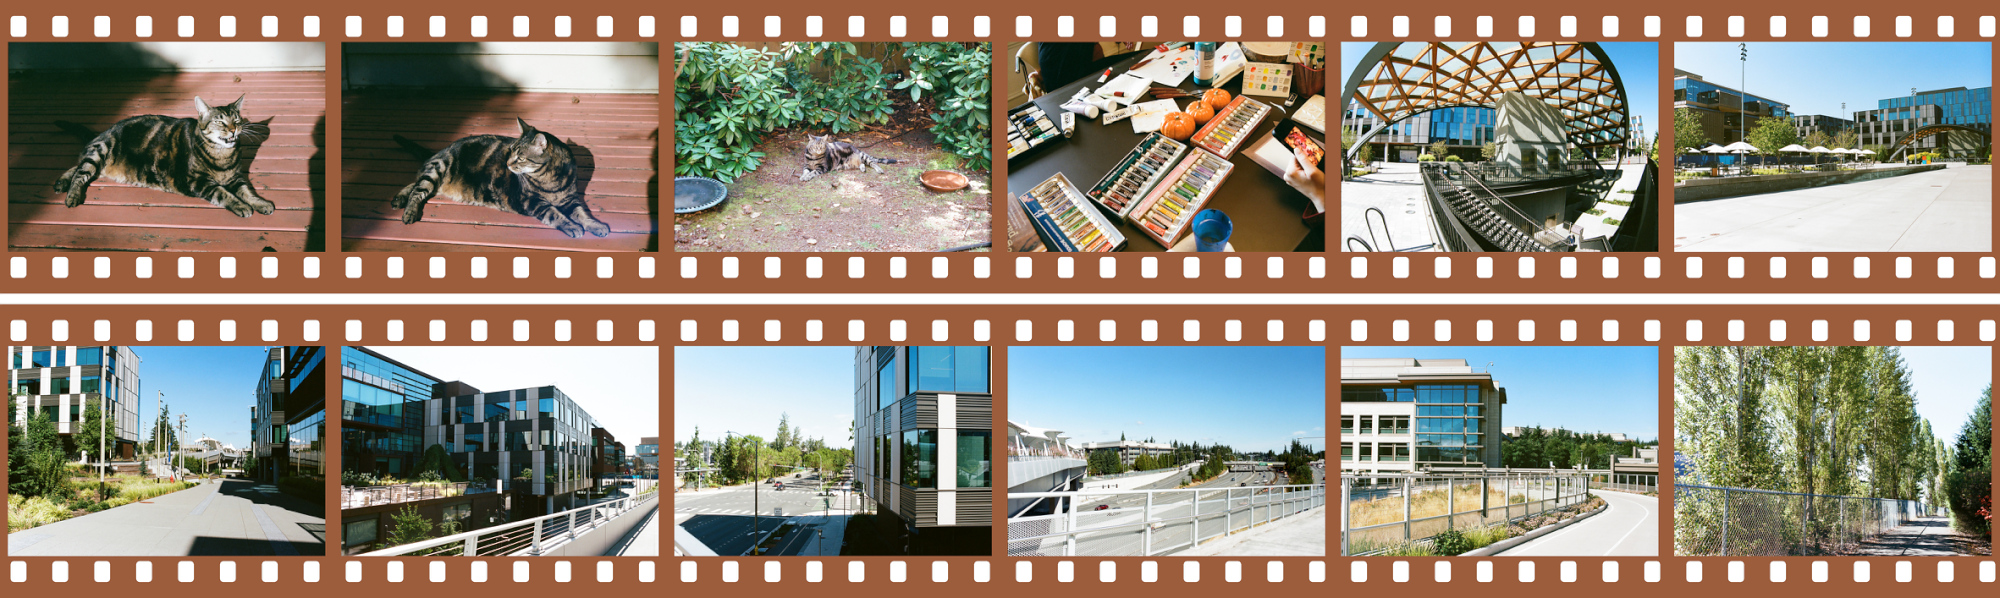
Color Negative Film, Kodak Portra 400
^
And finally, these masterpieces boldly redefined blur and questionable exposure as forms of artistic expression. Some even chose to exist only halfway, lingering at the threshold of beginning or end.
Note: I have no affiliation with or financial interest in any of the websites mentioned. ↩↩
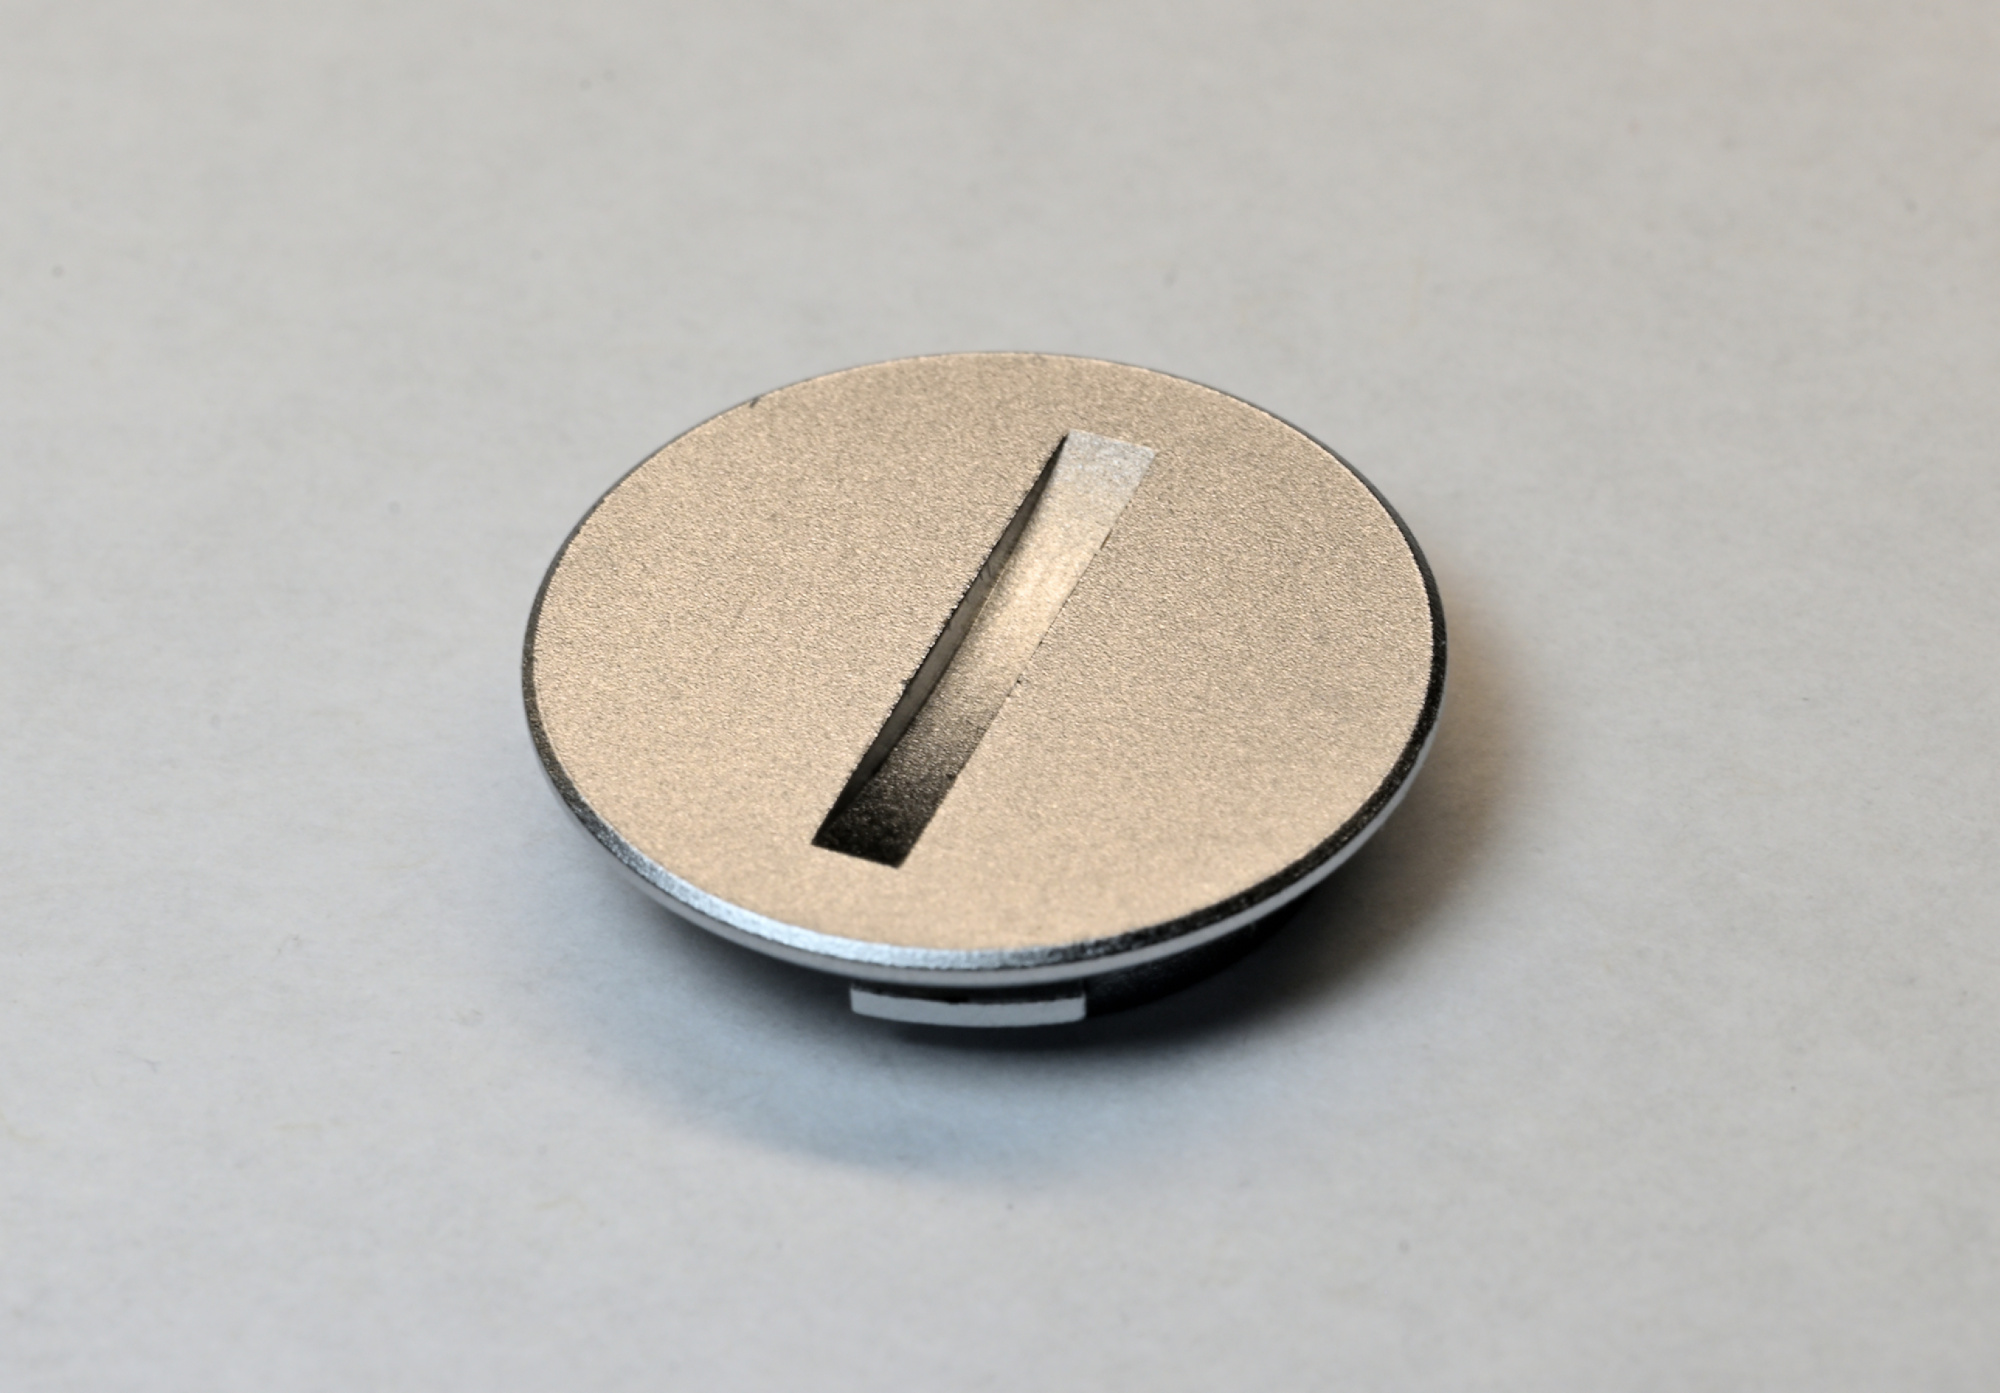
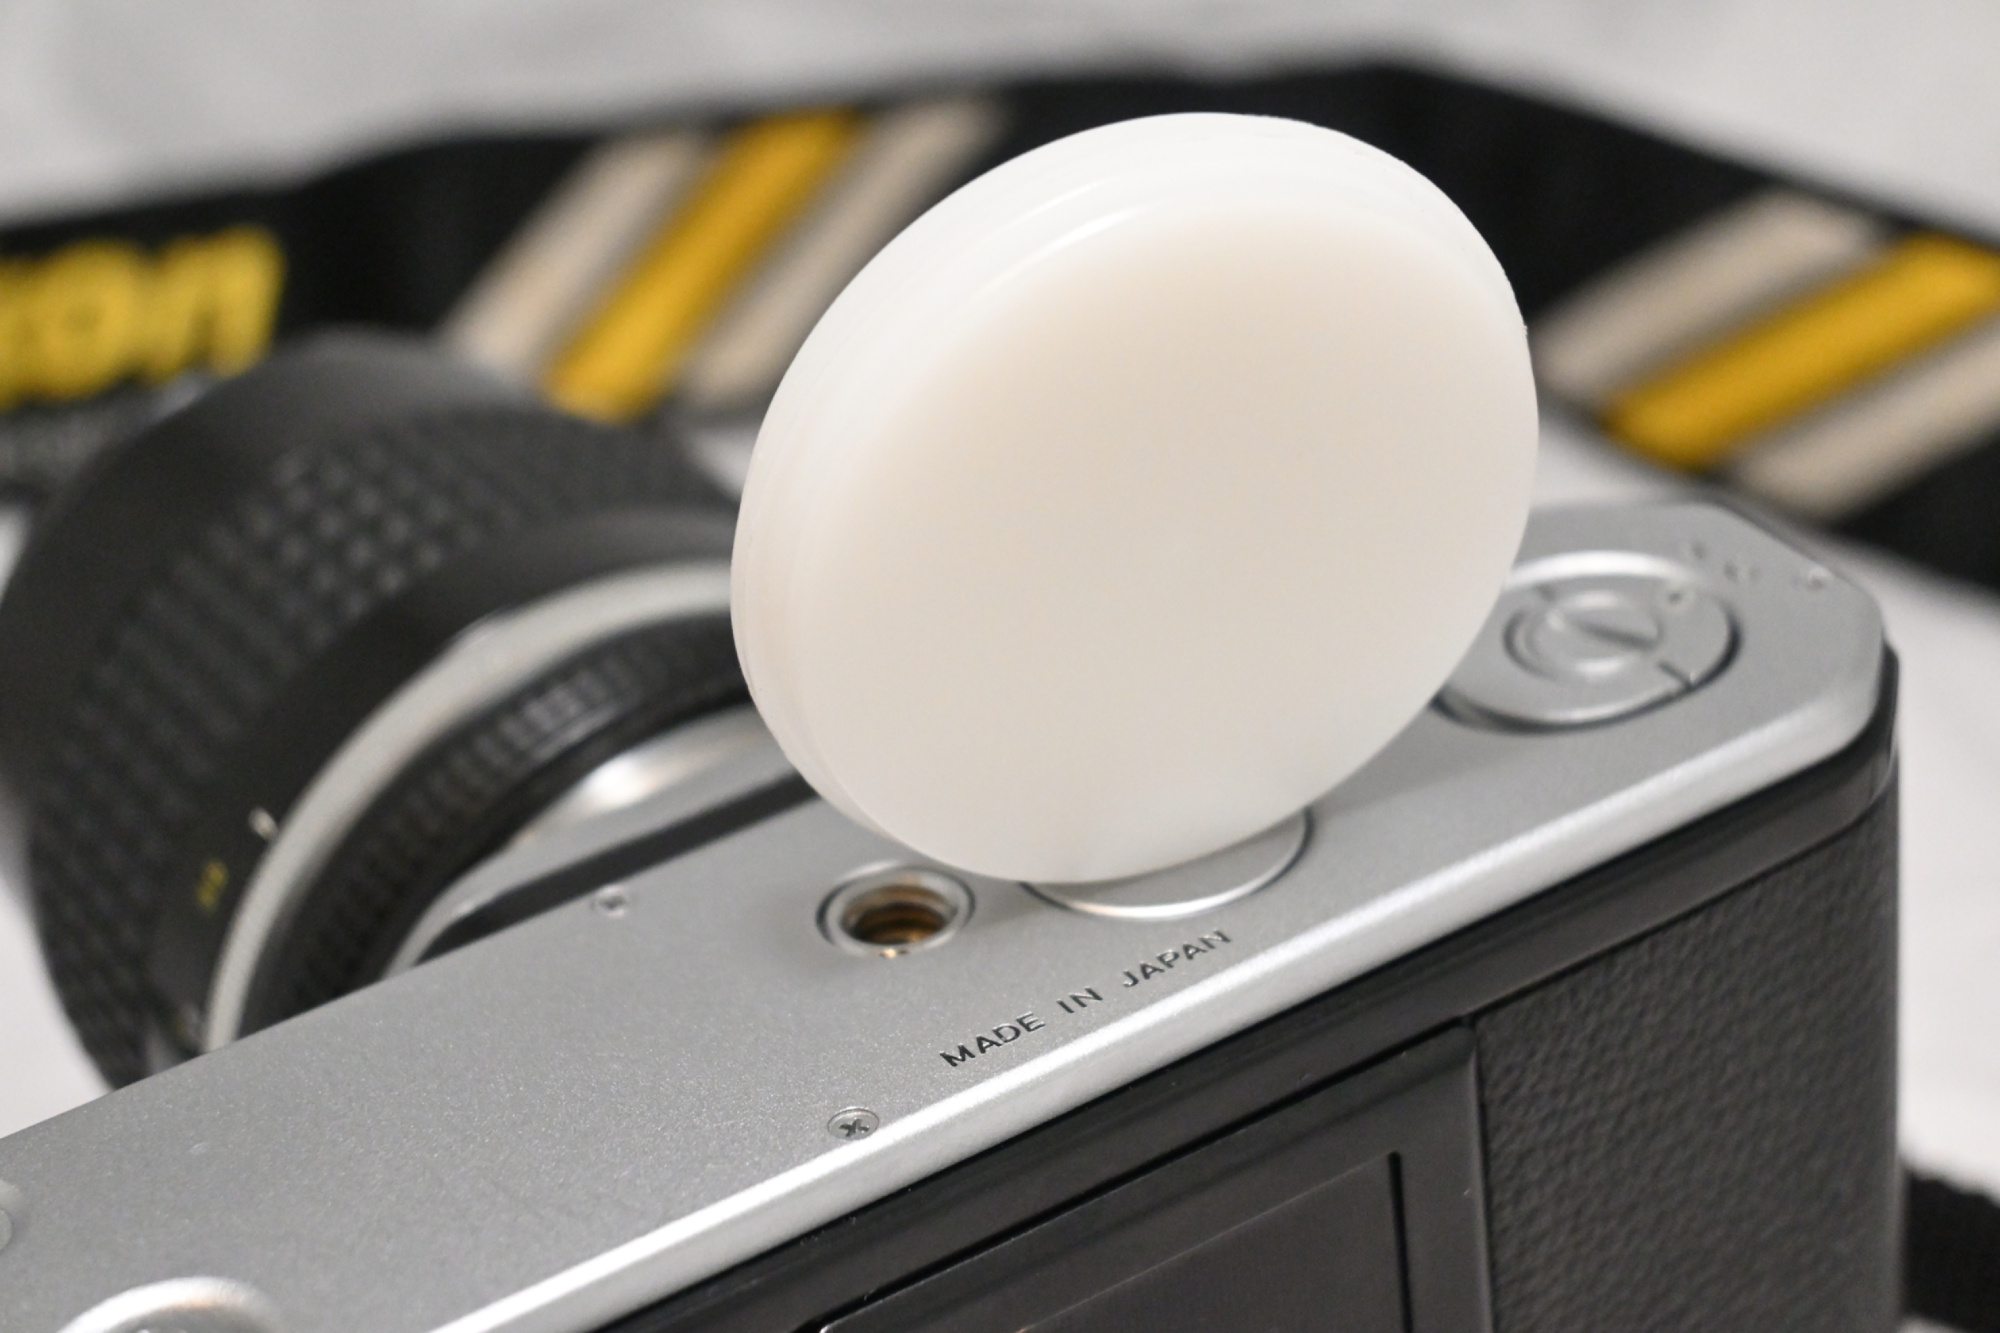
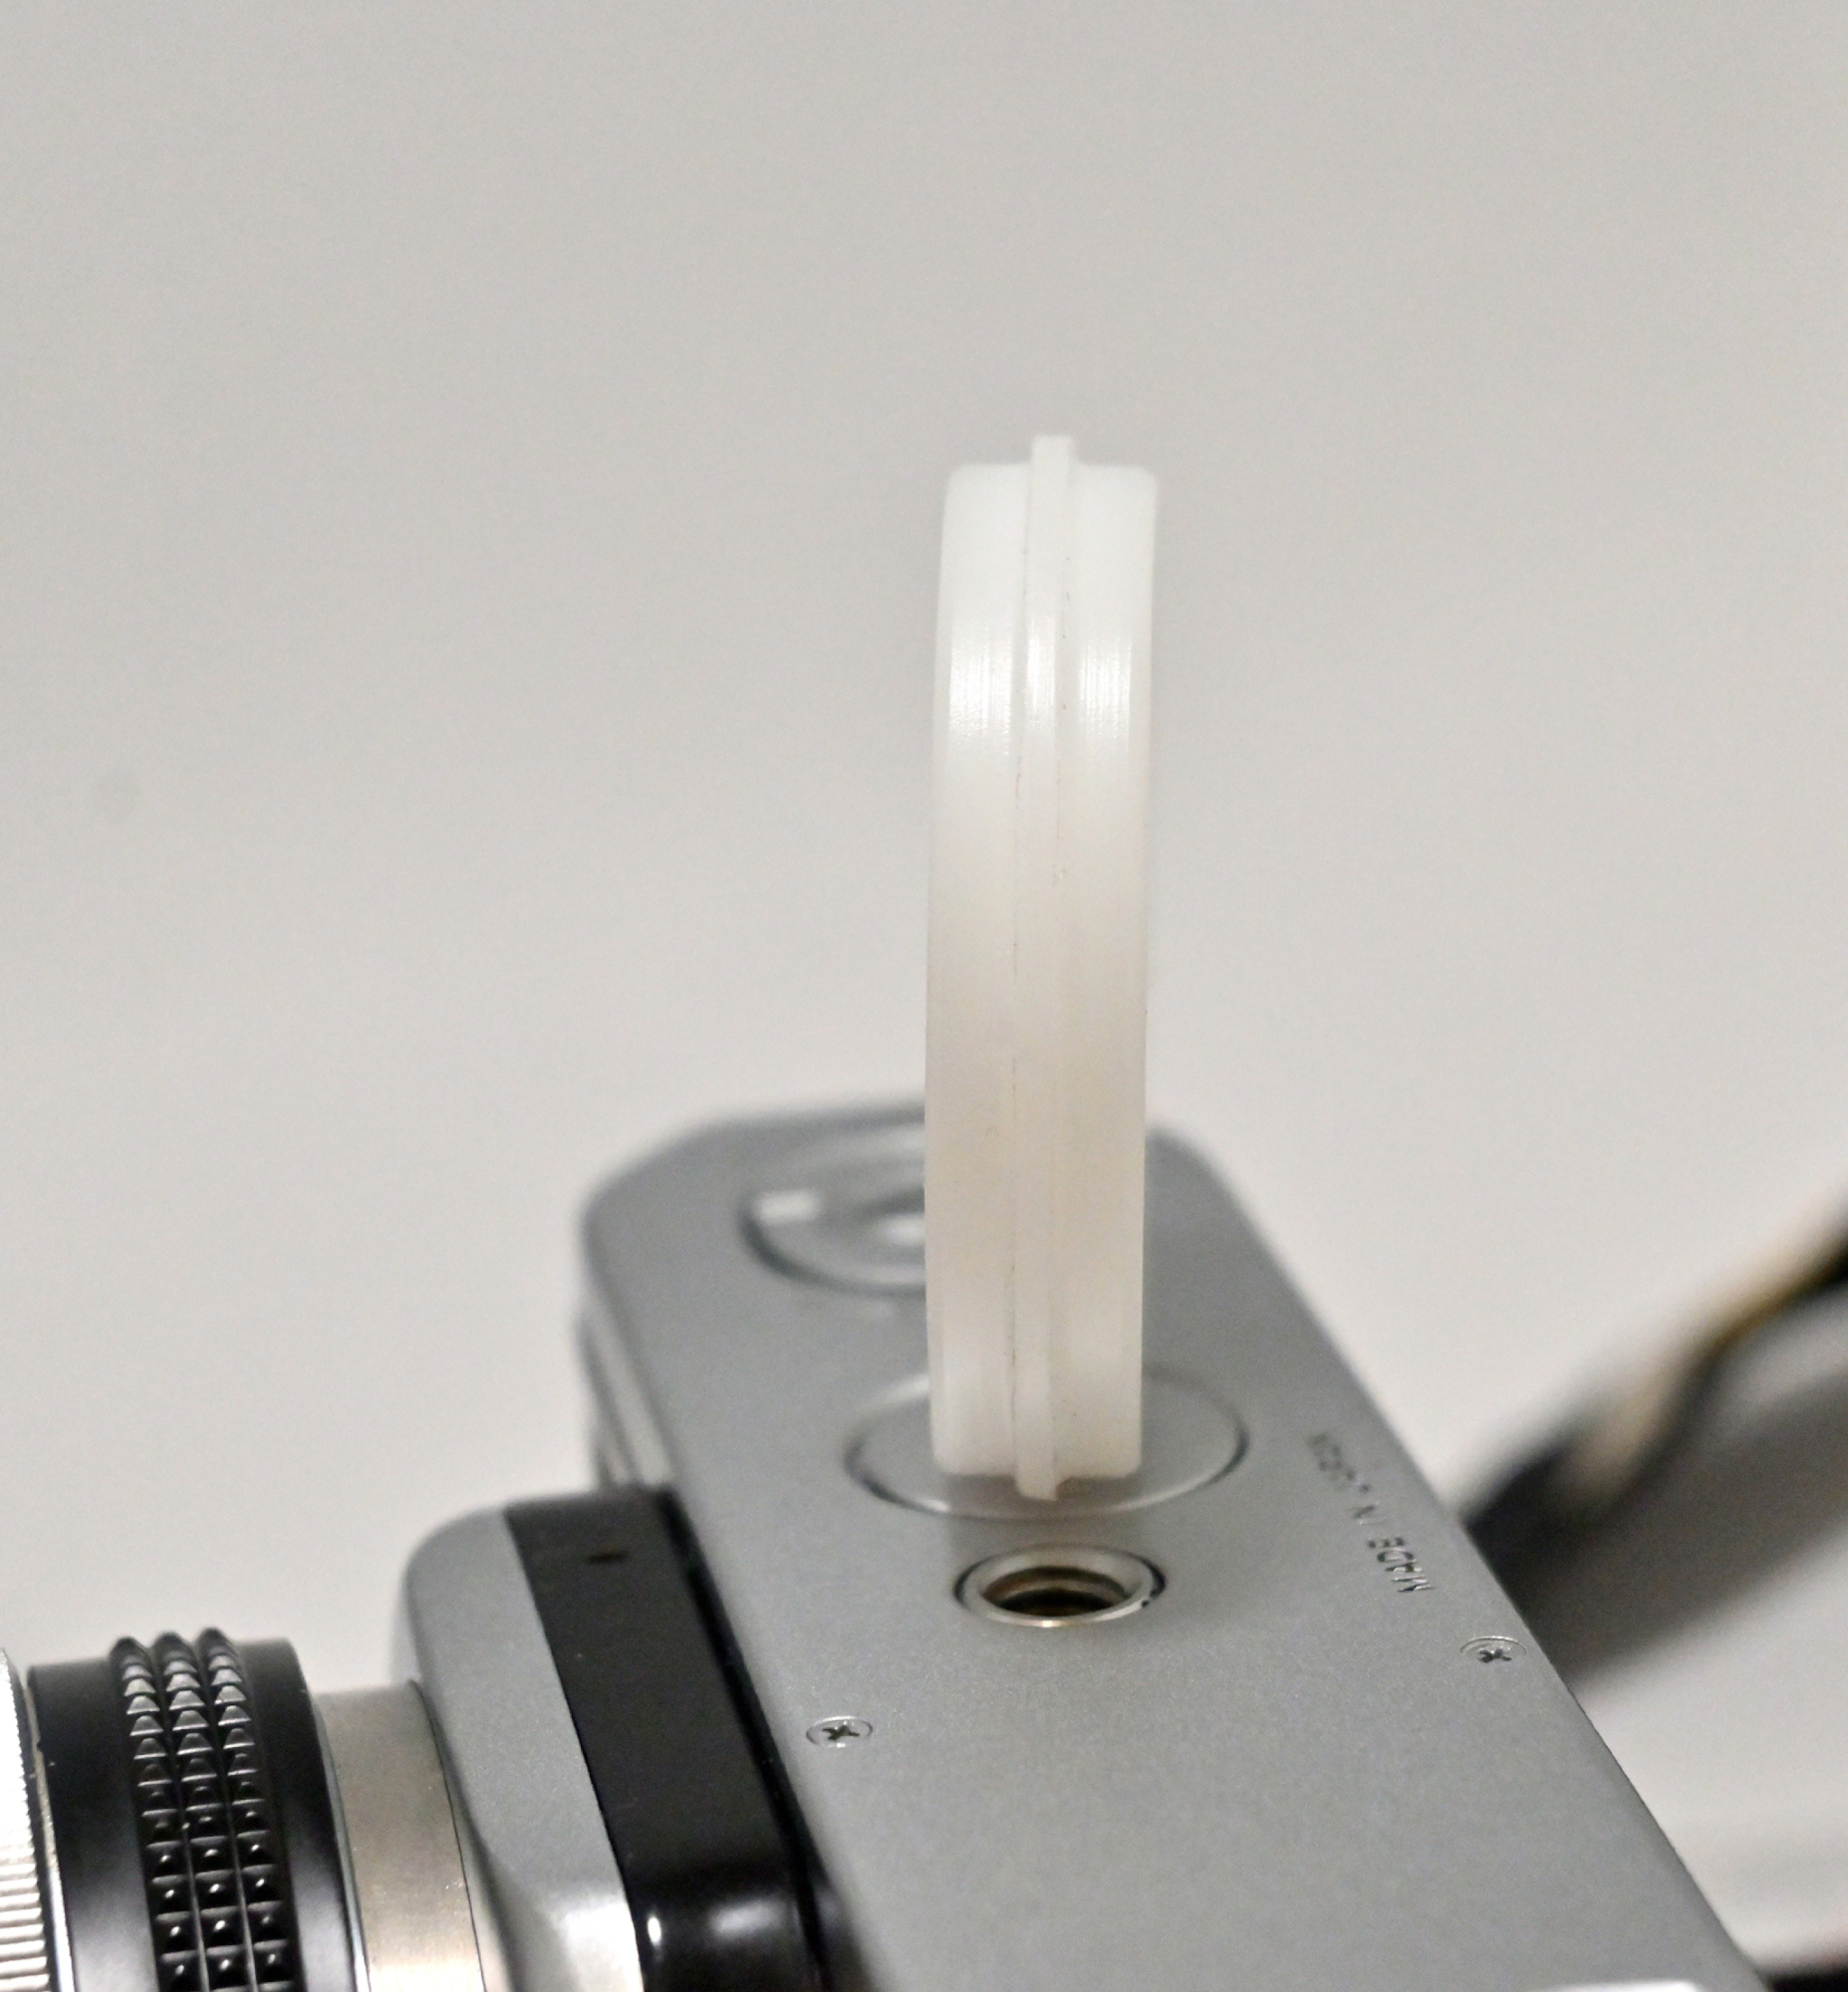
My Nikon F2 has a battery cap that can be opened or closed using a coin.
To avoid scratching the cap using a coin or any other metal shaped object, I want to fabricate a plastic tool specifically designed for this purpose. This tool would allow me to open and close the cap without causing any scratches.
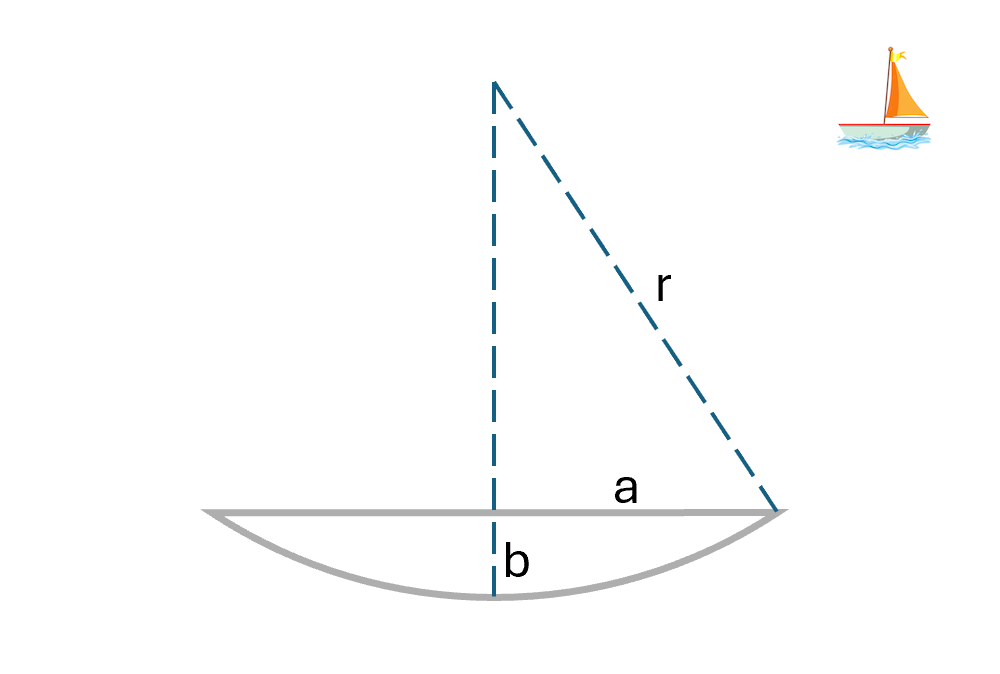
The only measurable aspects of the slot are its length and depth (a is half length, b is depth).
However, I need the radius: r=f(a,b)
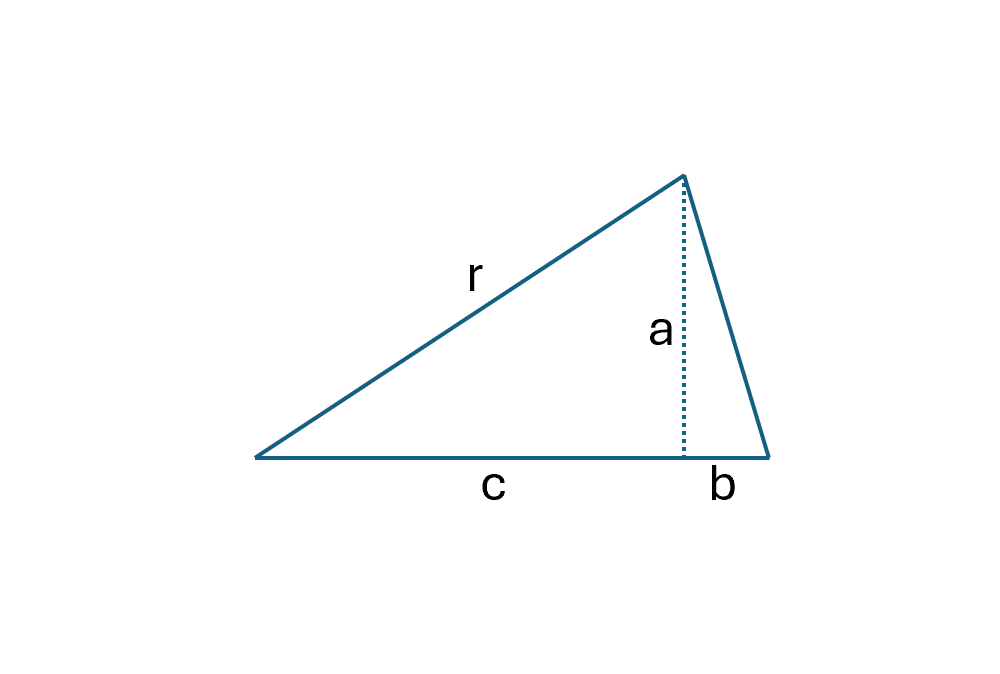
The radius r and side a form a right-angled triangle:
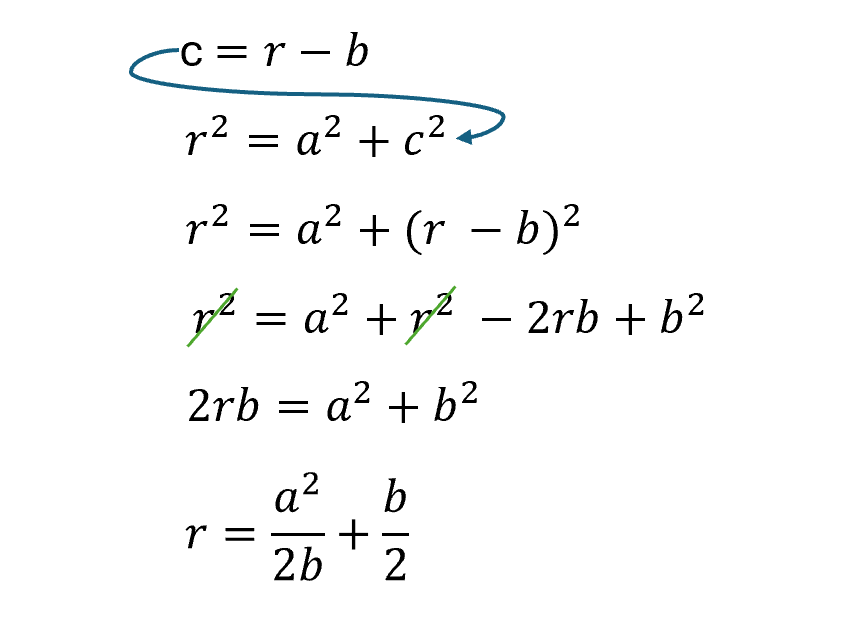
The hypotenuse (longest side) is also r, so c = r - b.
Using the Pythagorean theorem:
All this gets a radius r of 22,9mm.
Machined from a 50mm plastic round stock on the lathe, the middle ridge has precisely the calculated diameter of 45.8mm.


 ^
^