-
Selling Lenses 🛒
Selling lenses (and 📷) is easy. At least according to the offers from small and large camera dealers. Advertising with 'up to 70% of retail' should have the focus on 'up to'.
Here is my result: Quotes from camera sites and then selling at eBay at the average eBay price.
If the value is 0, they did not want the lens.Lens B&H Glazer's Kenmore MBP eBay 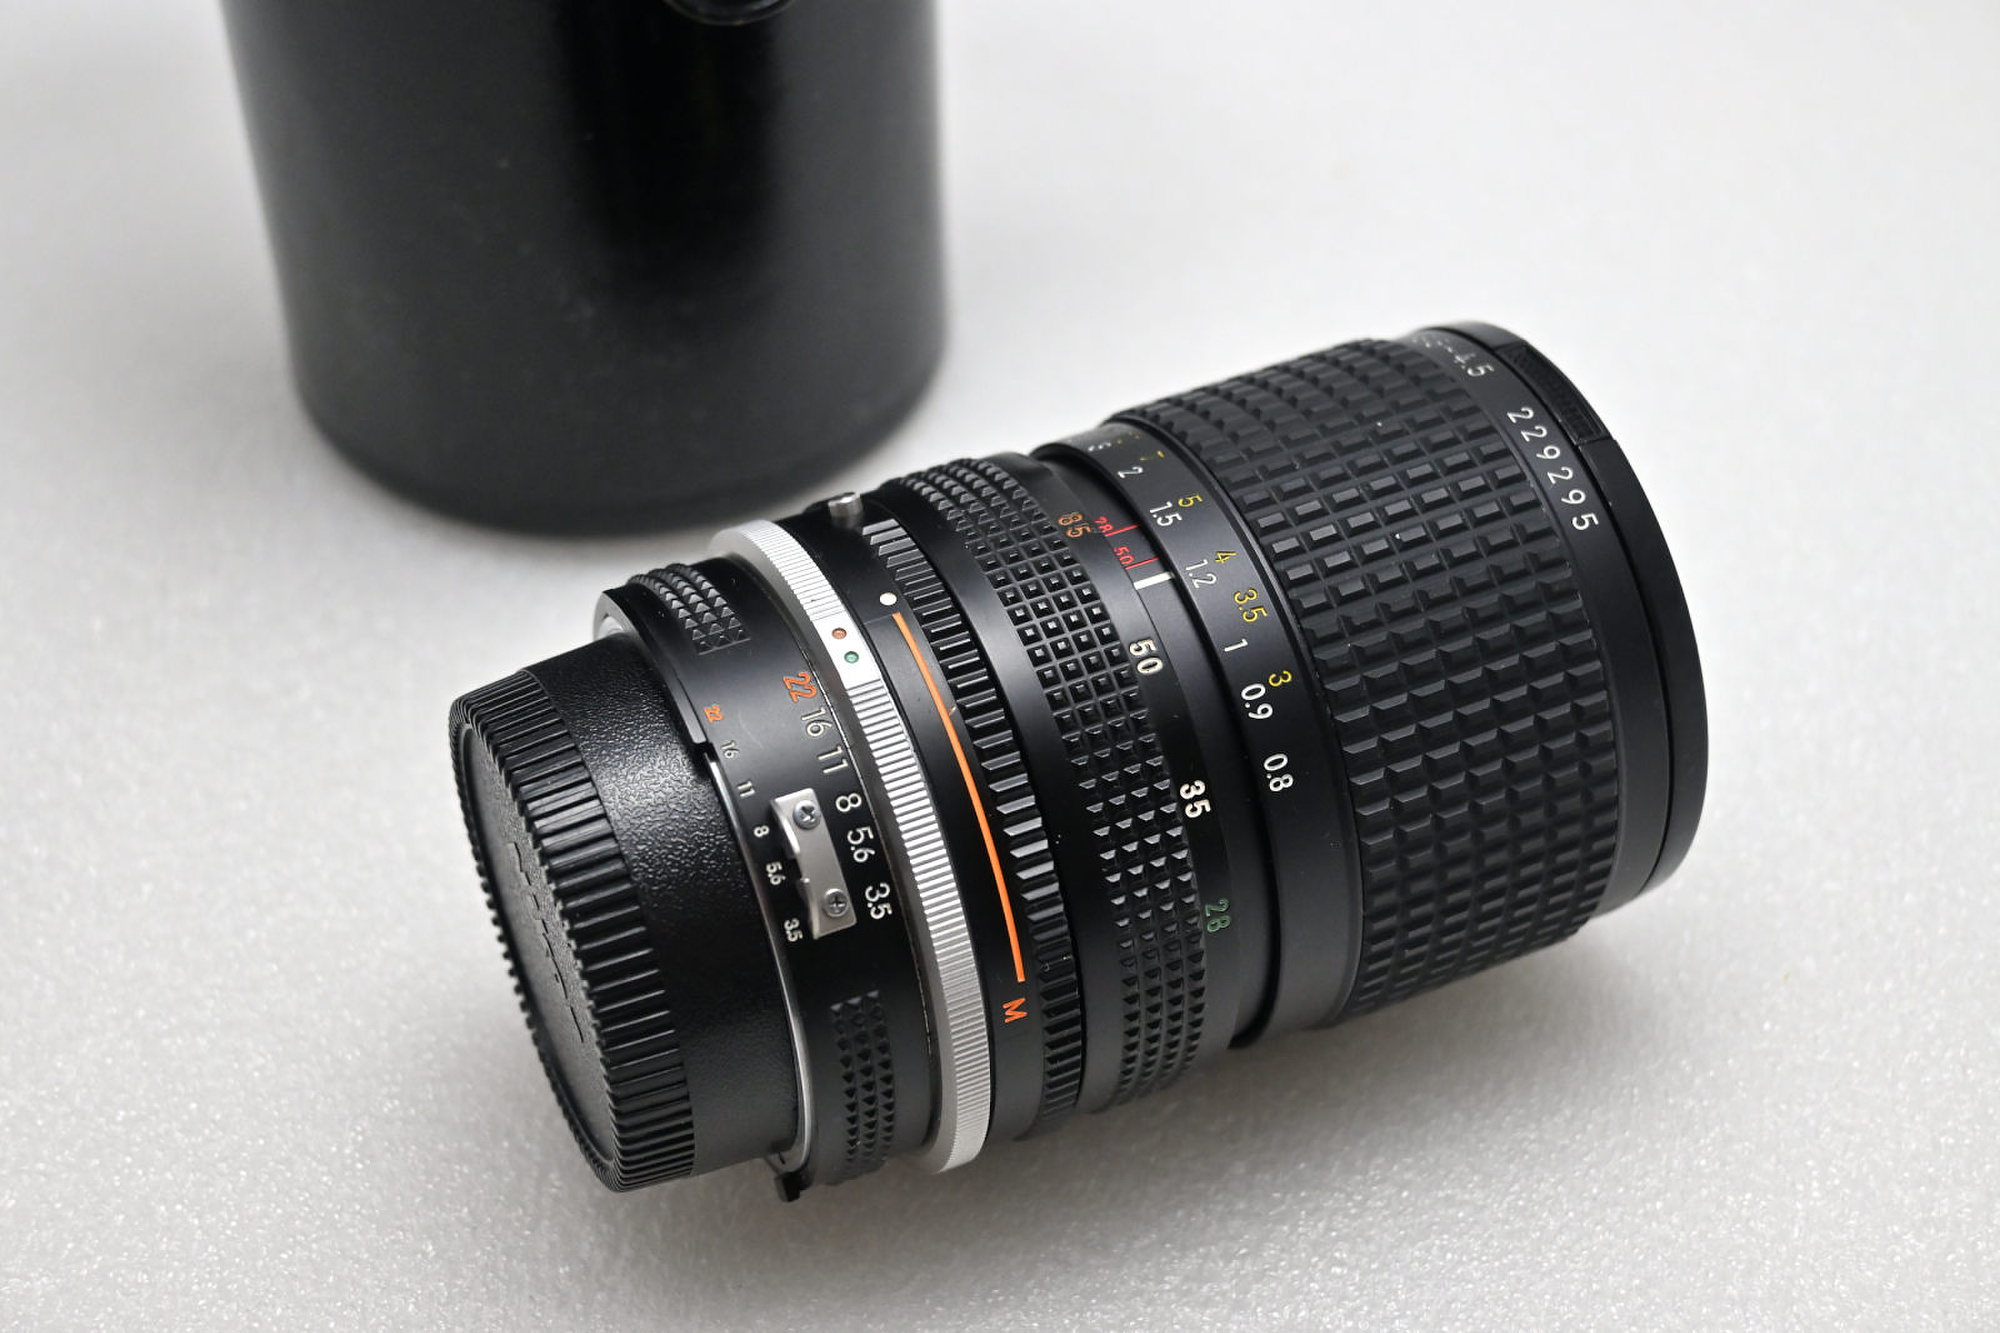
Nikon AI-S 28-85 f/3.5-4.5 125 35 30 0 95 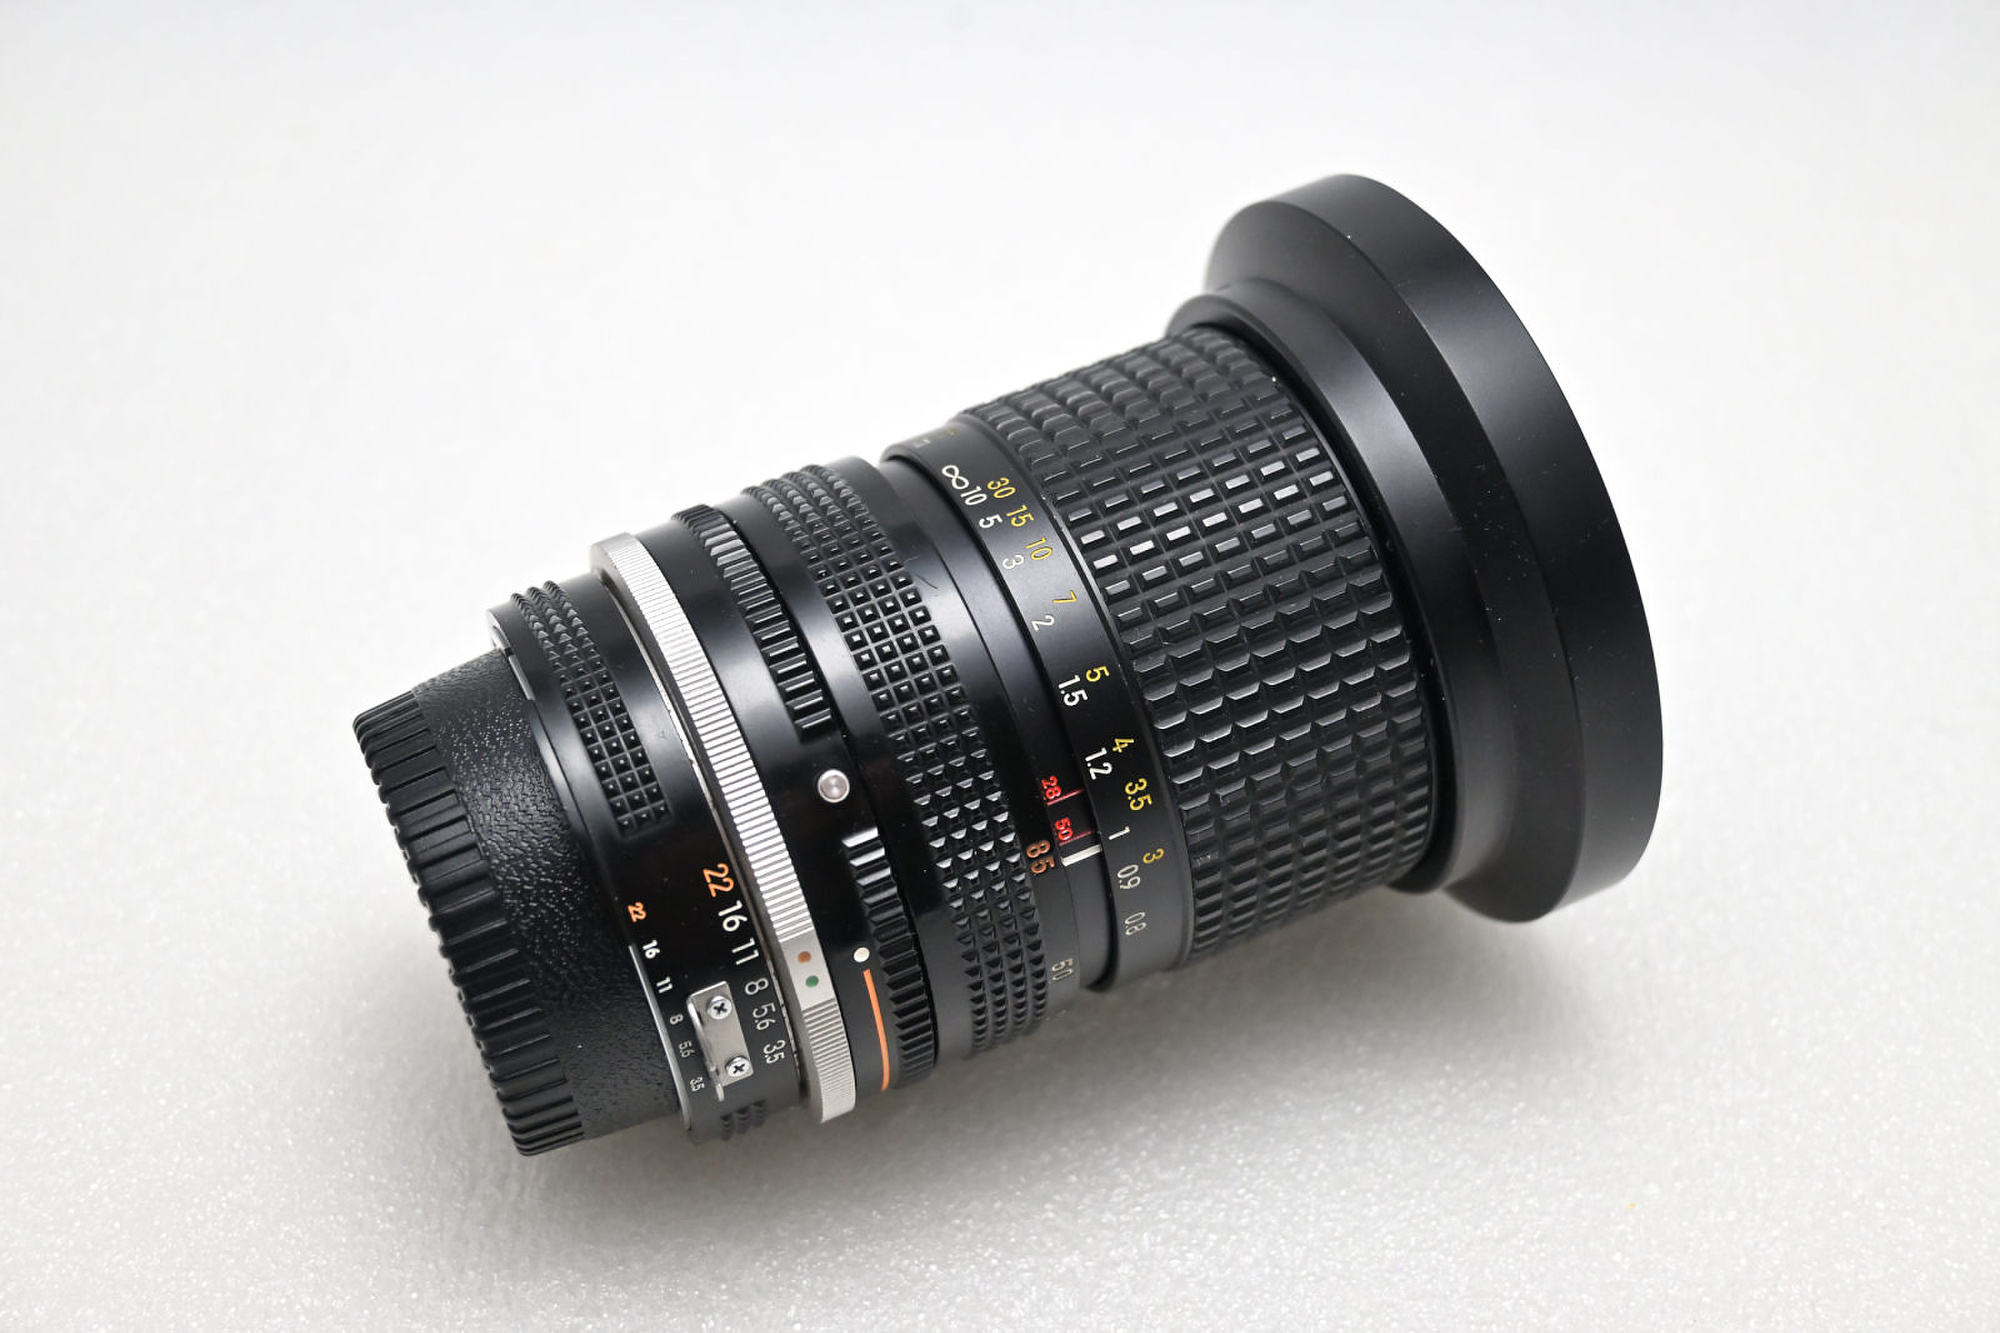
Nikon AI-S 28-85 f/3.5-4.5 125 35 30 0 95 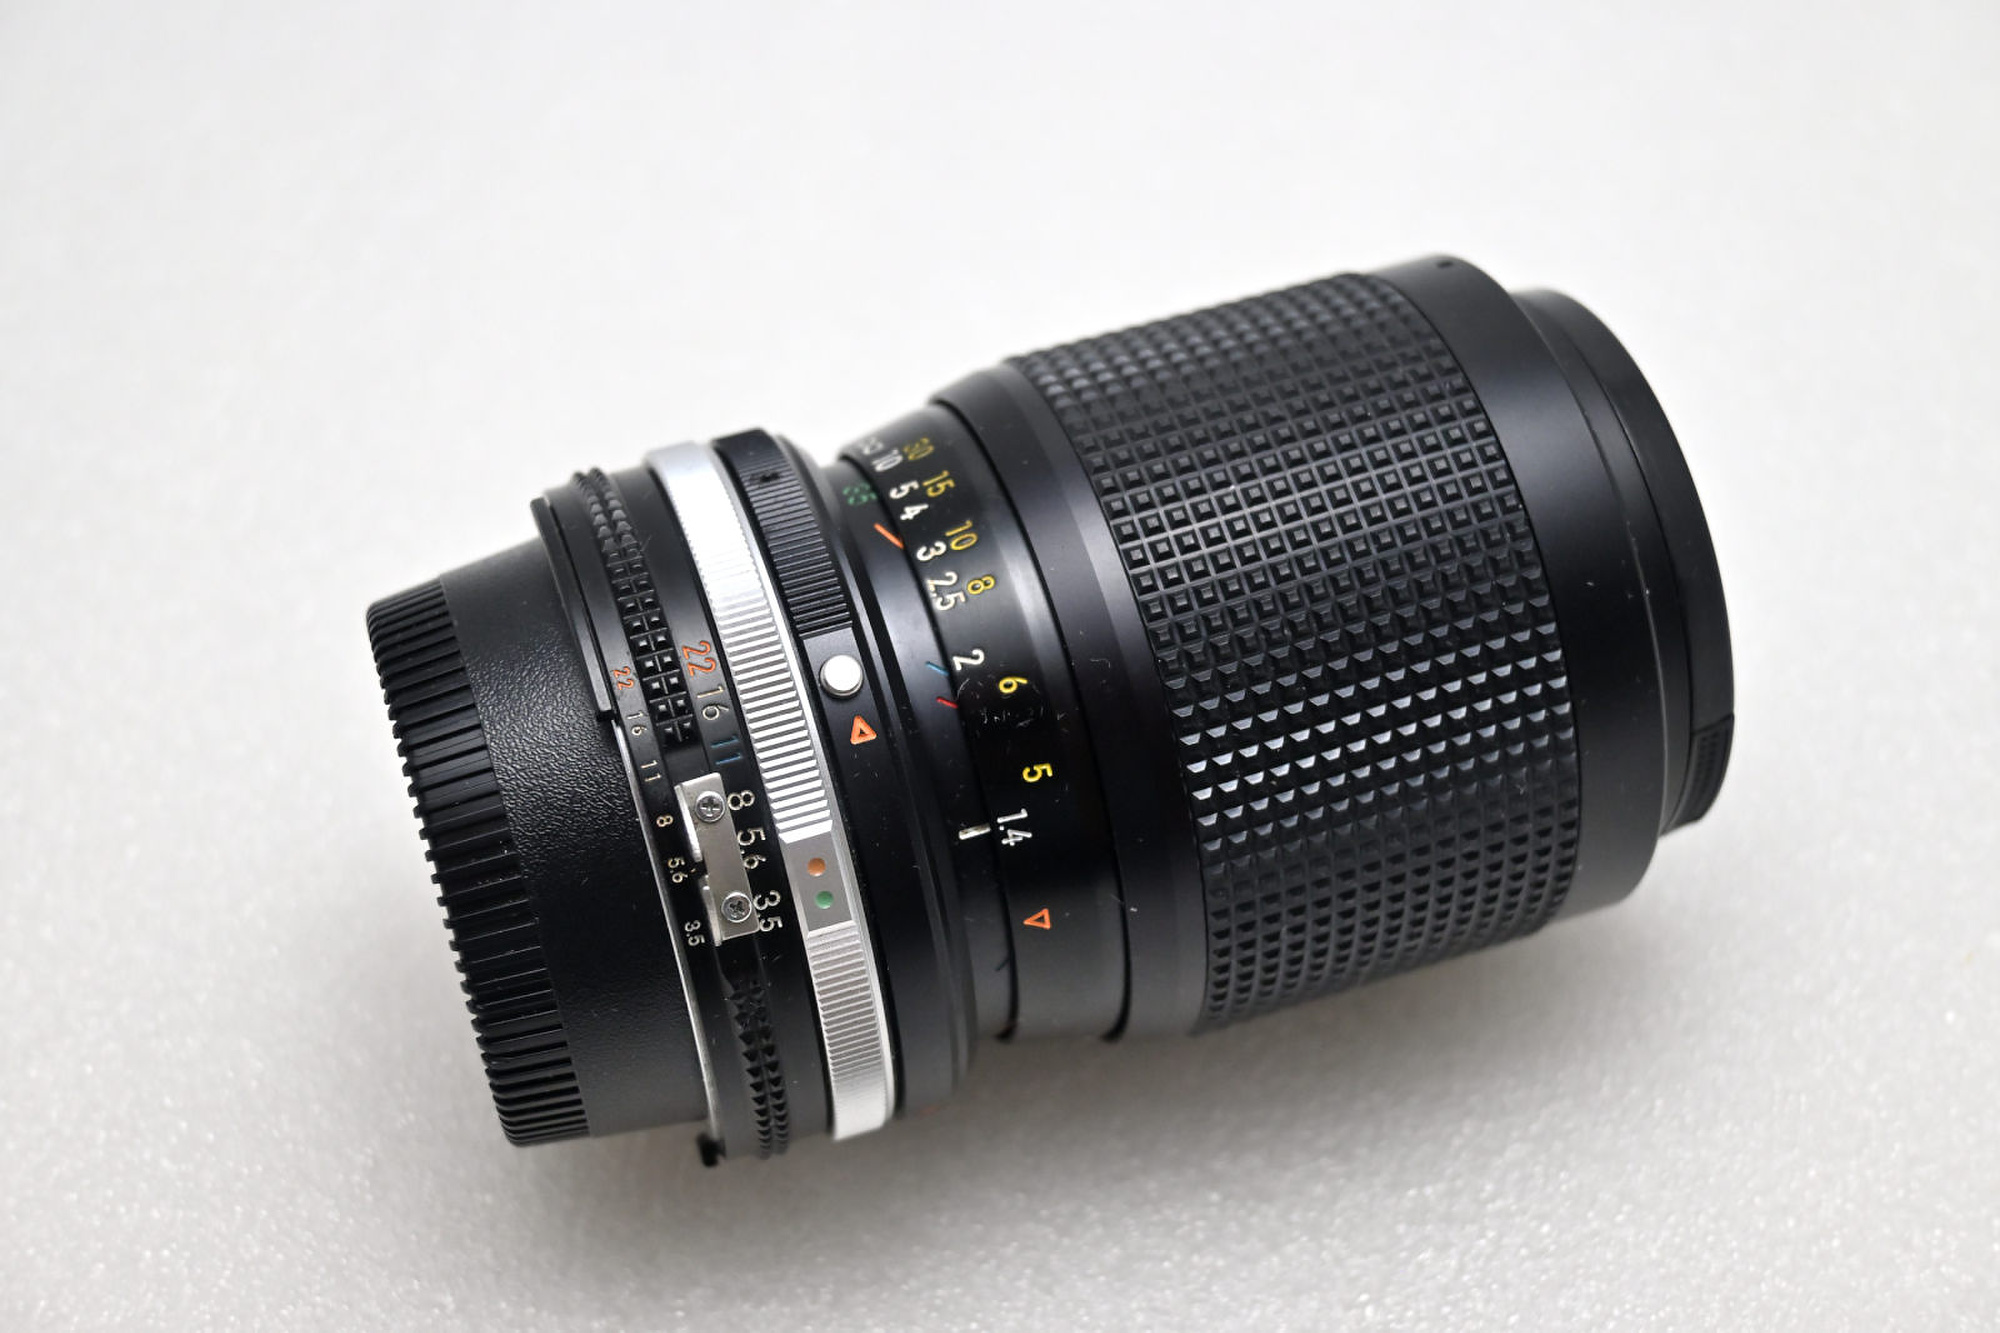
Nikon 35-105mm f/3.5-4.5 AI-S 25 15 15 28 145 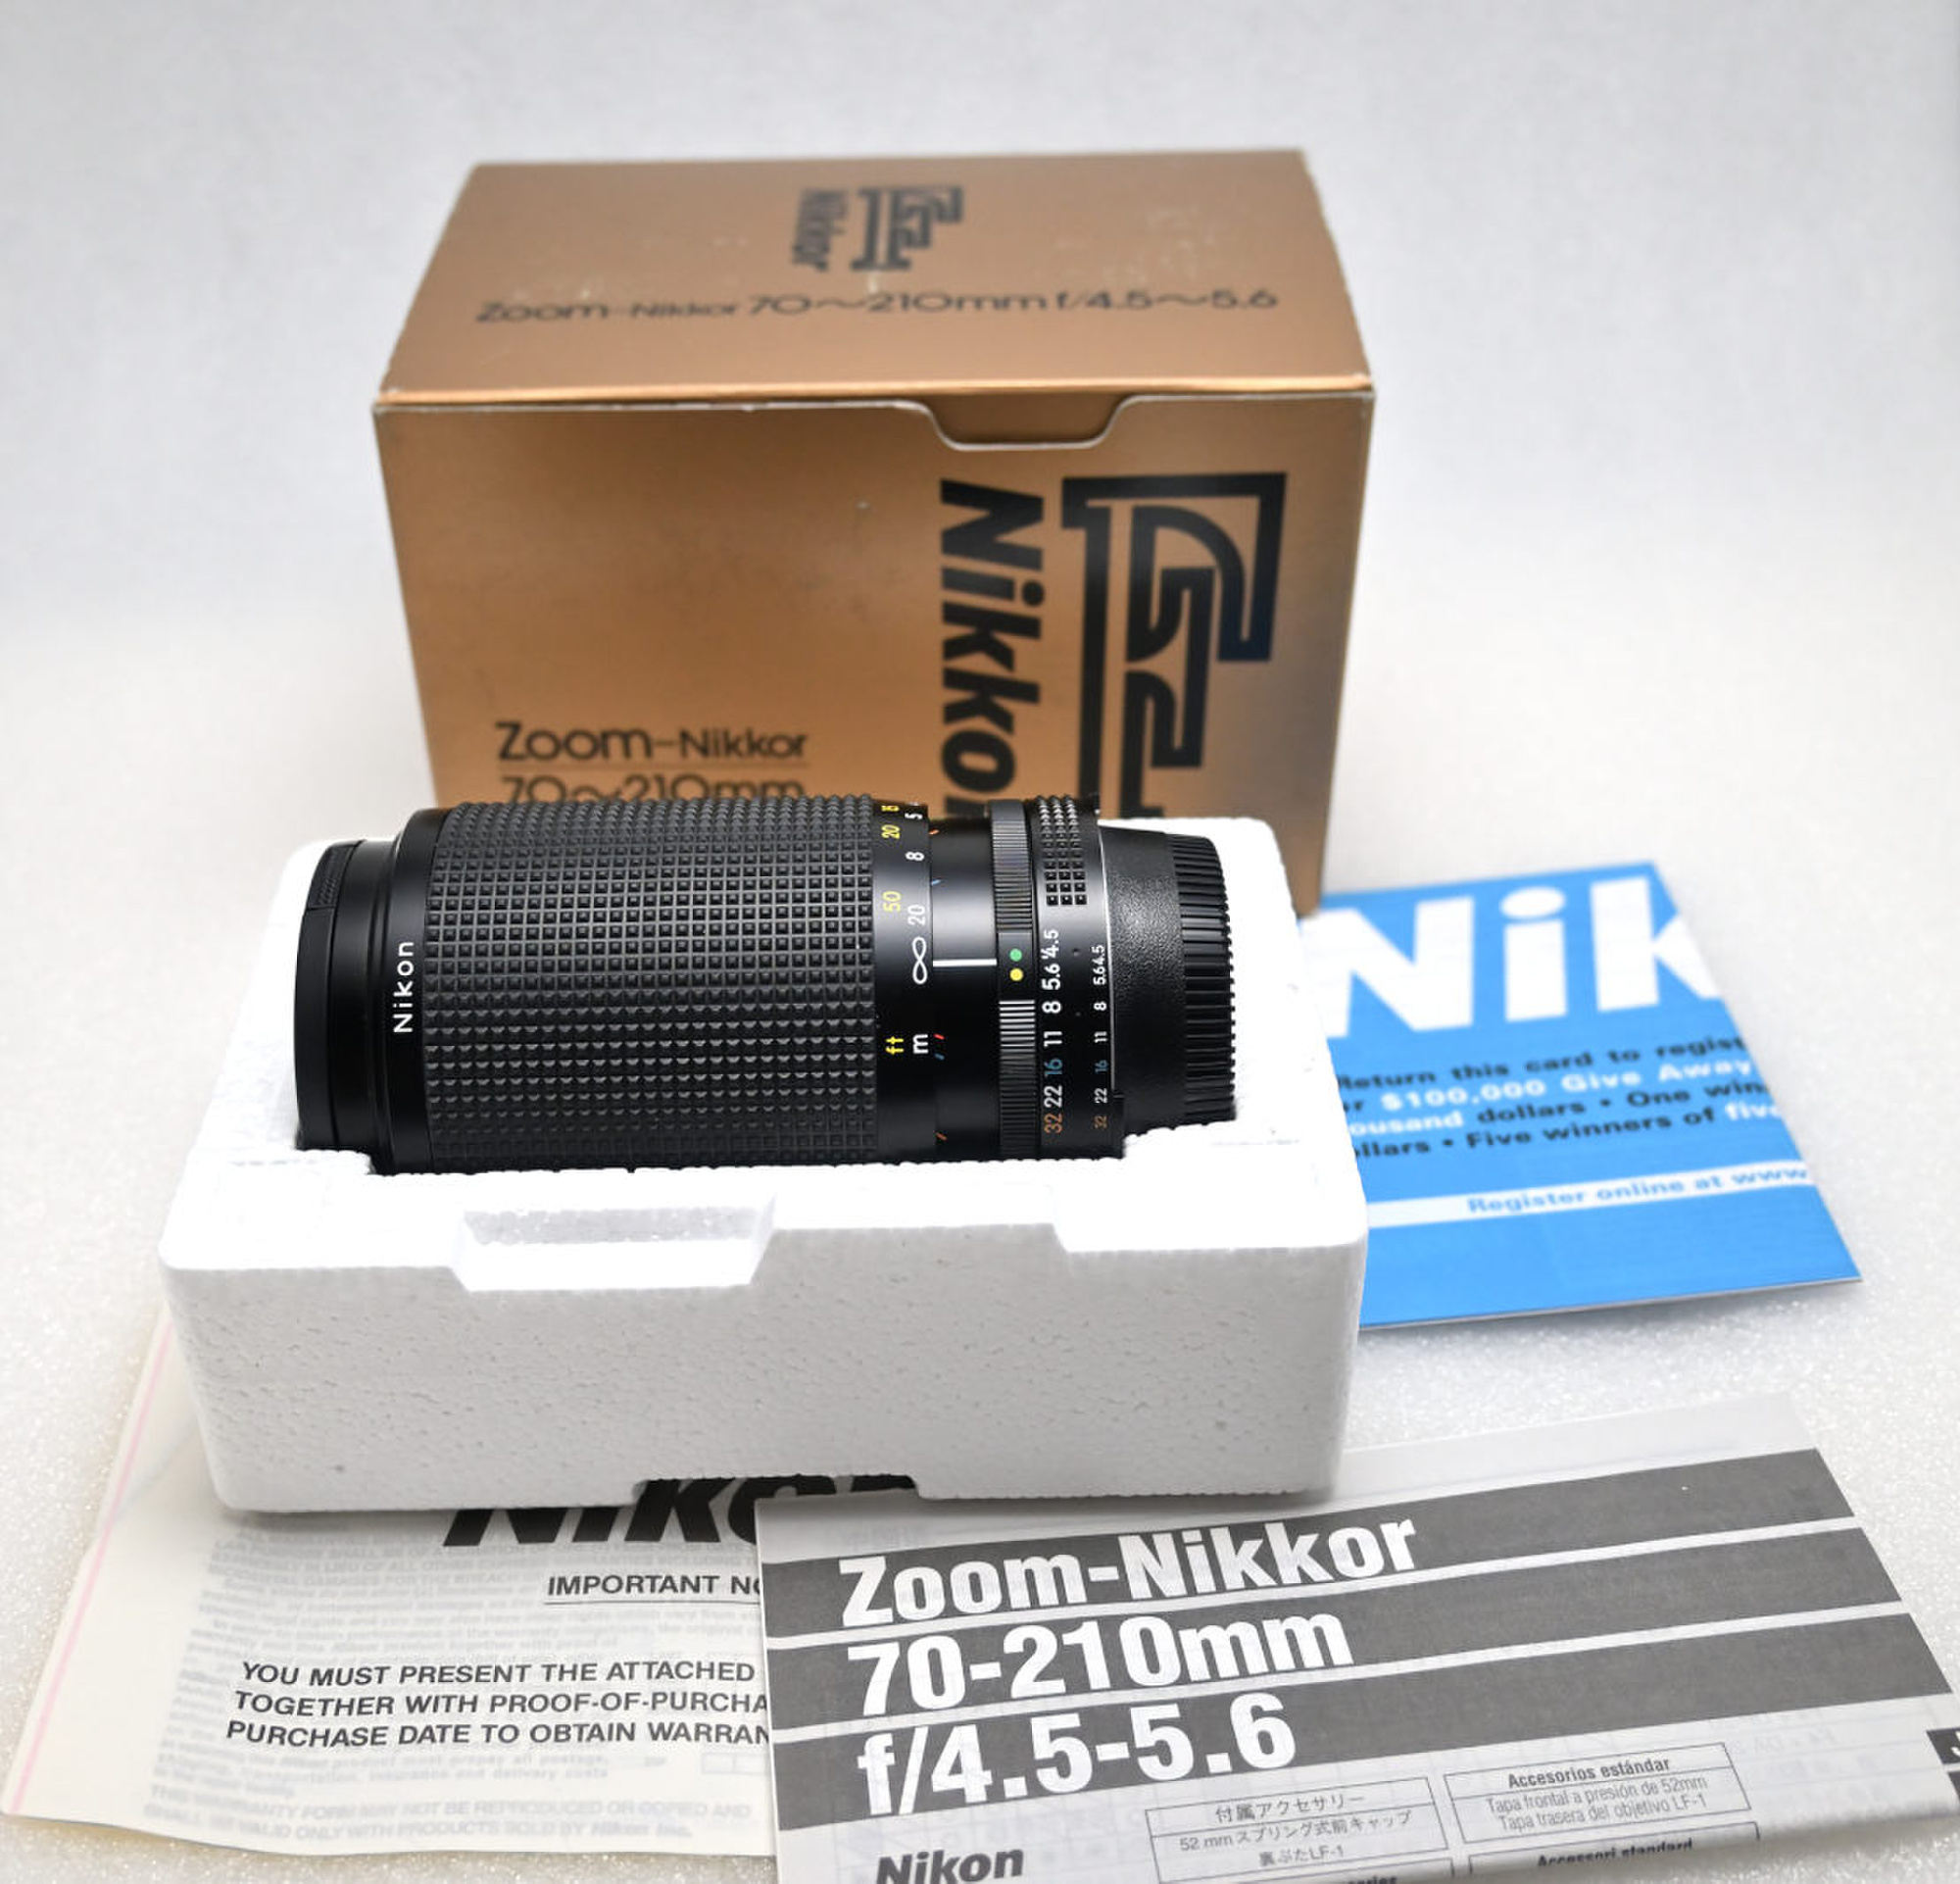
Nikon AI-S 70-210mm f/4.5-5.6 30 15 10 0 95 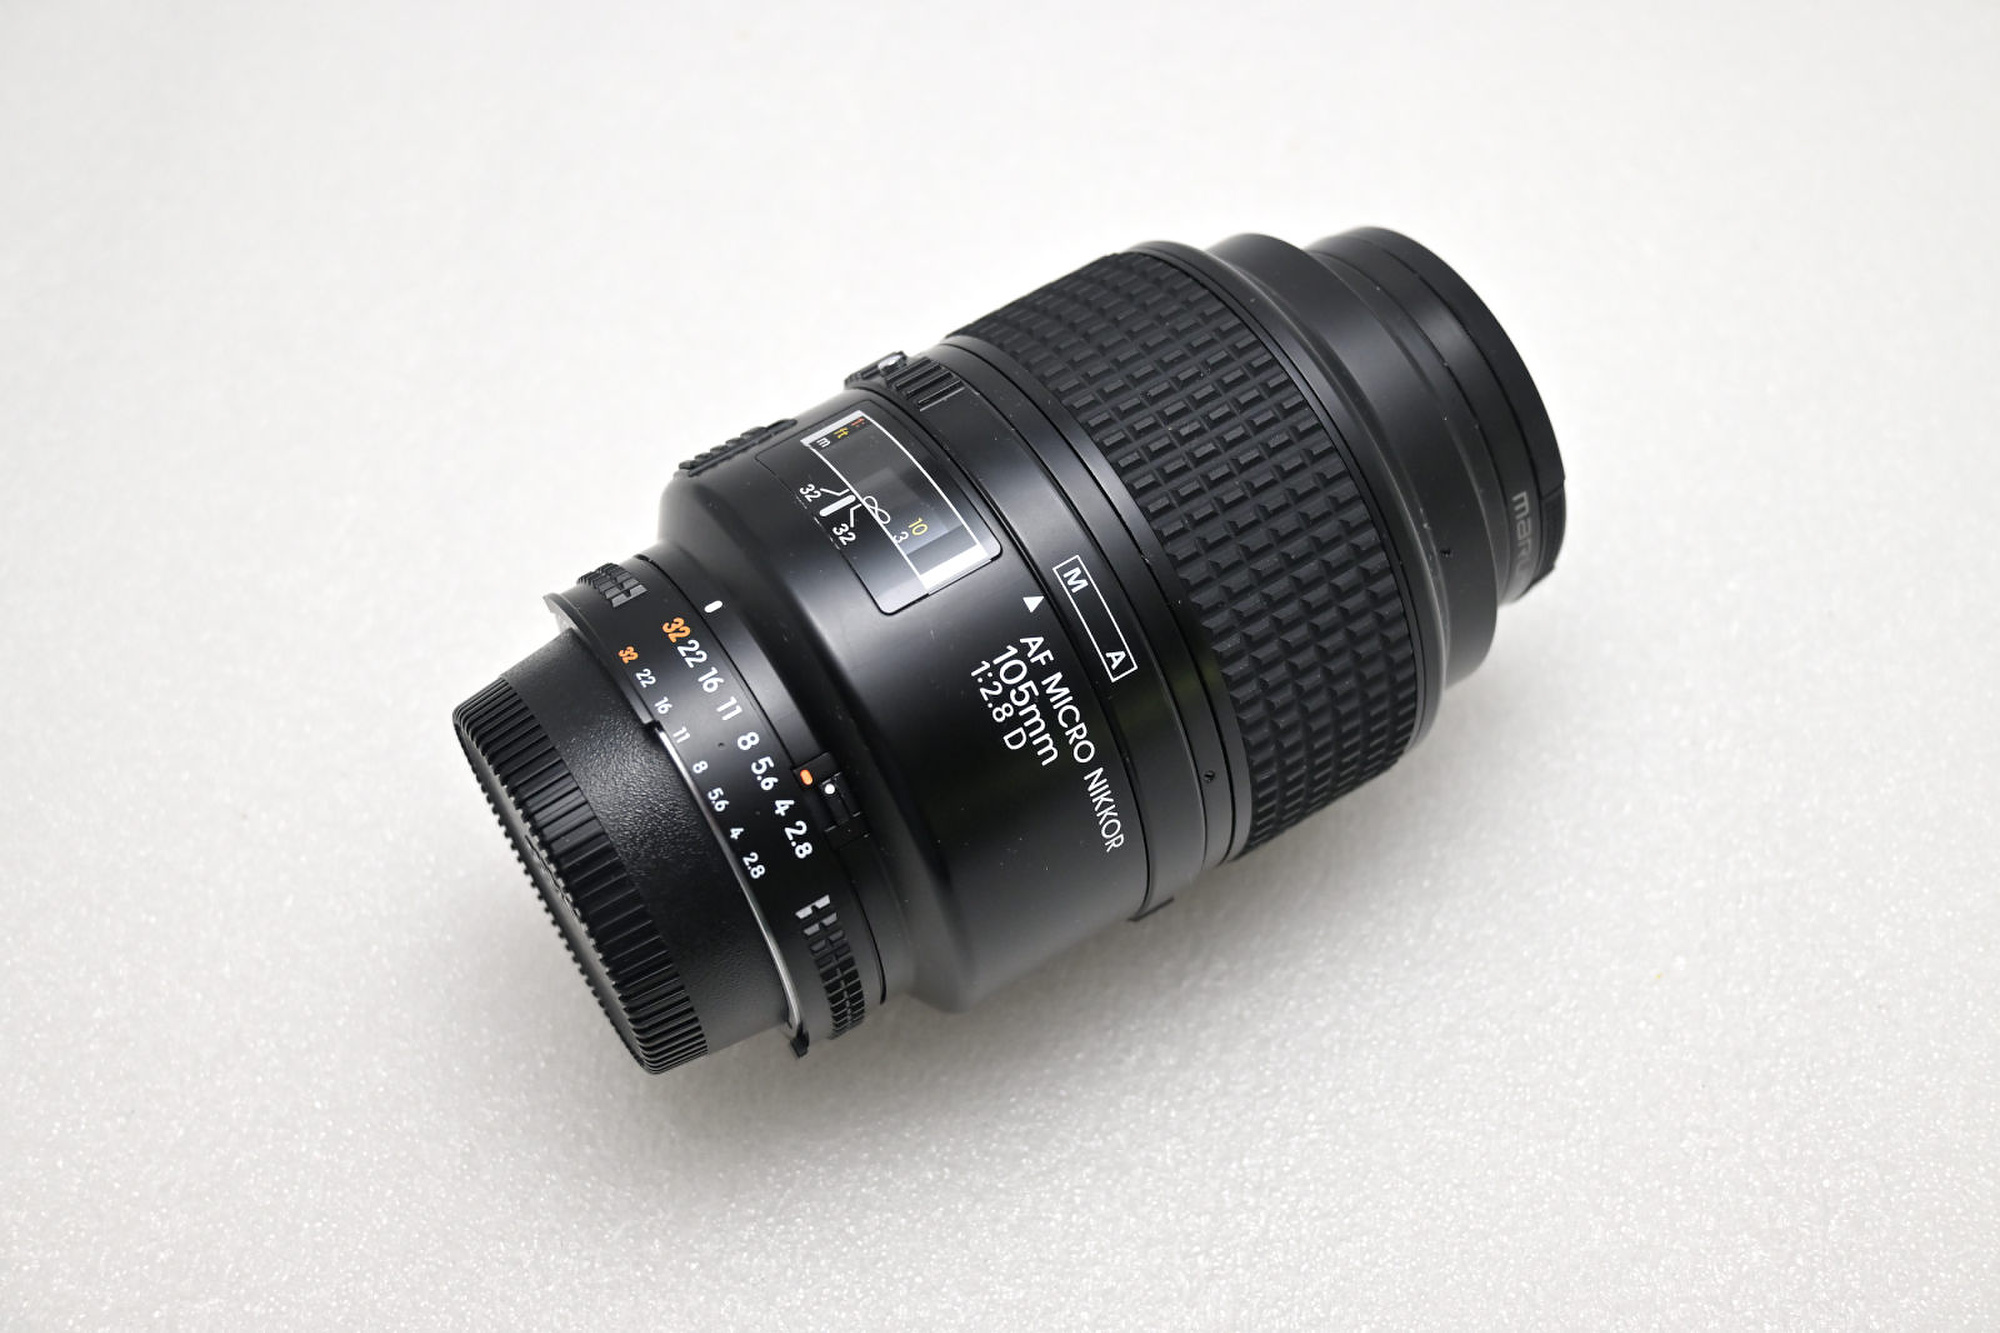
Nikon AF 105mm f/2.8 D Macro 75 72 100 118 185 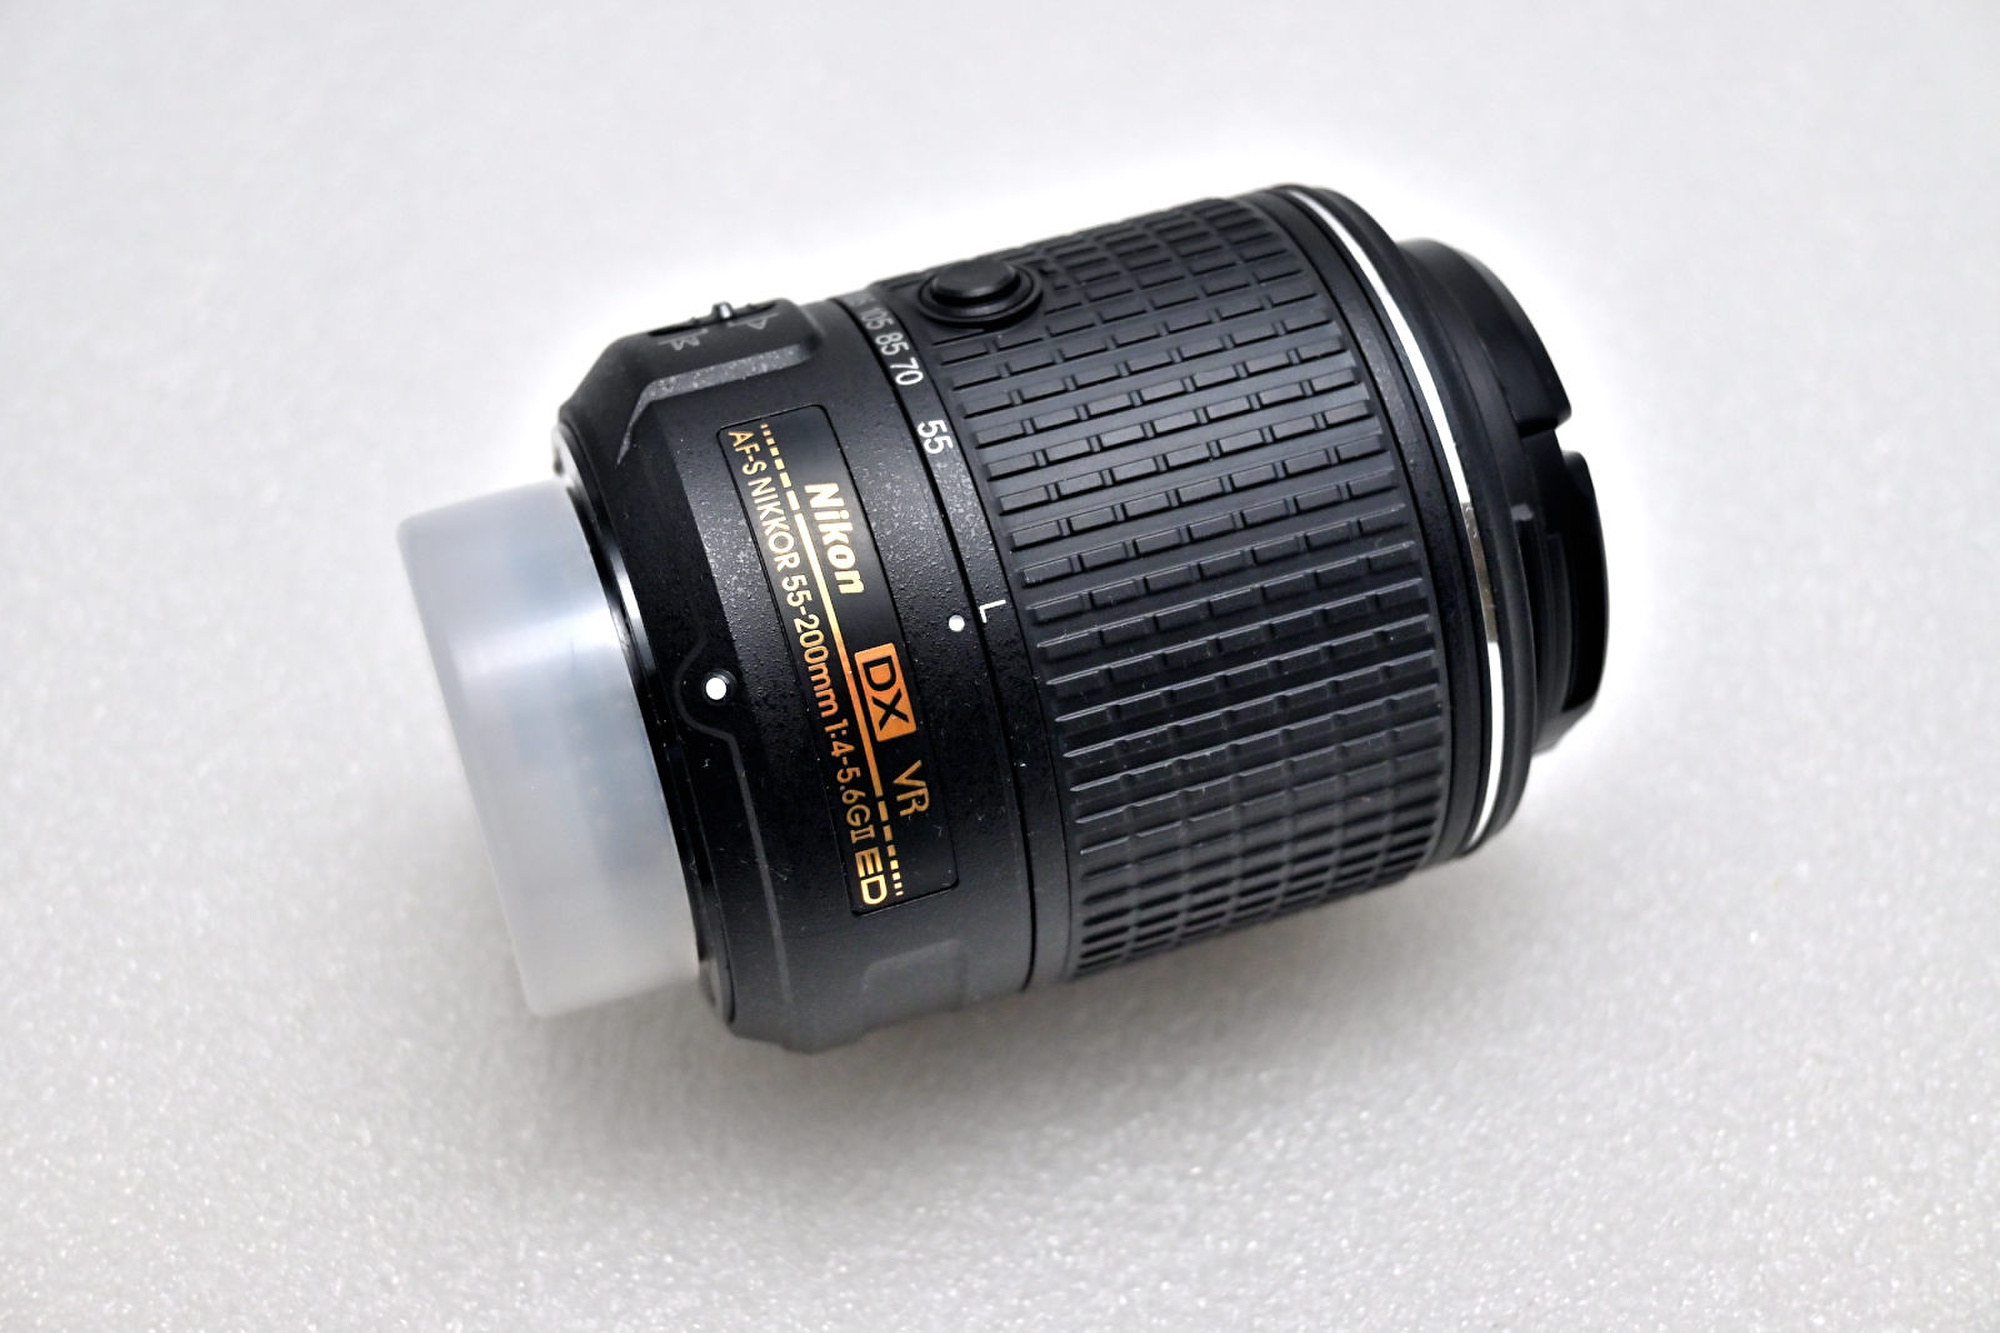
Nikon 55-200mm f/4-5.6G ED VR II AF-S D 50 27 10 42 115 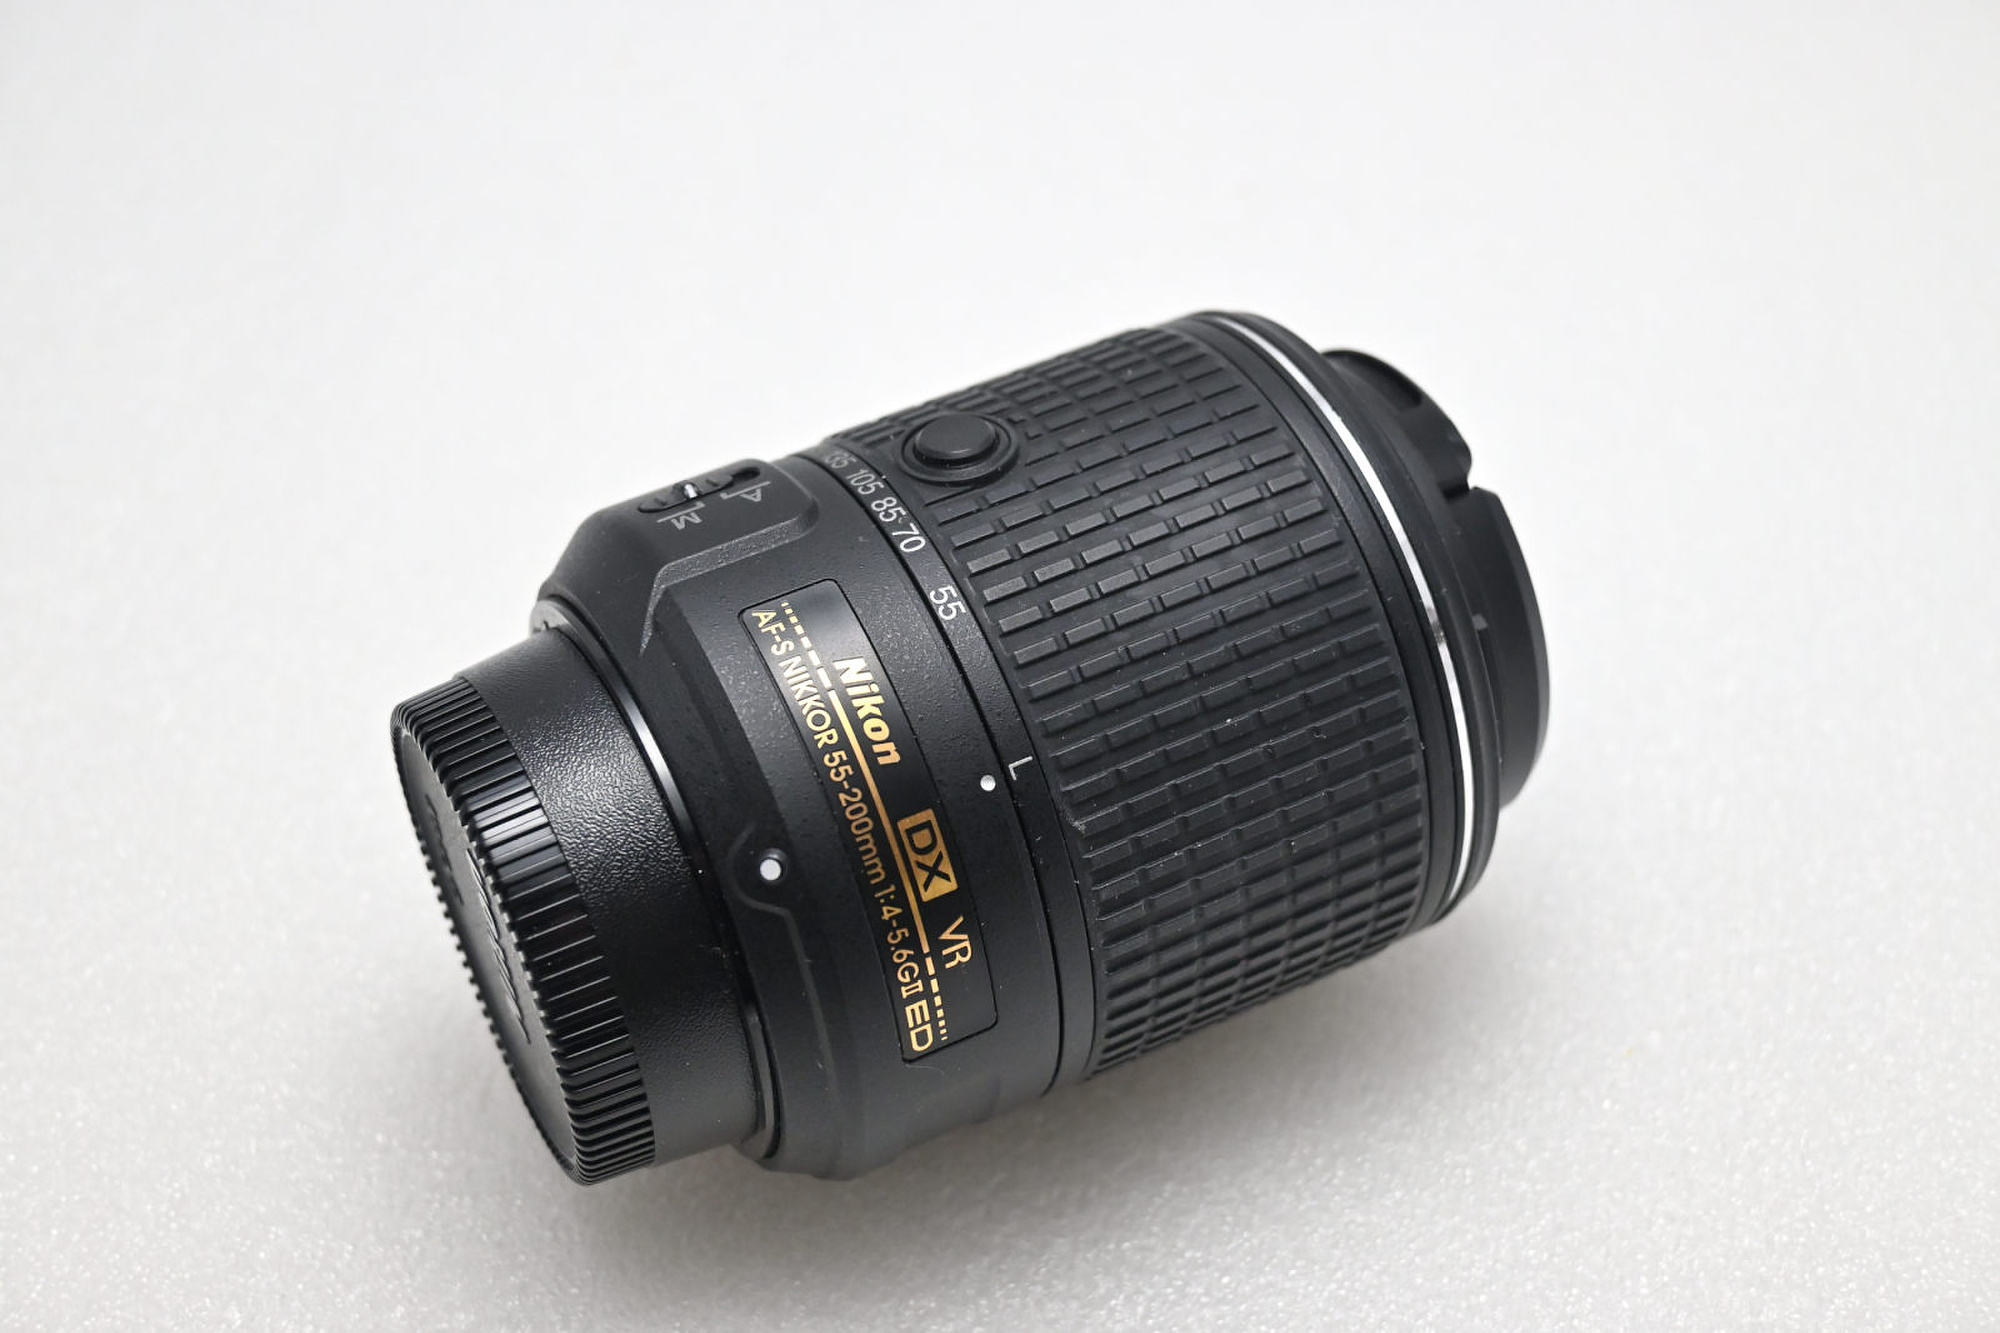
Nikon 55-200mm f/4-5.6G ED VR II AF-S D 50 27 10 42 115 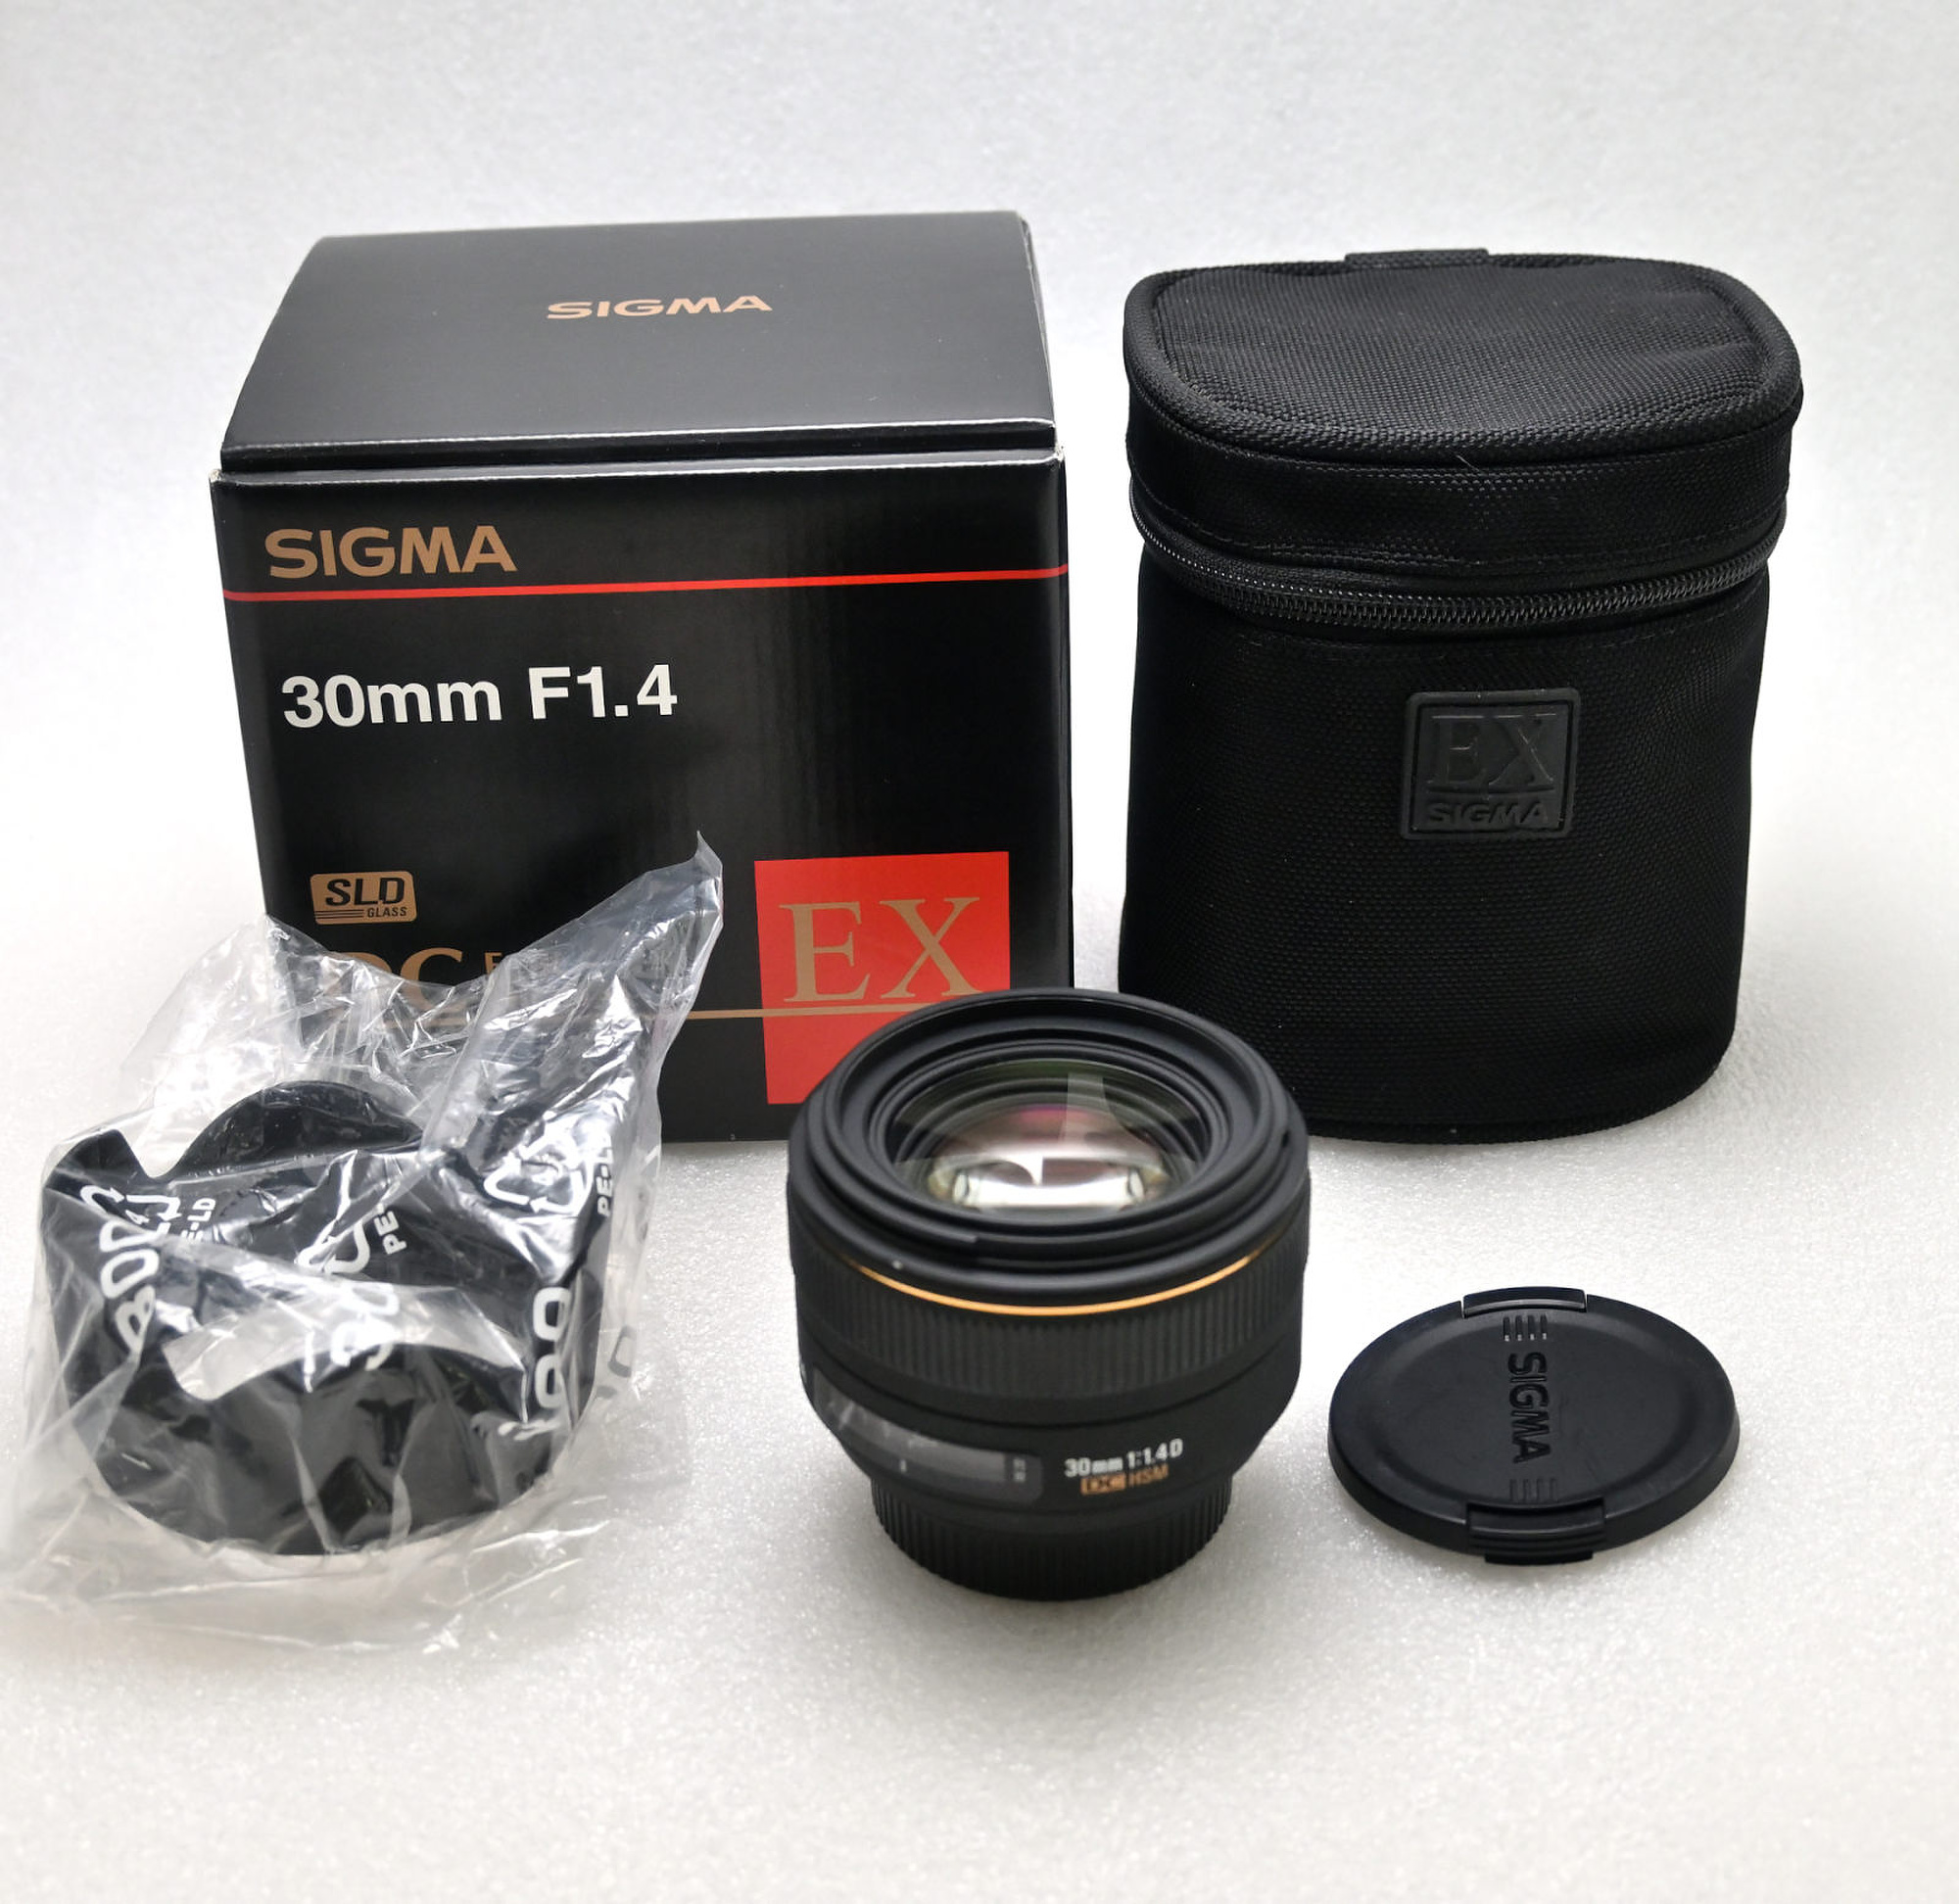
Sigma 30mm f/1.4 DC HSM 70 52 50 72 185 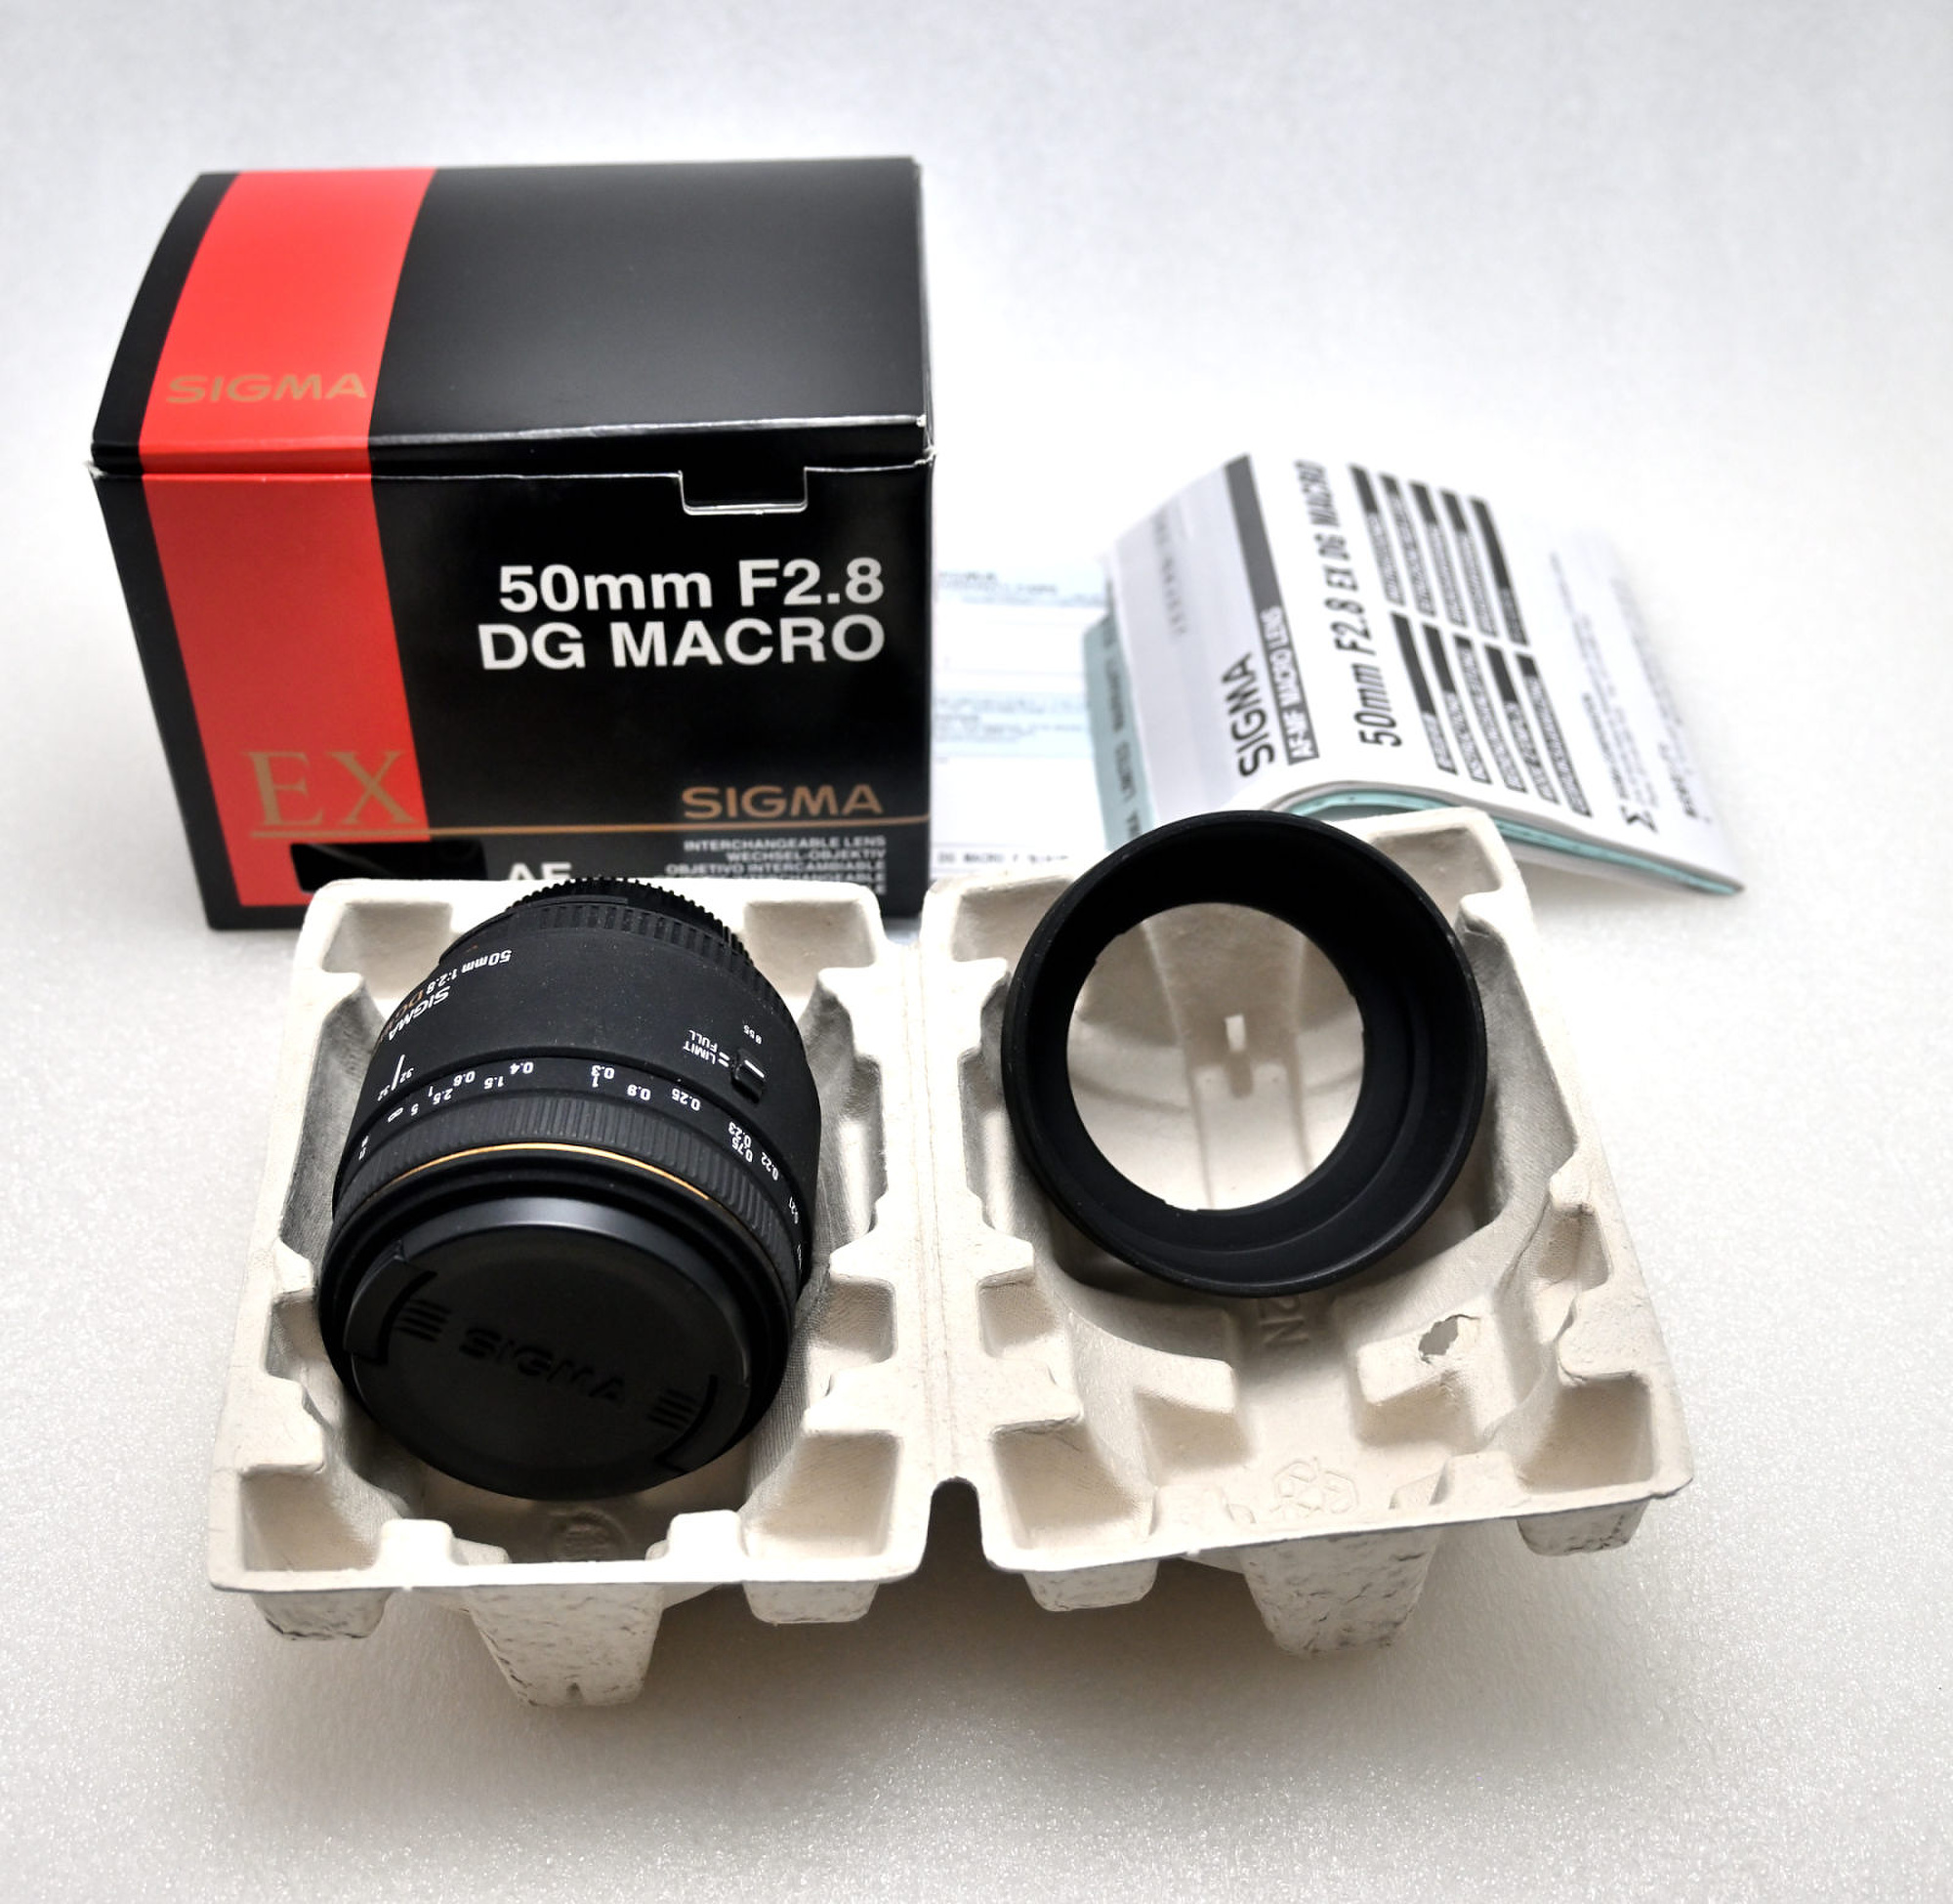
Sigma 50mm f/2.8 DG Macro 75 0 30 128 165 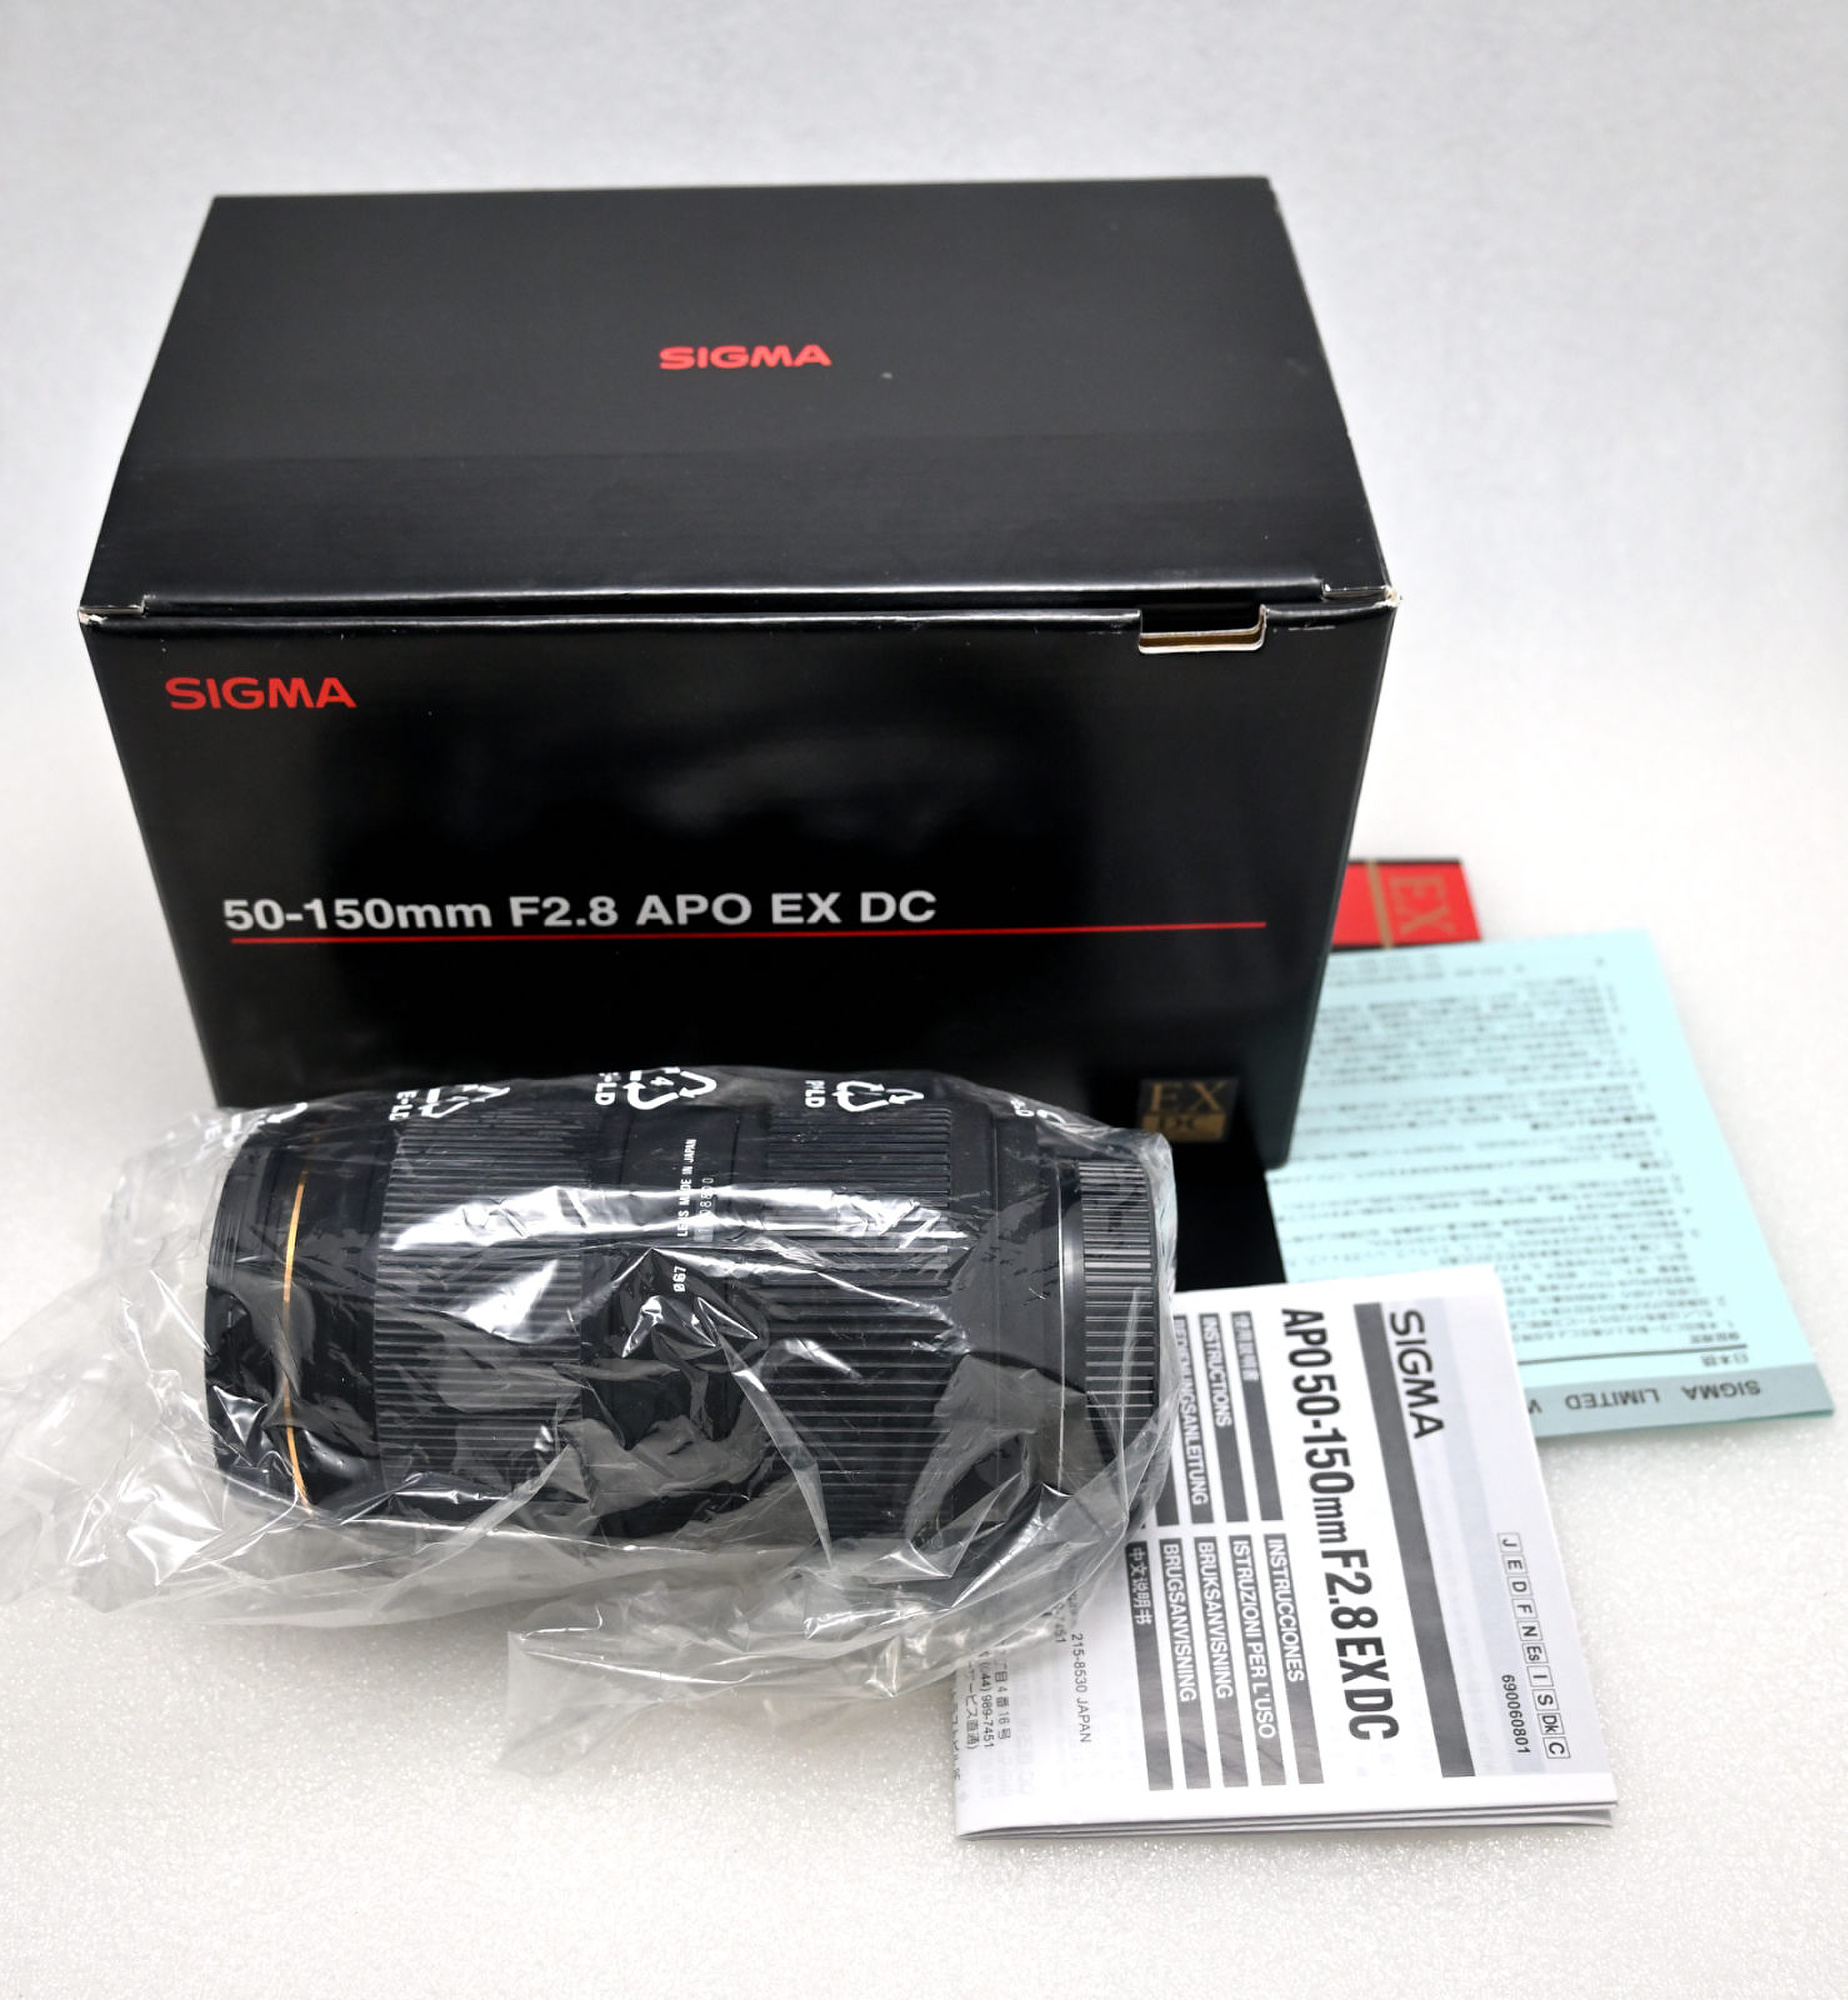
Sigma 50-150mm f/2.8 EX DC APO HSM 0 125 115 121 385 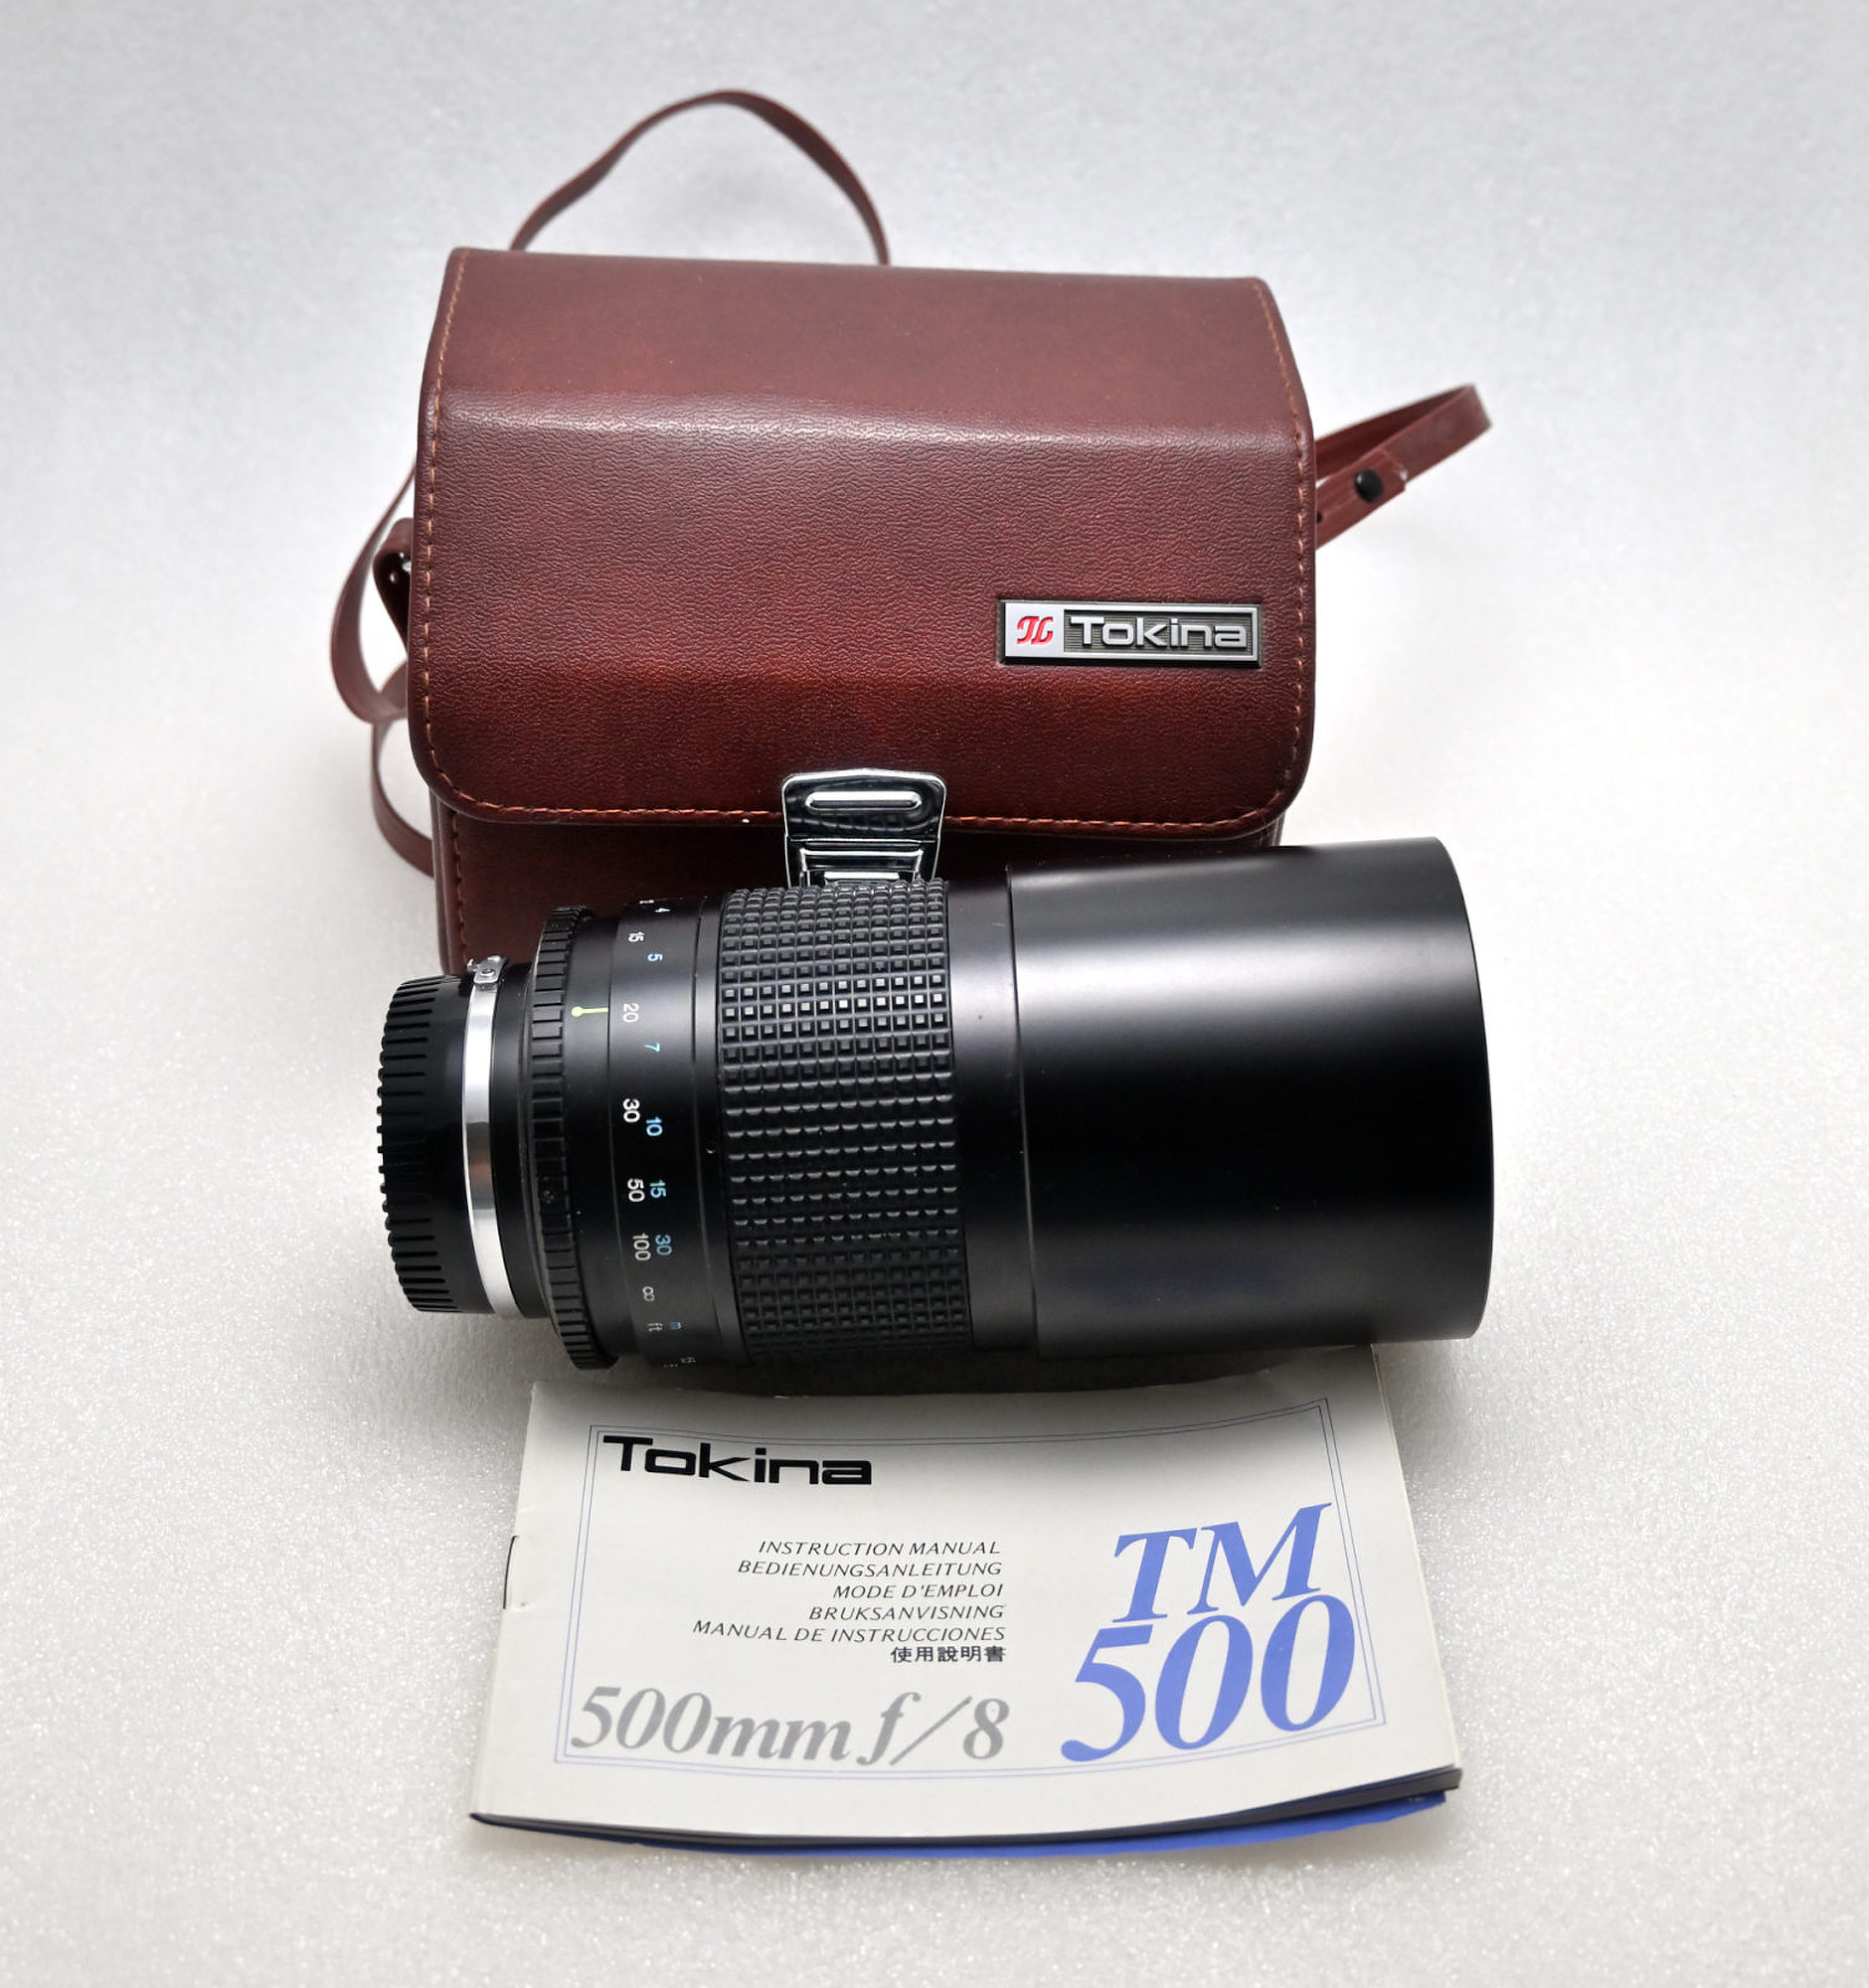
Tokina 500mm f/8.0 Mirror Lens for Nikon 0 0 35 125 165 Ʃ 625 403 435 676 1745 Sigma 8mm f/3.5 EX DG Fisheye 140 50 125 87 Nikon AF 50mm f1.4D 75 42 65 55 The quote from Adorama required to send in the lenses, but I was told the estimate would be around 500.
B&H's is similiar price, but there is an exception for the Nikon AI-S 28-85 f/3.5-4.5. Seems like a very sought-after lens, but not for MBP.
So far, B&H pays best for those (vintage) lenses.The last two lenses I decided to keep, but I had them added to the quote to check. Would you sell for this price?
Update:
Lenses have been sold on eBay, with an approximate 20-25% fee deducted. The only exceptions are the two Nikon AI-S 28-85mm f/3.5-4.5, which I traded to B&H for a tax-free voucher. They are still listed for sale there1, quietly gathering digital dust.
The lens shelf now looks more intentional and less like a clearance bin.
-
Both lenses were in like-new condition and nearly indistinguishable from each other, yet they are listed with noticeably different condition ratings and prices. So much for consistency in evaluations. ↩
-
-
Backup your pictures 💾
NAS (Network Attached Storage) is a convenient solution for storing pictures, videos, and all your other files. The NAS device is typically configured as RAID-1, utilizing two disks to ensure data is mirrored in case one disk fails thereby improving resilience. It connects to your local network, providing reliable and accessible storage, but it is not a backup.
Backing up files from a NAS device is very important to ensure data integrity and availability.
Many NAS systems, such as my Synology NAS, come equipped with backup software like Hyper-Backup. Unfortunately those software is getting slower over time during a backup run for some reason.
And do not copy your files over the network to a drive attached to your computer. This process is slow and there's a risk of the connection dropping.Using PuTTY, a popular SSH client, and simple Linux commands, you can efficiently perform backups and verify them running on the NAS. Here is a step-by-step guide.
Prerequisite
NAS devices typically feature USB ports, allowing you to connect an external hard drive of the required size directly to the NAS via USB. External drives are available in two main types: SSD (Solid State Drives) and HDD (Hard Disk Drives with spinning disks). I'm using HDD because of their long-term data retention capabilities, but SSDs are faster and maybe perfect for frequent short term backups. The drive connects to the system with a path like /volumeUSB1/usbshare1-2. Simply check with the
cdanddircommand.Step 1: Connect to your NAS using PuTTY
Download and Install PuTTY.
Open PuTTY and enter the IP address of your NAS in the "Host Name (or IP address)" field. Default Port is 22.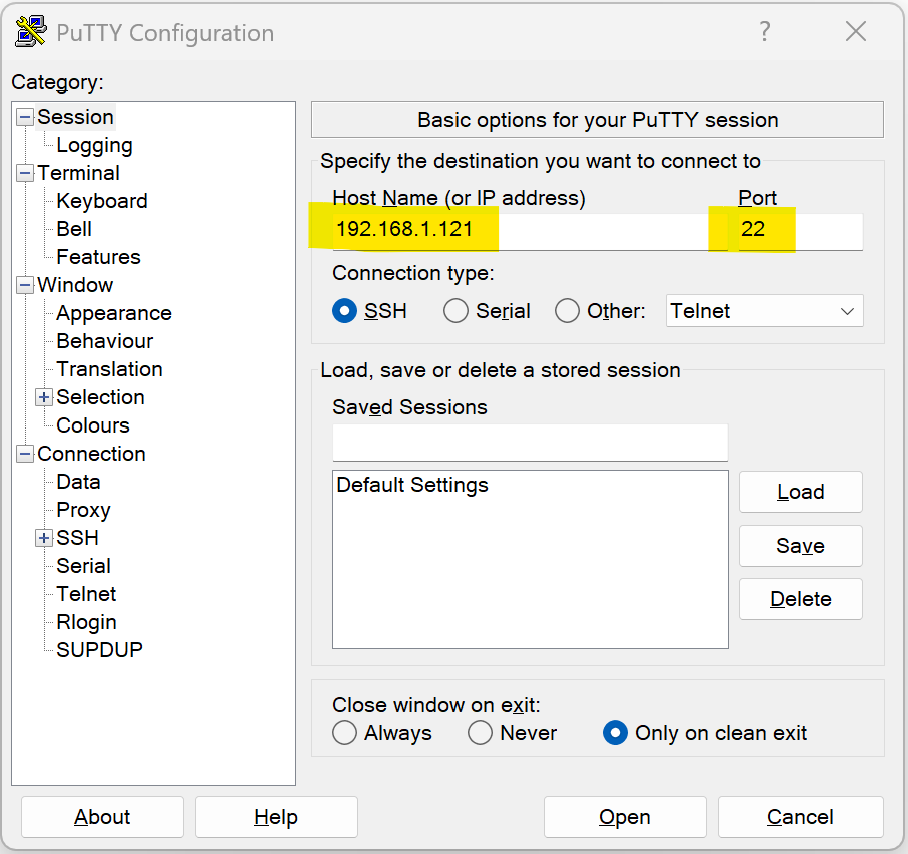
Login: Click "Open" and log in using your NAS credentials. You should now have access to the NAS embedded Linux console.
Step 2: Backup Files using the
cpcommandThe
cpcommand of the embedded Linux system of the NAS is used to copy files and directories.
To backup files from your NAS to another drive, follow these steps:Navigate to the Source Directory:
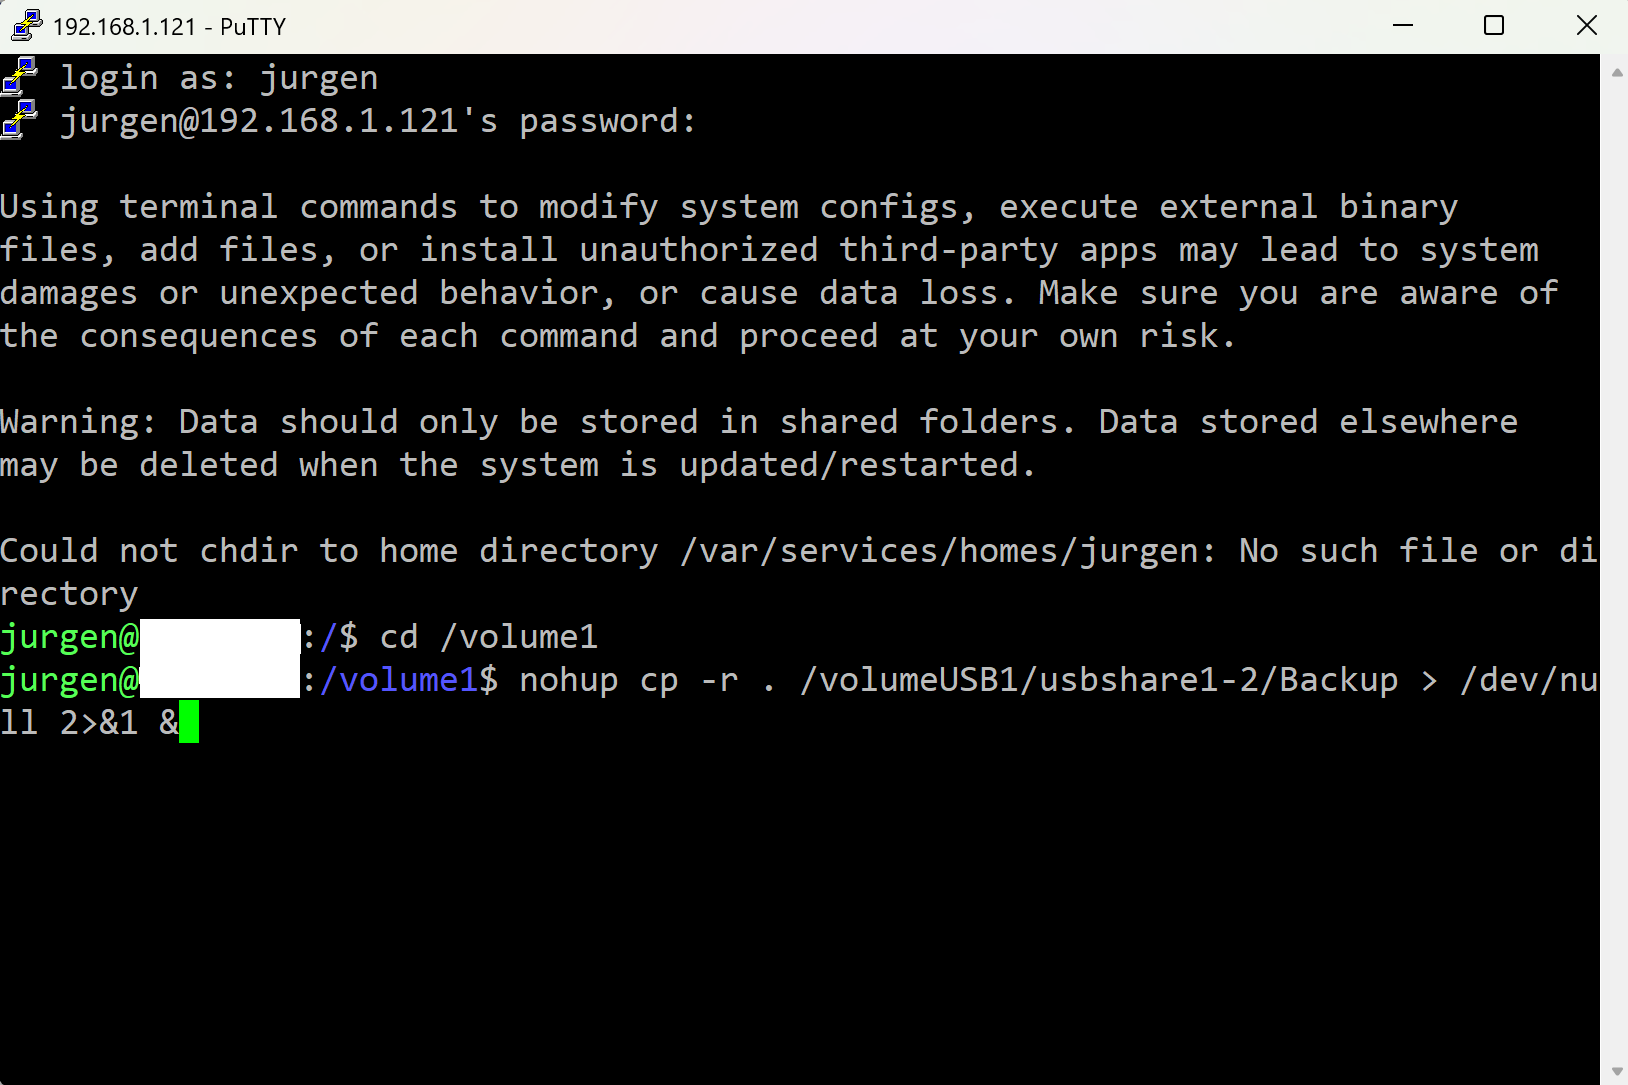
cd /volume1For large data sets, the copy process can take several days, and the PuTTY terminal may disconnect, closing the command. To prevent this, use the
nohupcommand to keep the process running even if the terminal disconnects.
While commands likescreenortmuxcan be used to detach from the current terminal session, they are not always available on every system. At least, it is not available on the Synology NAS.Copy Files to the Backup Location using
cpcommand withnohup:nohup cp -r . /volumeUSB1/usbshare1-2/backup > /dev/null 2>&1 &If you only want to back up specific folders, list those folders in the
cpcommand instead of using the dot (.), which copies everything. Enclose folder names that contain spaces in quotes.nohup cp -r pictures1 pictures2 "some foldername with space" /volumeUSB1/usbshare1-2/backup > /dev/null 2>&1 &The
nohupcommand immediately returns and provides a process ID (PID). You can use thepsorhtopcommand to check for this PID if it is still running in later sessions. Use thekillcommand with this PID to stop the backup.Step 3: Verify the Backup using the
diffcommandTo ensure that the backup is identical to the original files, you can use the
diffcommand to compare the contents of the source and backup directories.diff -qr /volume1 /volumeUSB1/usbshare1-2/backupIf the directories are identical,
diffwill not produce any output. If there are differences, it will list the differing files.
For large file sets, use thenohupcommand to not rely on the active terminal session. Any output will be written to the redirected file (for example /var/services/tmp/diff.txt) and can be checked later.nohup diff -qr /volume1 /volumeUSB1/usbshare1-2/backup > /var/services/tmp/diff.txt 2>&1 &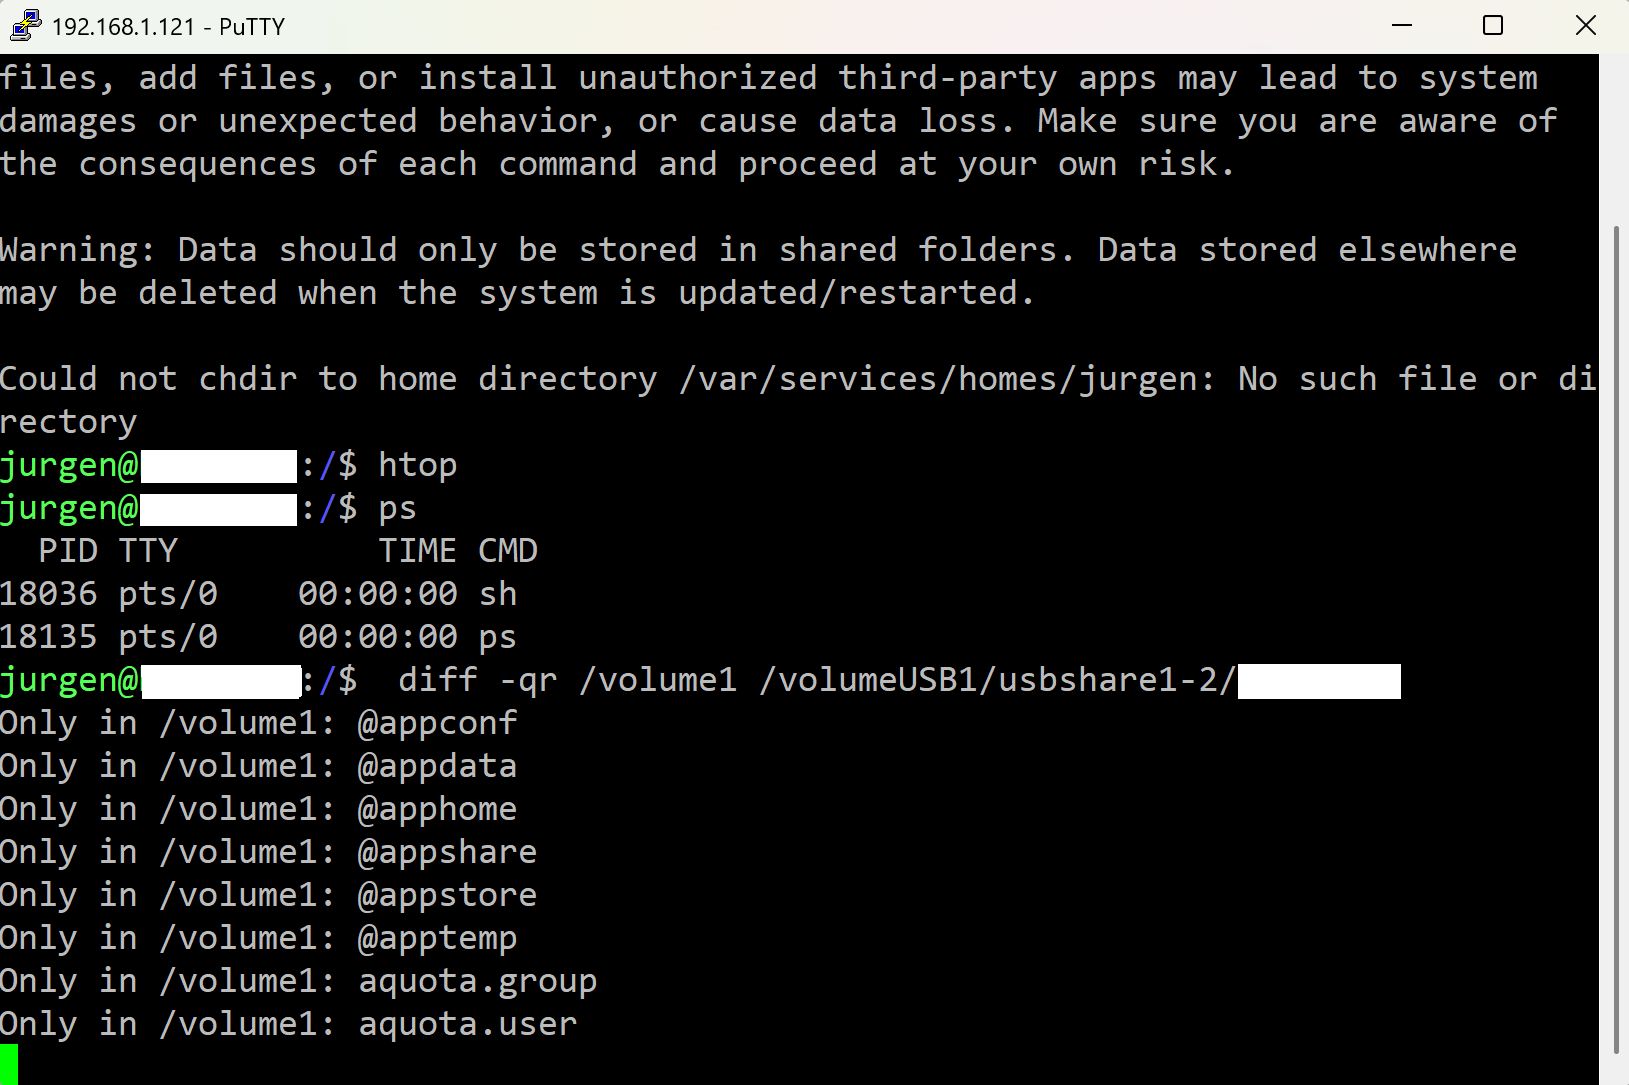
My first digital camera was a Kodak DC-260, and I used 3.5" 💾 for backup.
-
00011001 << 1 🎂
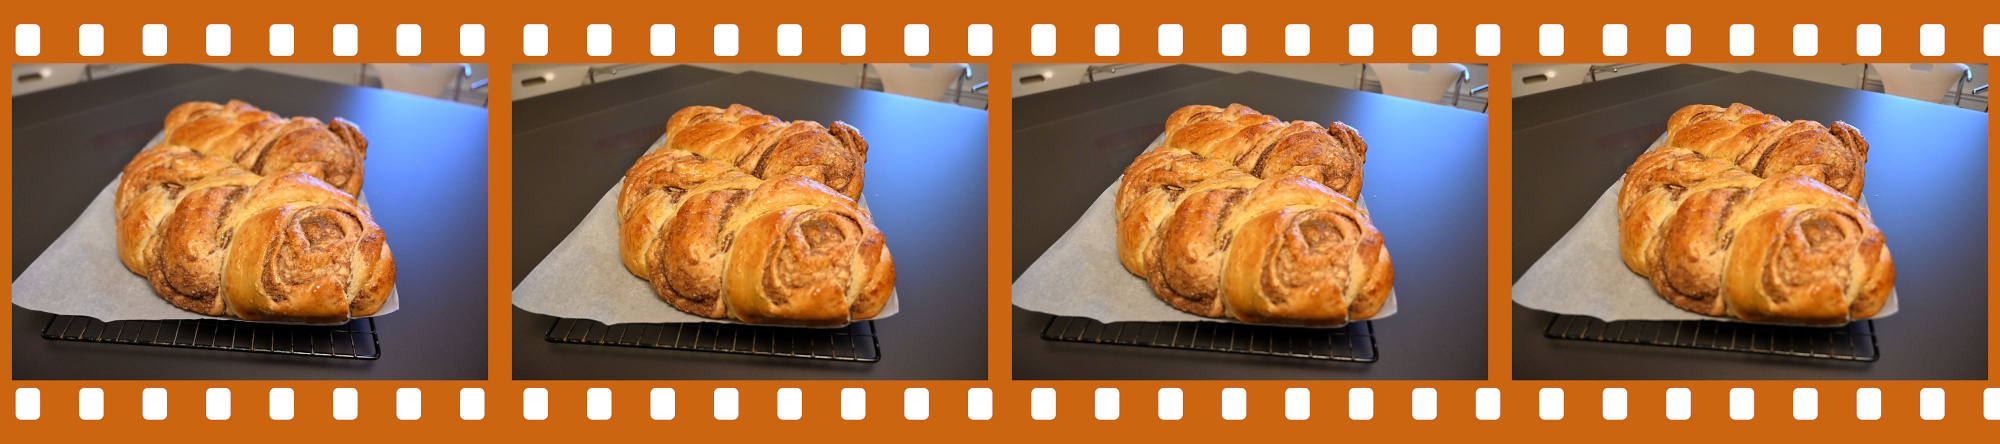
Ein besonderer Tag, und dazu was besonderes.
Zopf

1/60s f/5 ISO 4000 16-50mm f/3,5-6,3 VR f=34mm/51mm
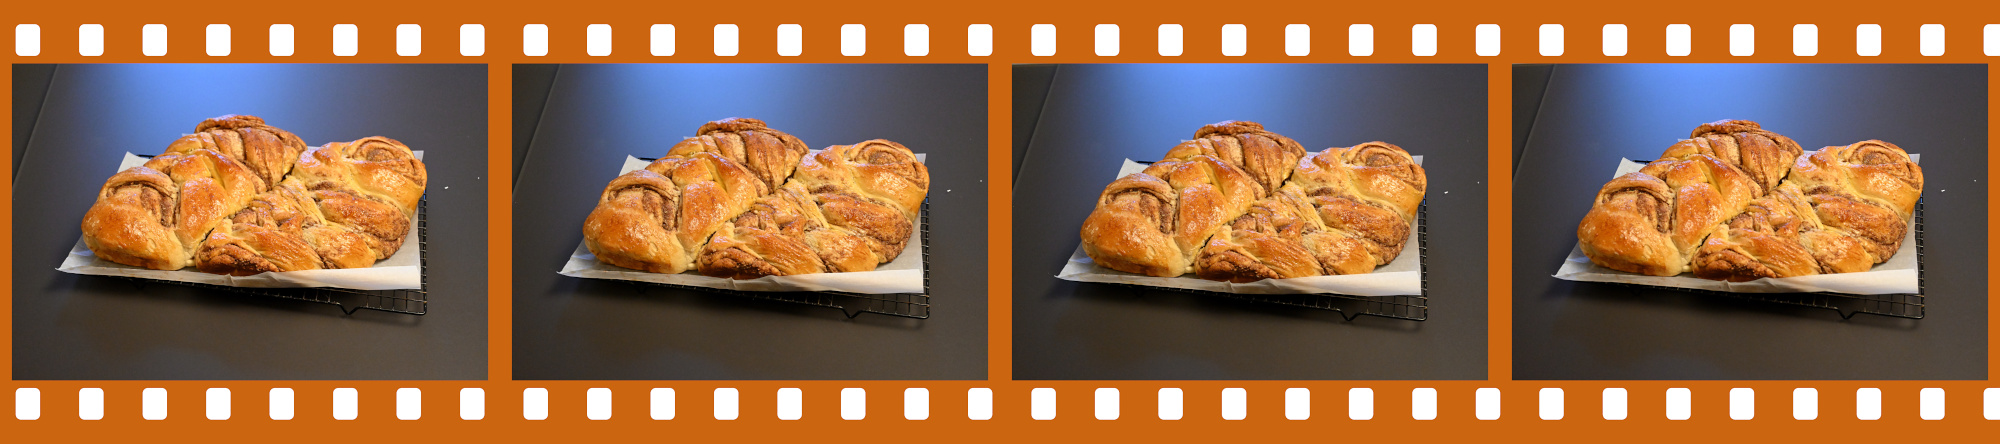
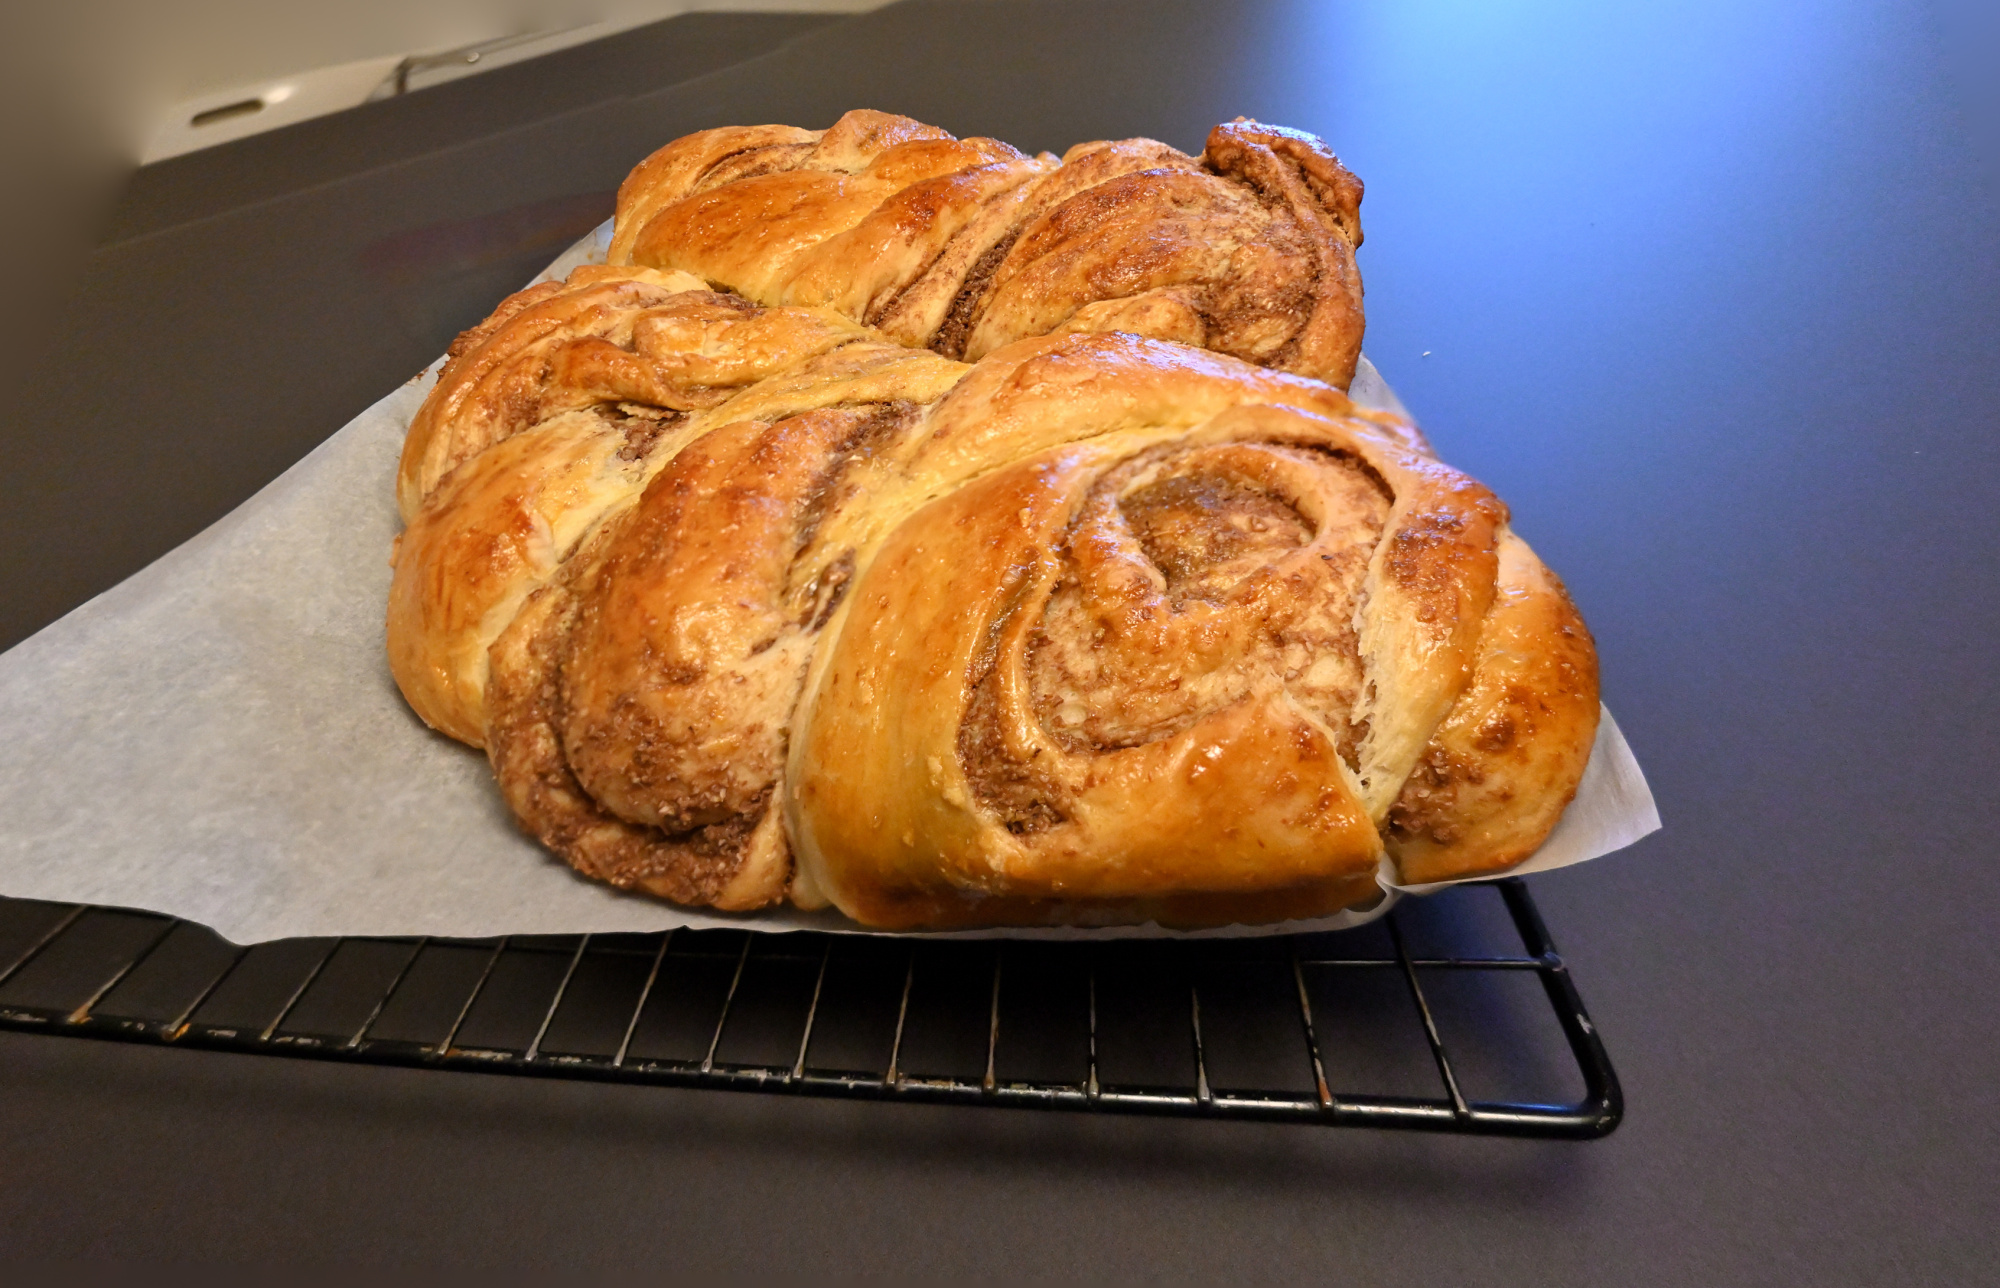
1/125s f/3,5 ISO 3200/36° 16-50mm f/3,5-6,3 VR f=16mm/24mm
Lagoon
Ohne Fokus-Stacking
1/80s f/4,8 ISO 3200/36° 16-50mm f/3,5-6,3 VR f=30mm/45mm

Mit Fokus-Stacking

1/80s f/4,5 ISO 3200/36° 16-50mm f/3,5-6,3 VR f=26mm/39mm

Siehe Combine pictures with PTGui, Focus stacking
Schokoladentorte
[1/60s f/4 ISO 100/21° 16-50mm f/3,5-6,3 VR f=21mm/31mm] [1/100s f/4,2 ISO 3200/36° 16-50mm f/3,5-6,3 VR f=25mm/37mm]

-
Arduino Darkroom Timer
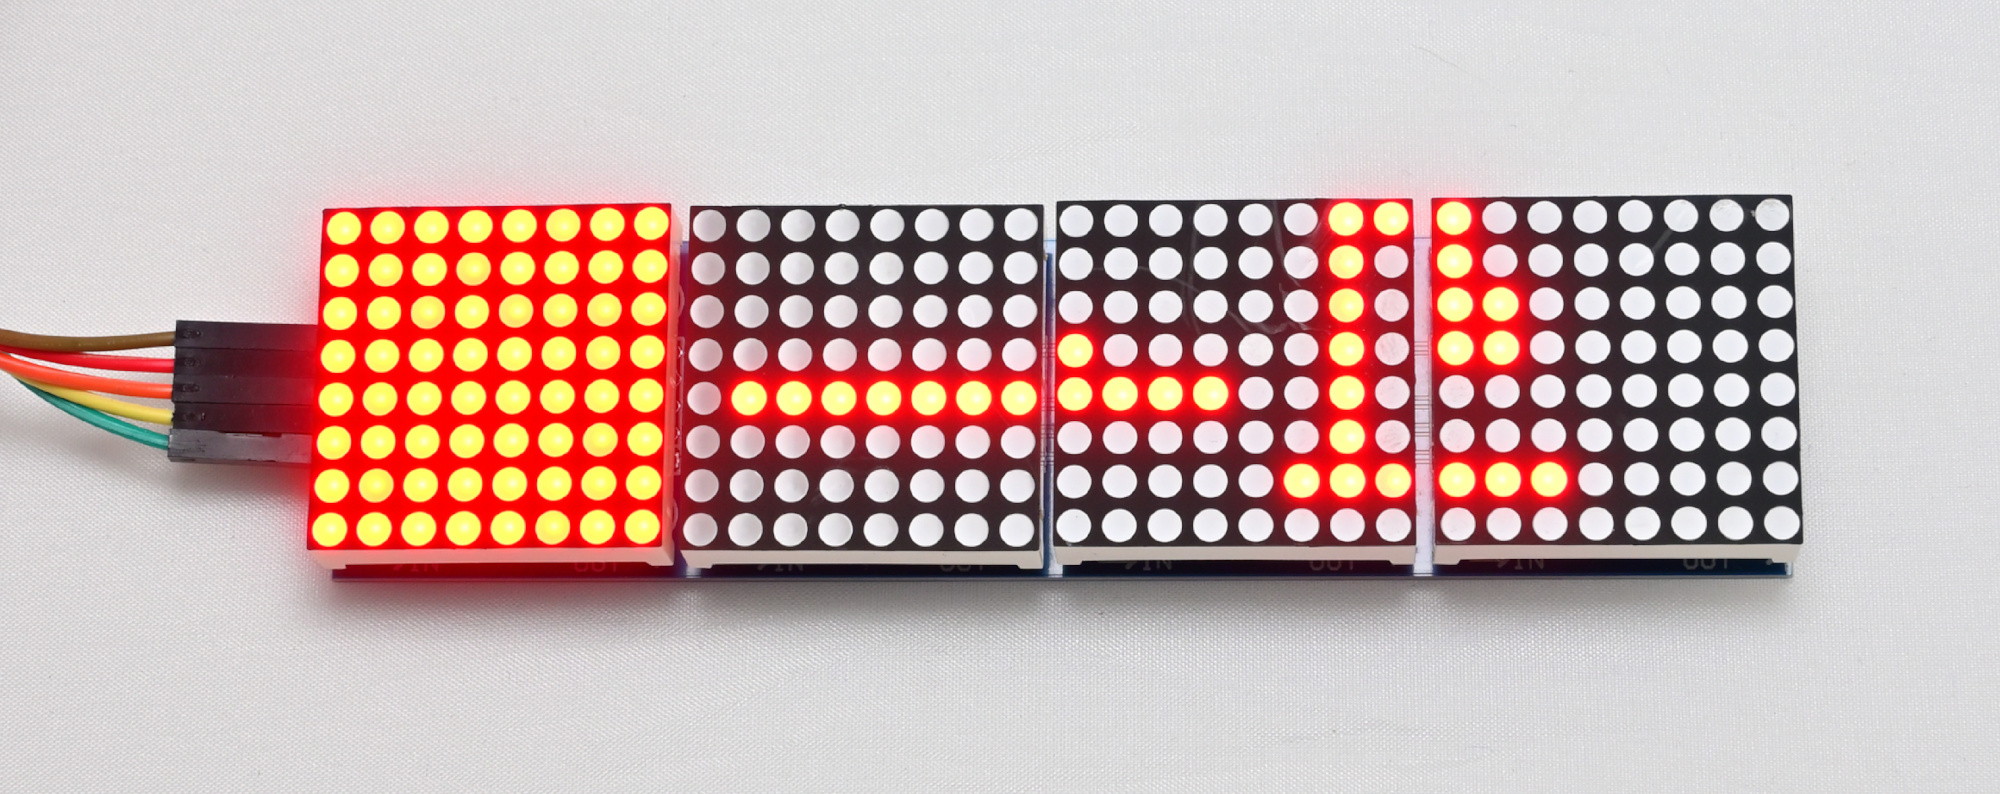
Precise timing is critical in analog photography, especially during the development process in the darkroom. This project presents a versatile darkroom timer built around the Arduino Uno R4 and Gamepad Input Shield, designed to support key photographic development tasks with tactile control and visual feedback. It features an 8x8 LED matrix for ambient illumination and implements five distinct modes: LED brightness adjustment, manual and timed enlarger control, chemical bath sequencing, and a general-purpose timer. Navigation is intuitive via joystick or button input, making it a practical and user-friendly tool for analog photography workflows.
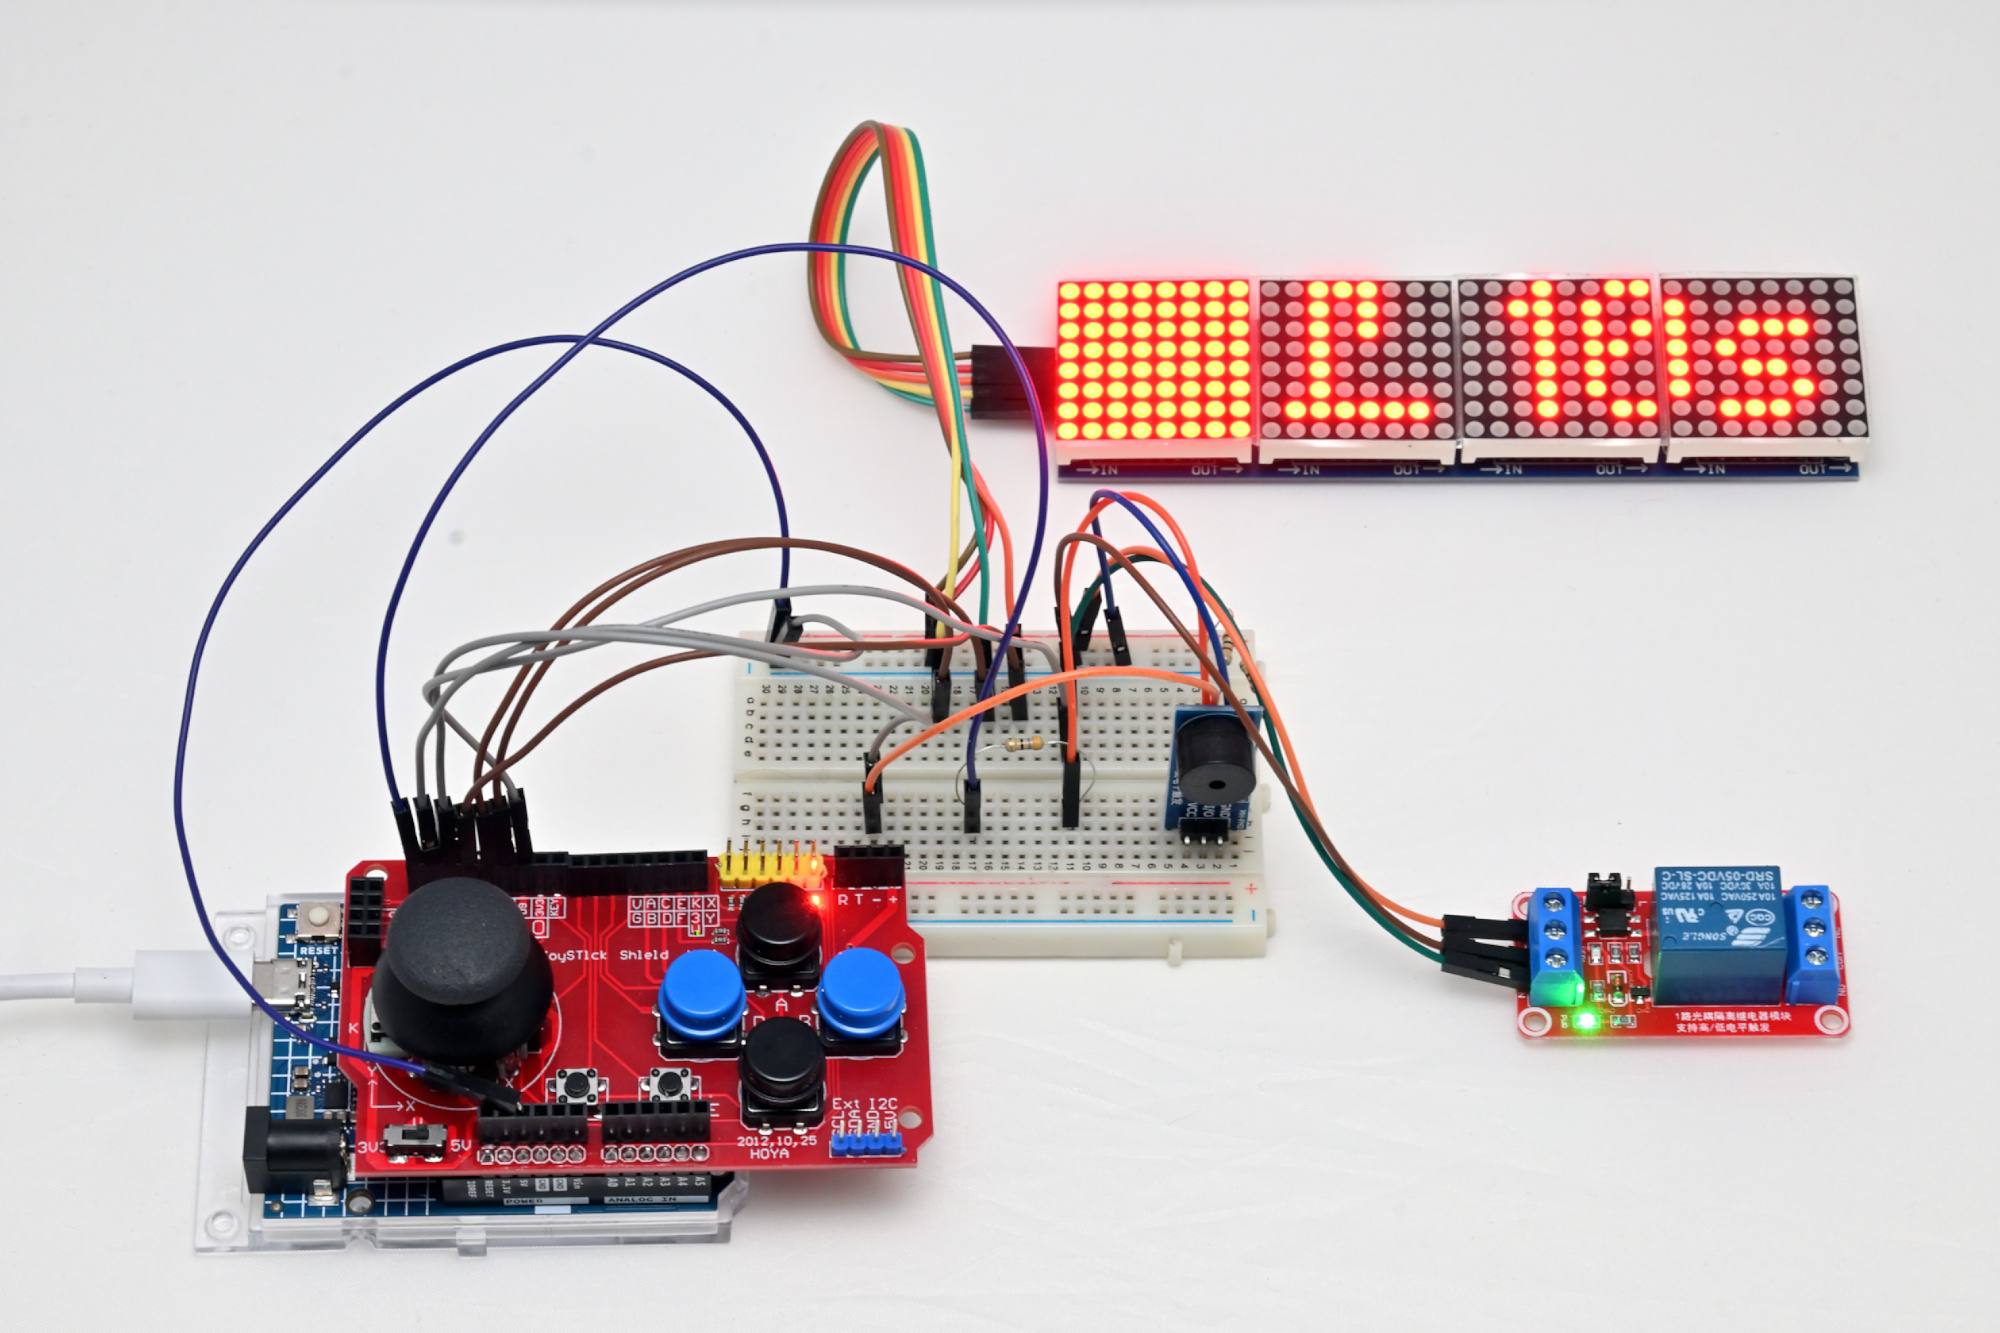
This project uses the Gamepad Input Shield and Arduino Uno R4. Wiring details are available in the source code. The joystick or up/down buttons are used to switch between tasks, while left/right buttons adjust the state or settings.
The first 8x8 LED block is used to illuminate the darkroom.The timer implements five tasks:
- LEDBrightnessTask: Adjusts LED brightness from 0 to 15.
- EnlargerOnOffTask: Manual control of the enlarger.
- EnlargerTimerTask: Timed control of the enlarger.
- DevelopStopFixTask: Three timers for develop, stop bath, and fix stages.
- GeneralTimerTask: A general-purpose timer starting from 0 seconds.
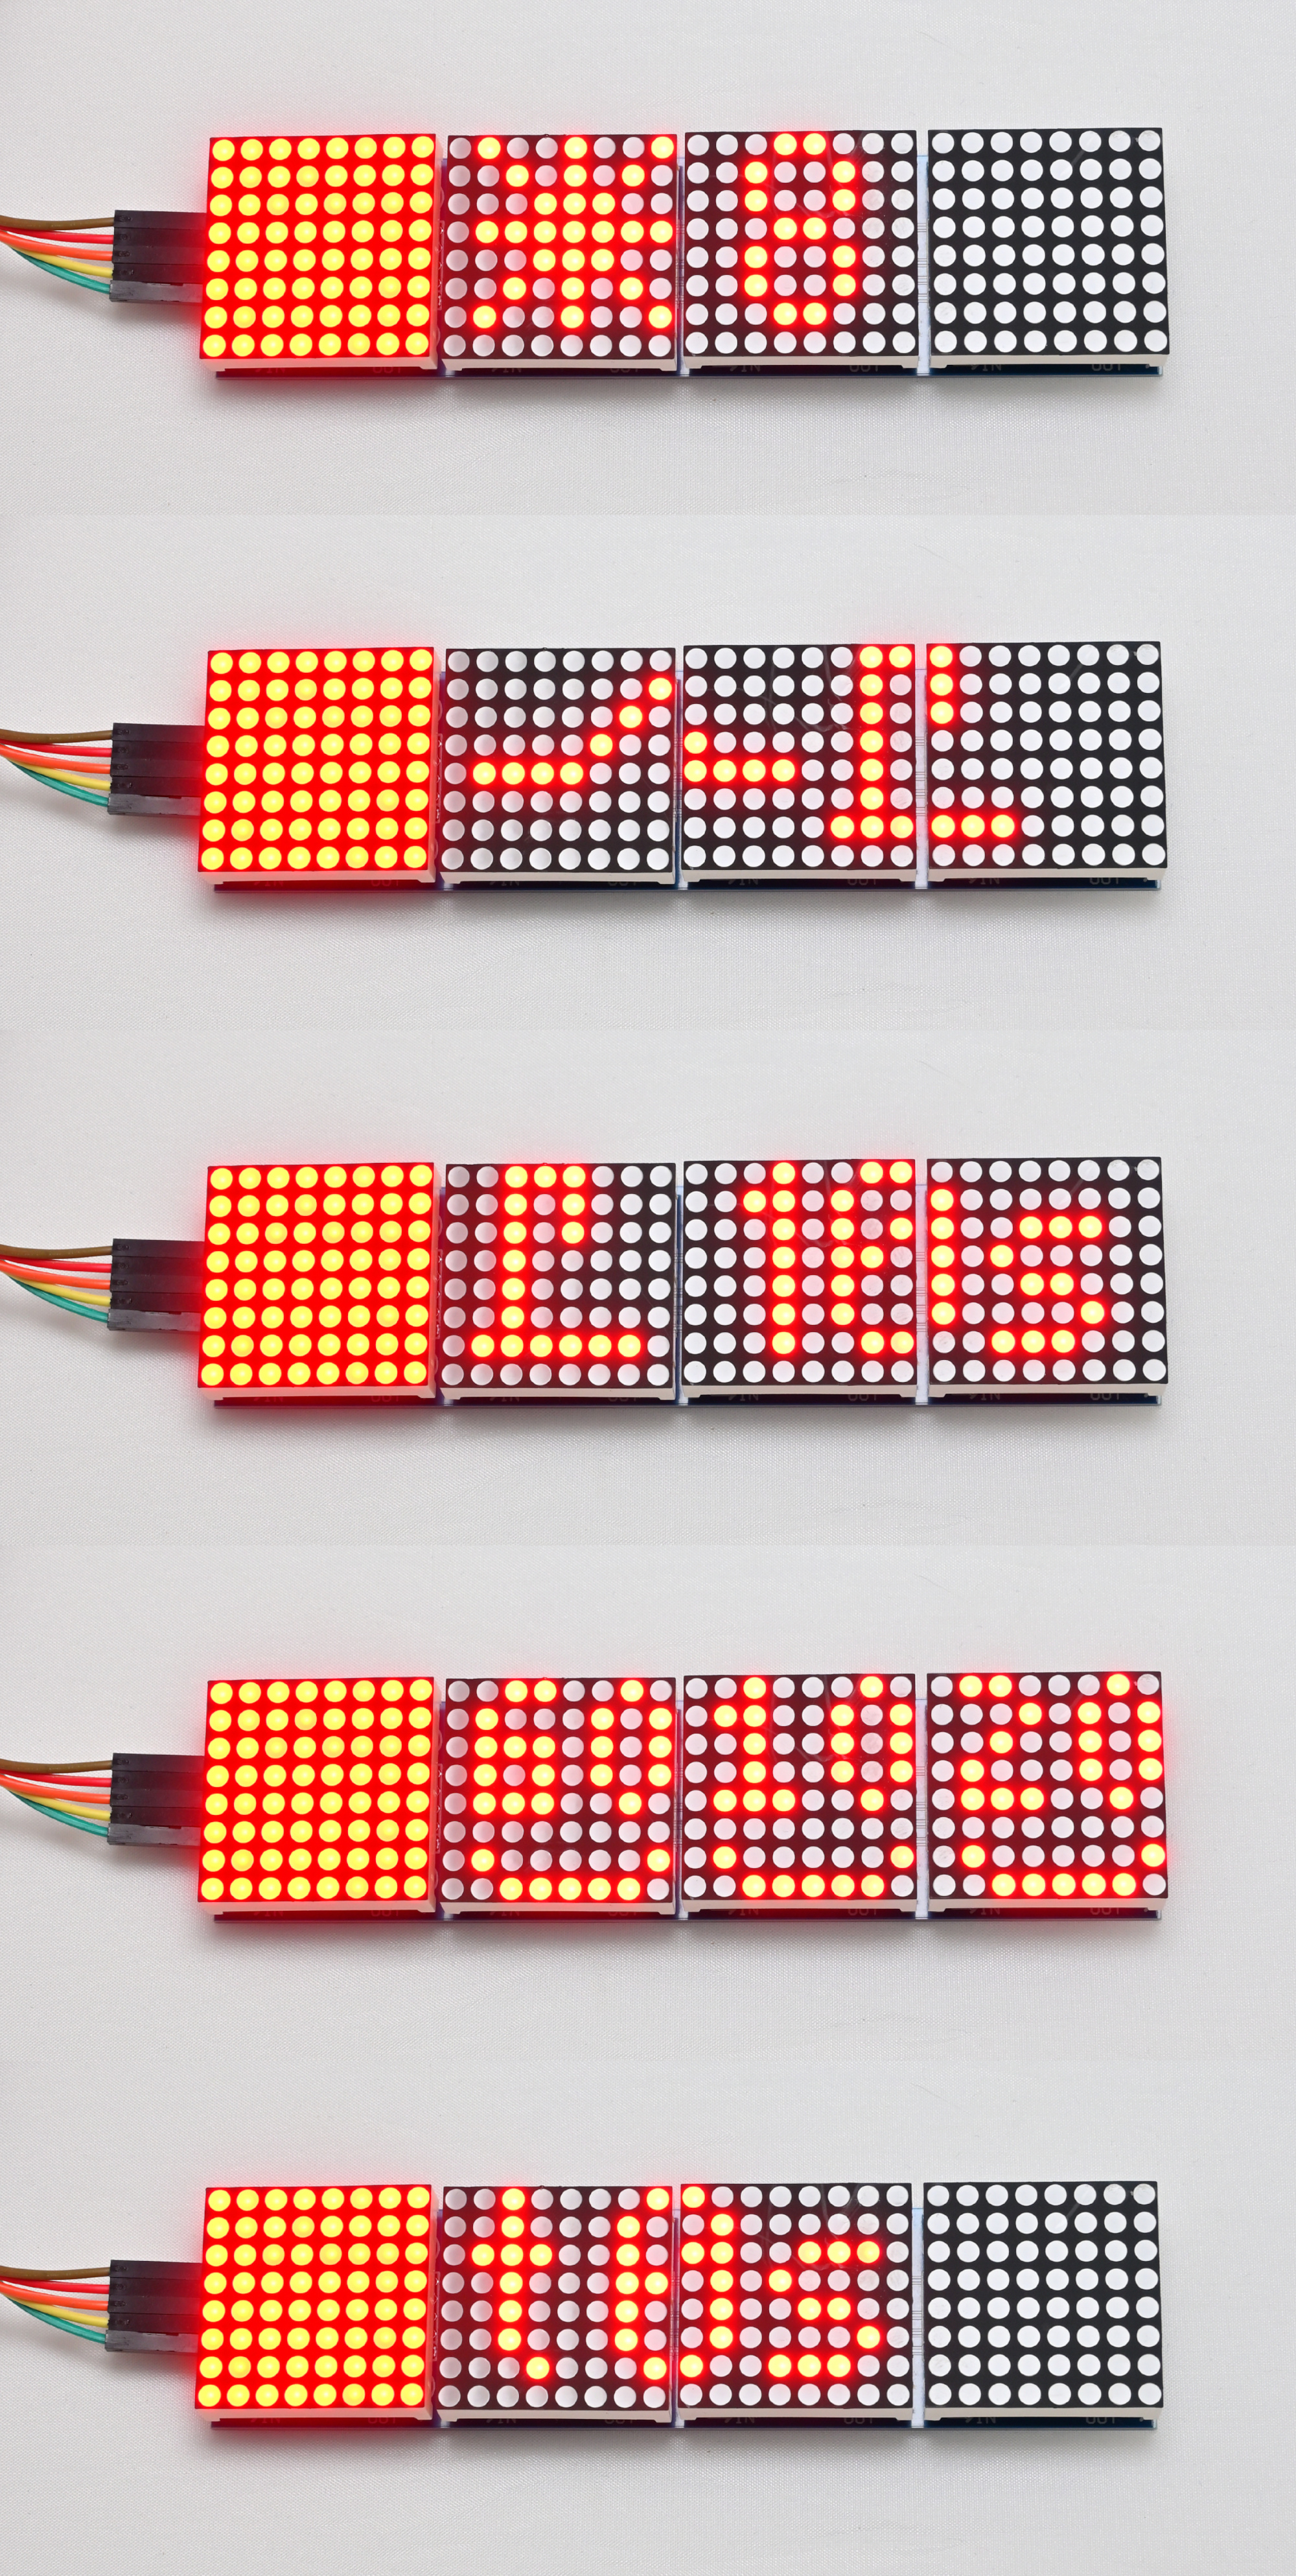
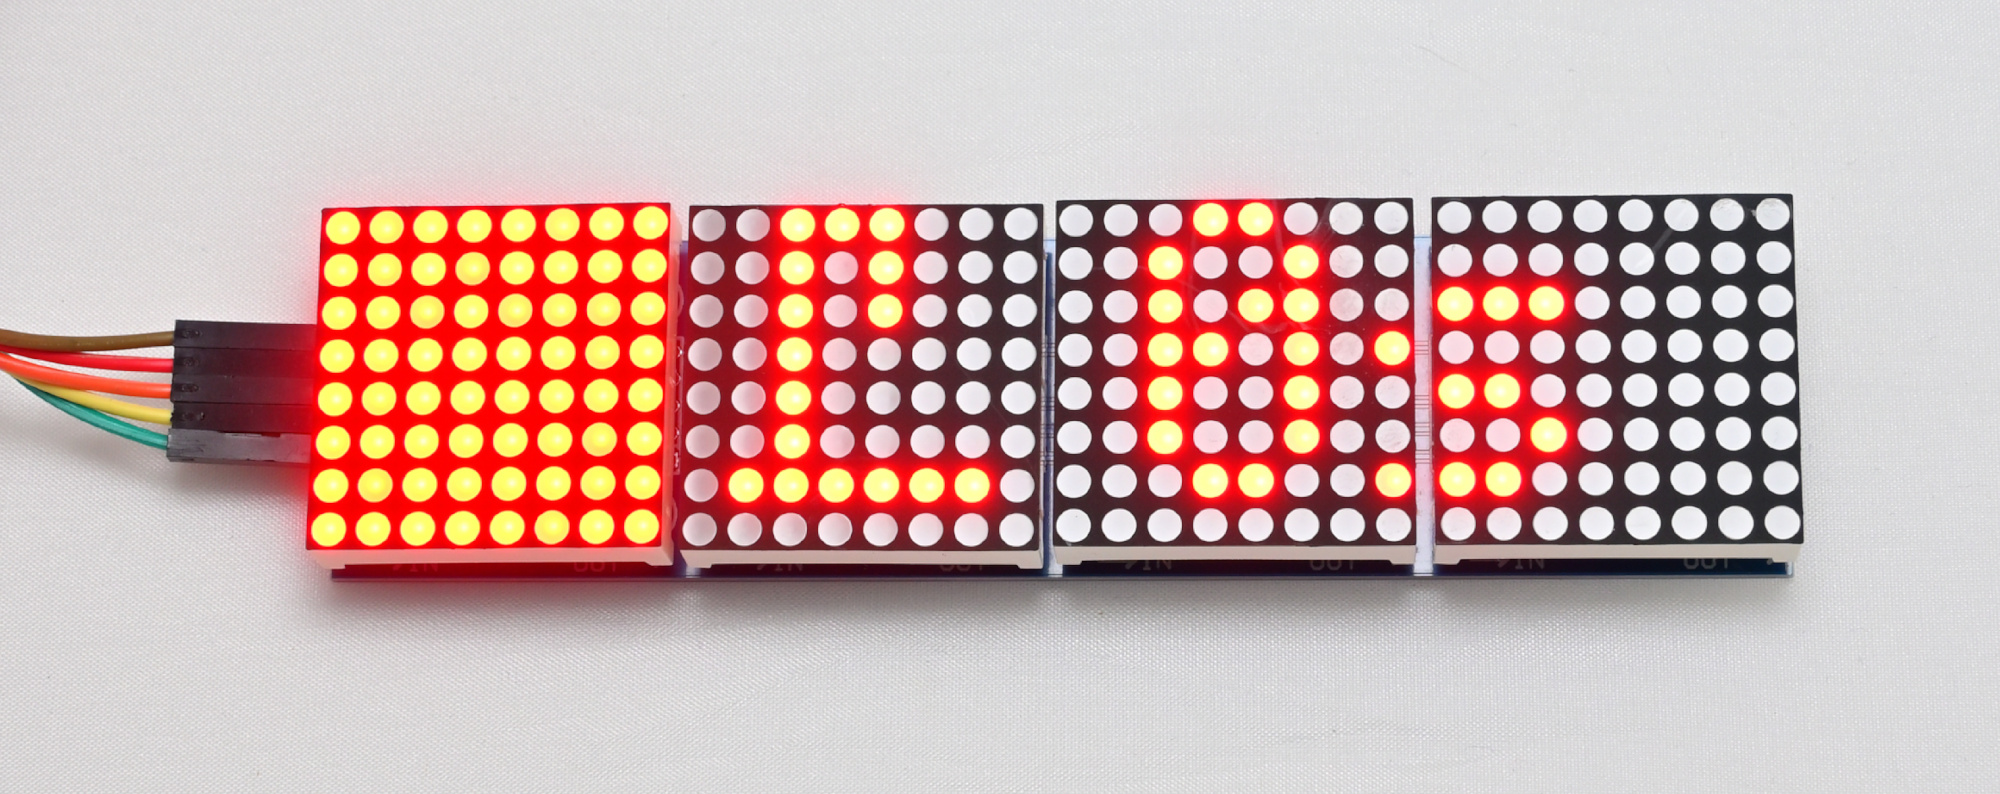
LEDBrightnessTask
Sets the brightness of the 8x8 darkroom illumination LEDs from min 0 to max 15.
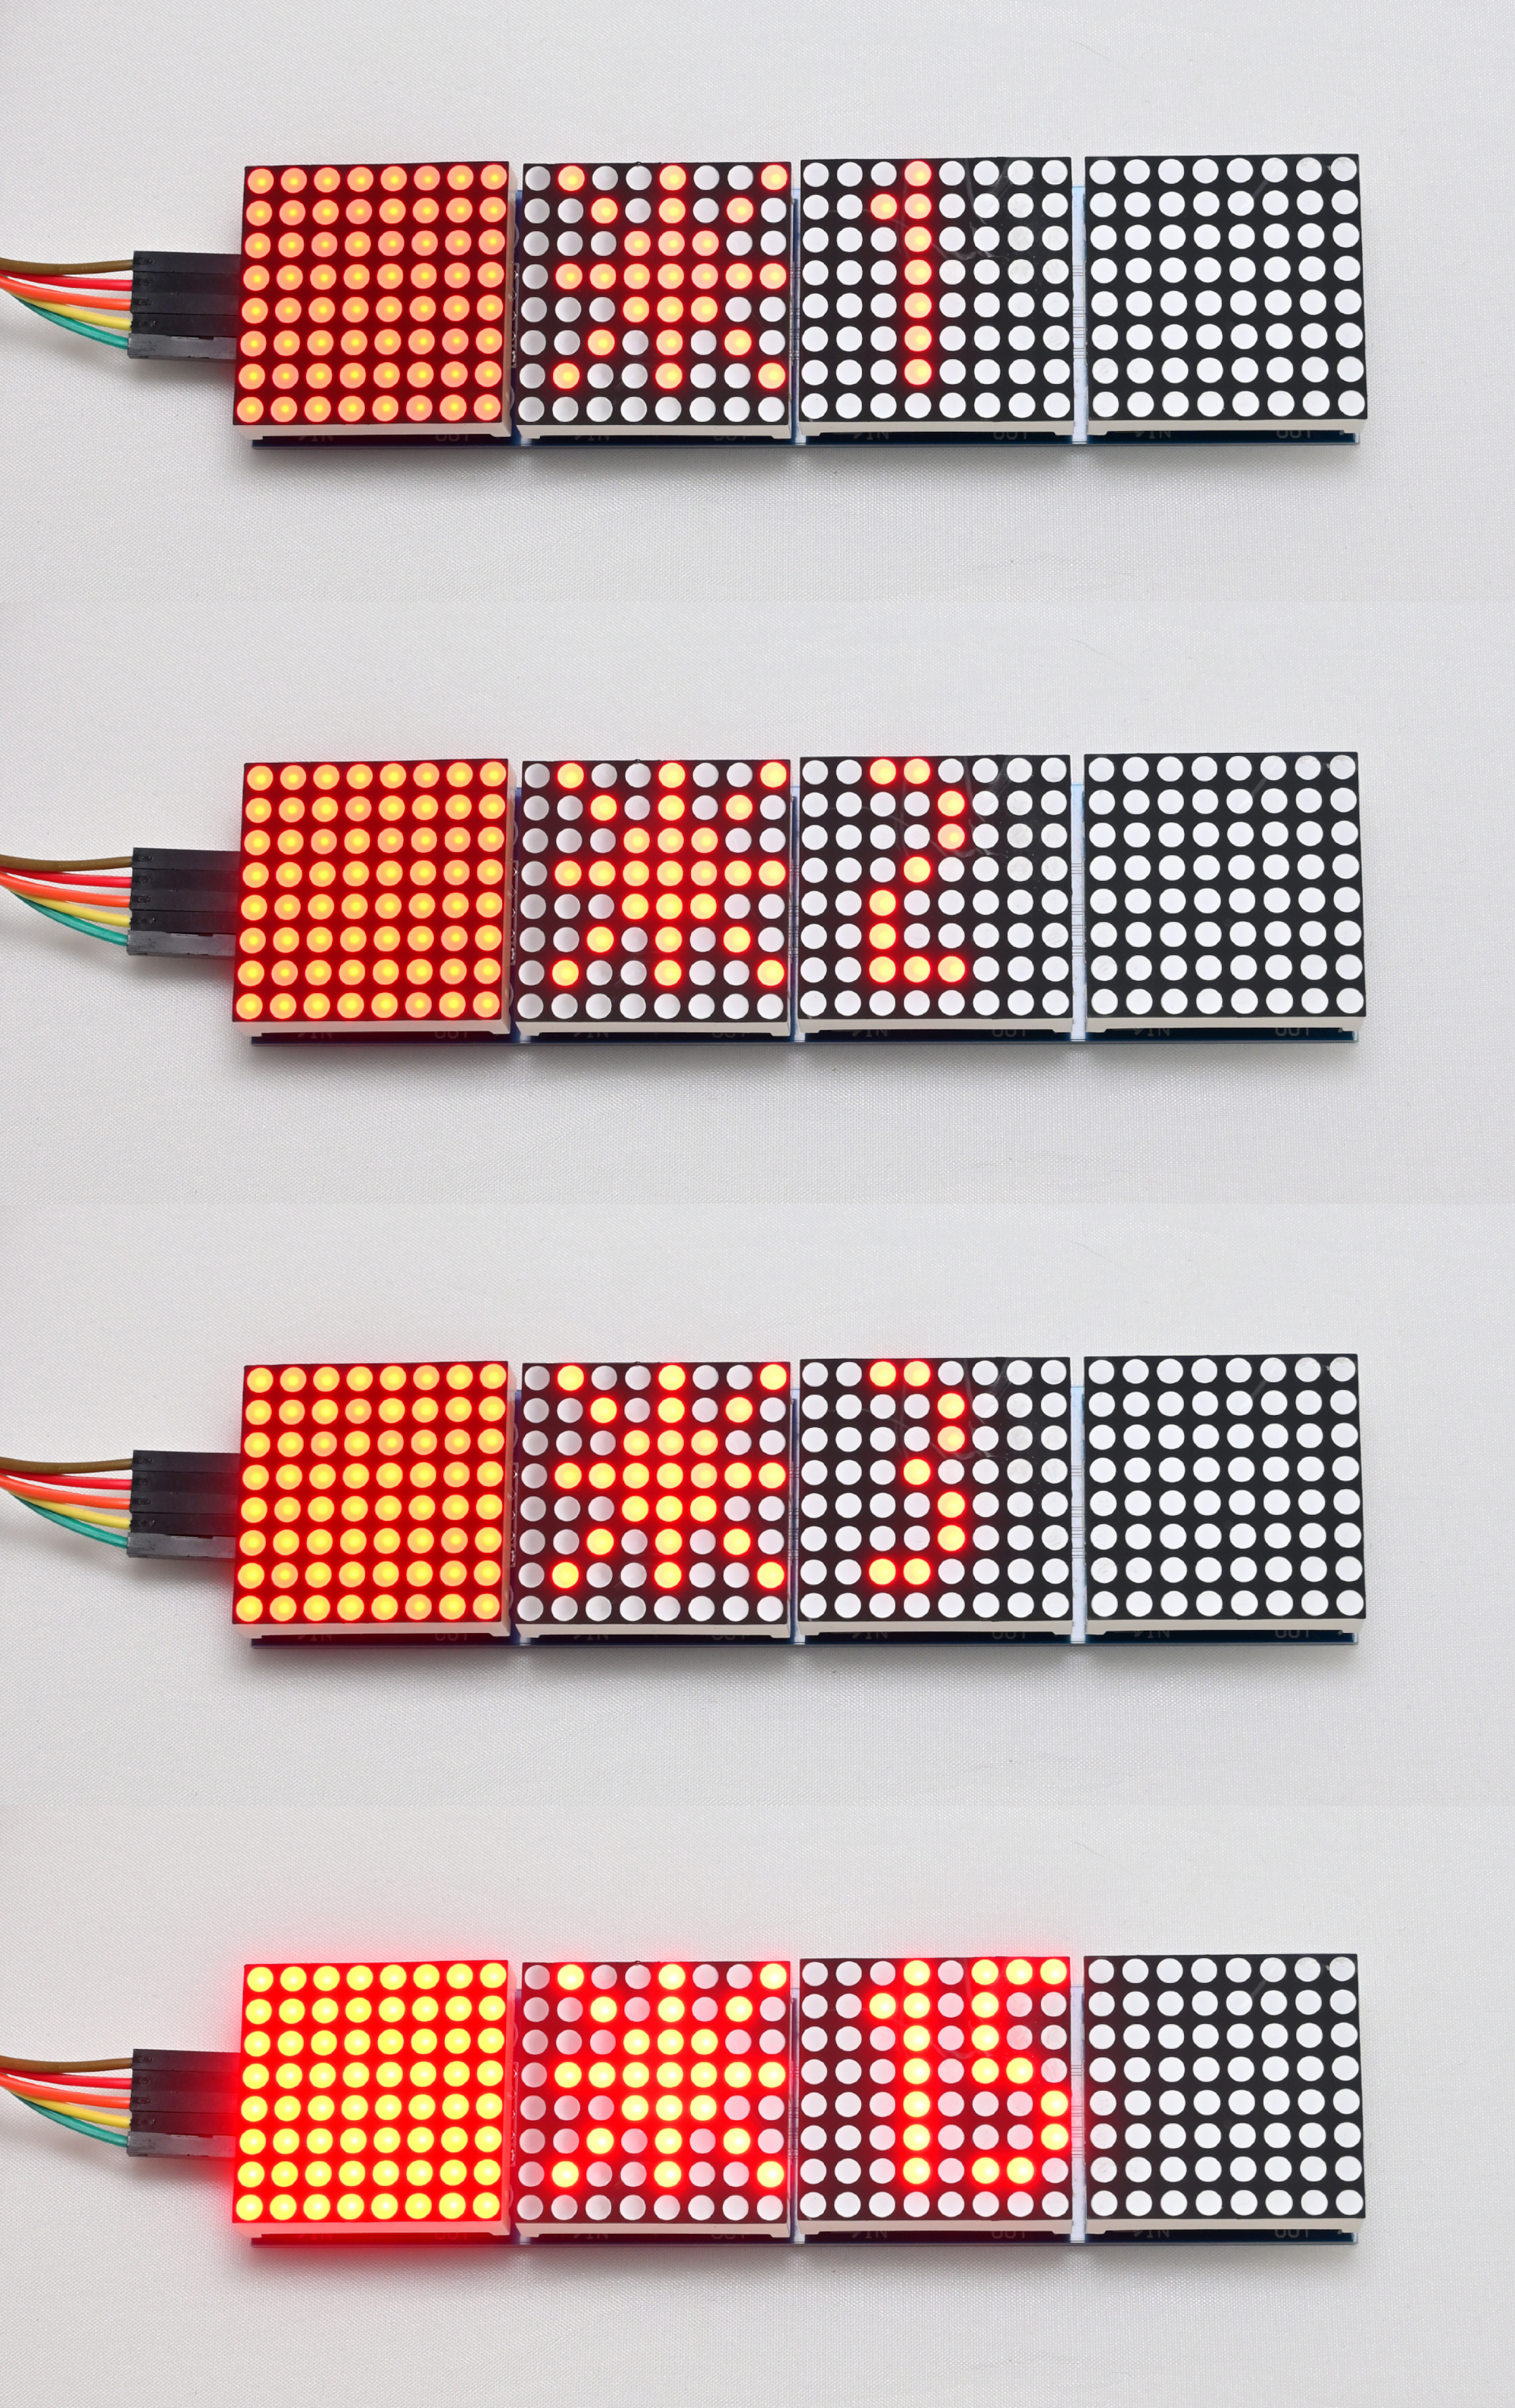
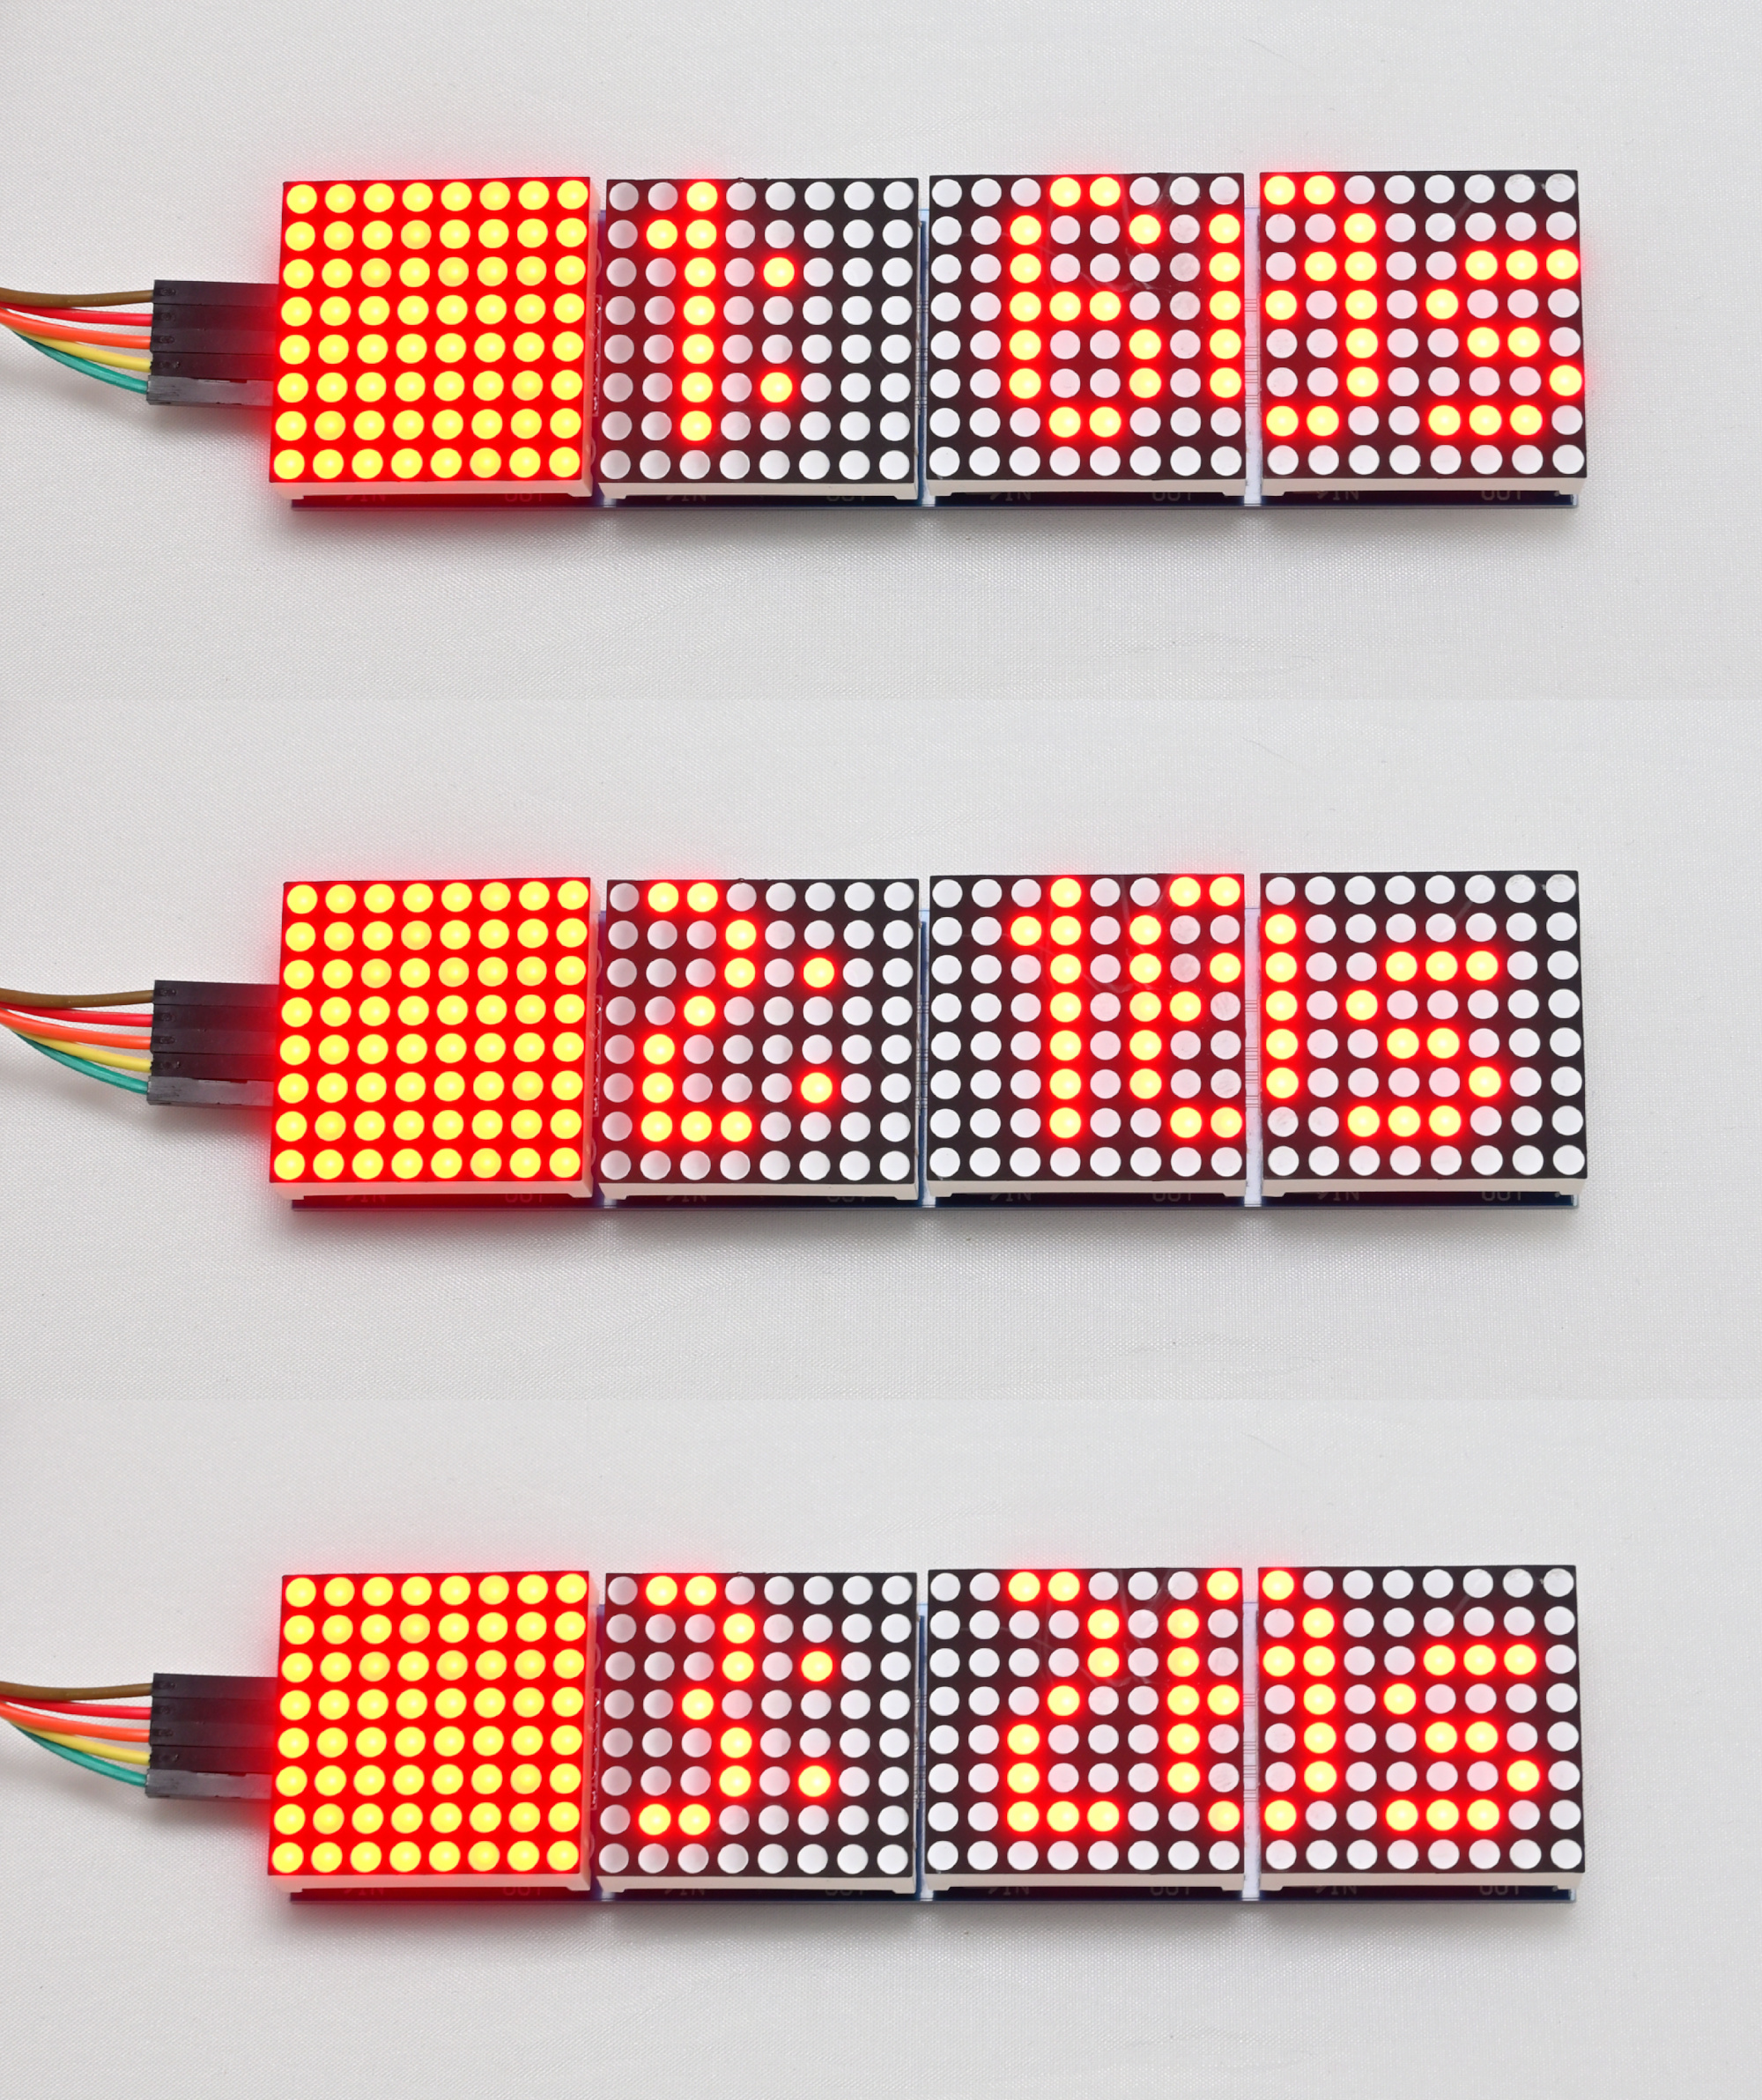
EnlargerOnOffTask
Manual enlarger switch switched on.
EnlargerTimerTask
Timed enlarger switch.
DevelopStopFixTask
3 timers for develop, stop bath and fix.
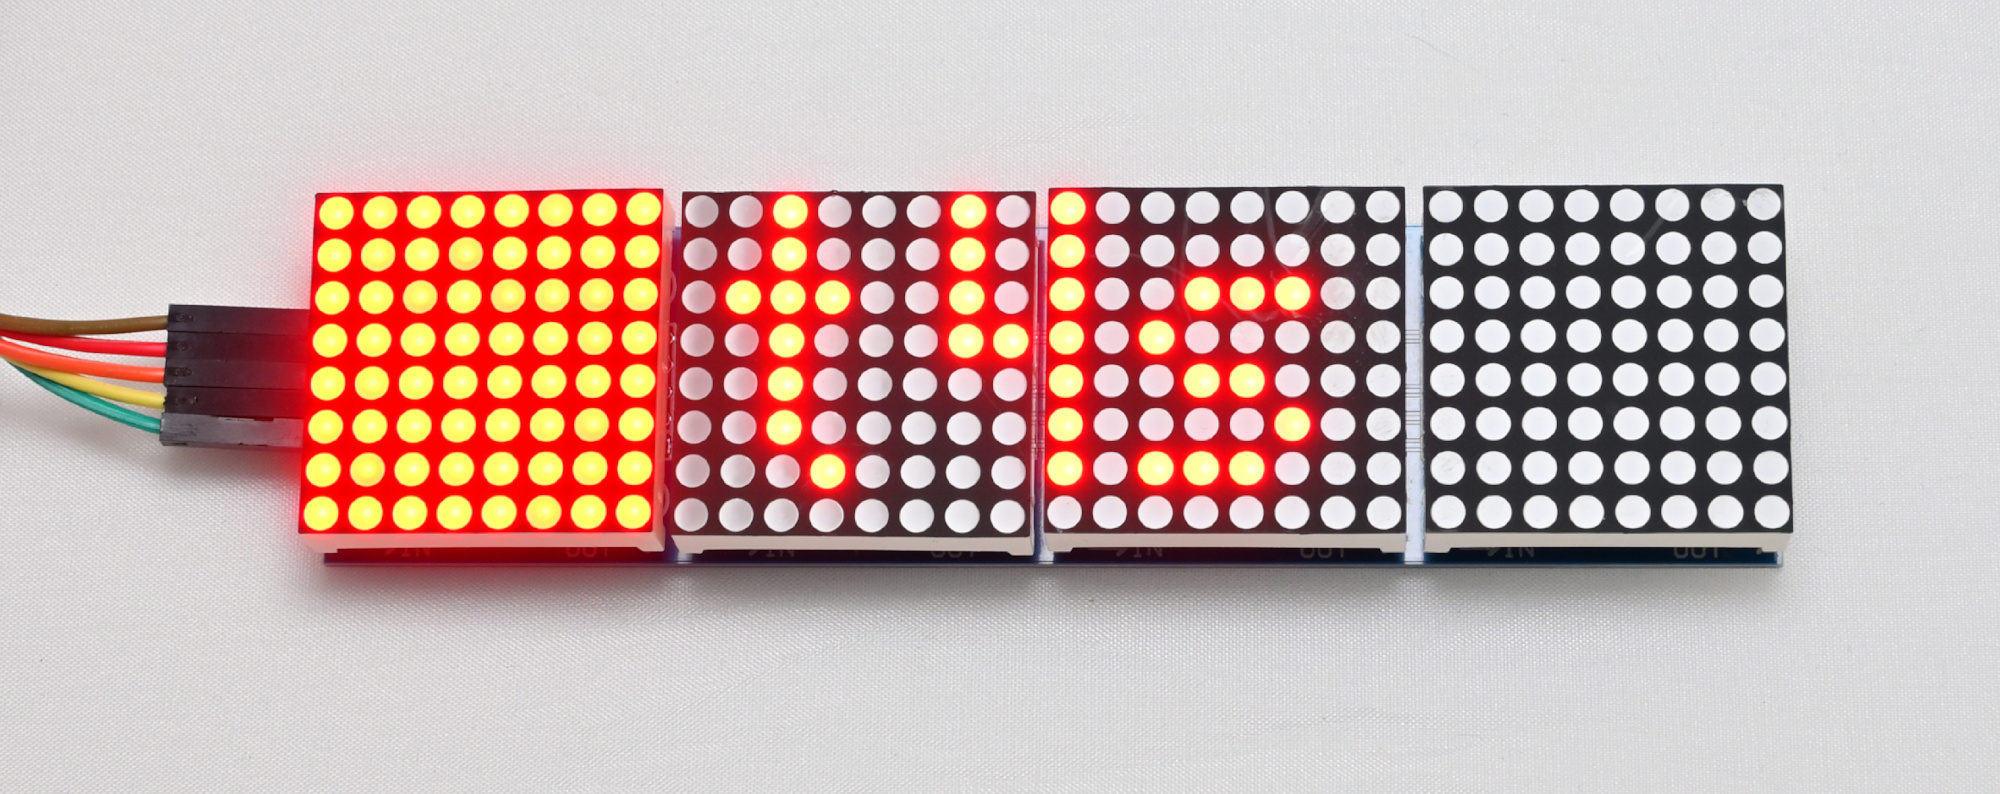
GeneralTimerTask
General timer starting from 0s.
Arduino Darkroom Timer Github Project
This darkroom timer project combines modern microcontroller technology with the tactile simplicity of gamepad input to support essential analog photography tasks. Whether you are timing enlarger exposures or chemical baths, this tool offers consistent performance and flexibility for both amateur and professional darkroom enthusiasts. With five dedicated modes and intuitive controls, it provides a reliable and customizable solution for anyone working in a traditional darkroom. The open-source design invites further experimentation and adaptation. Whether you are refining your workflow or building your own version.
-
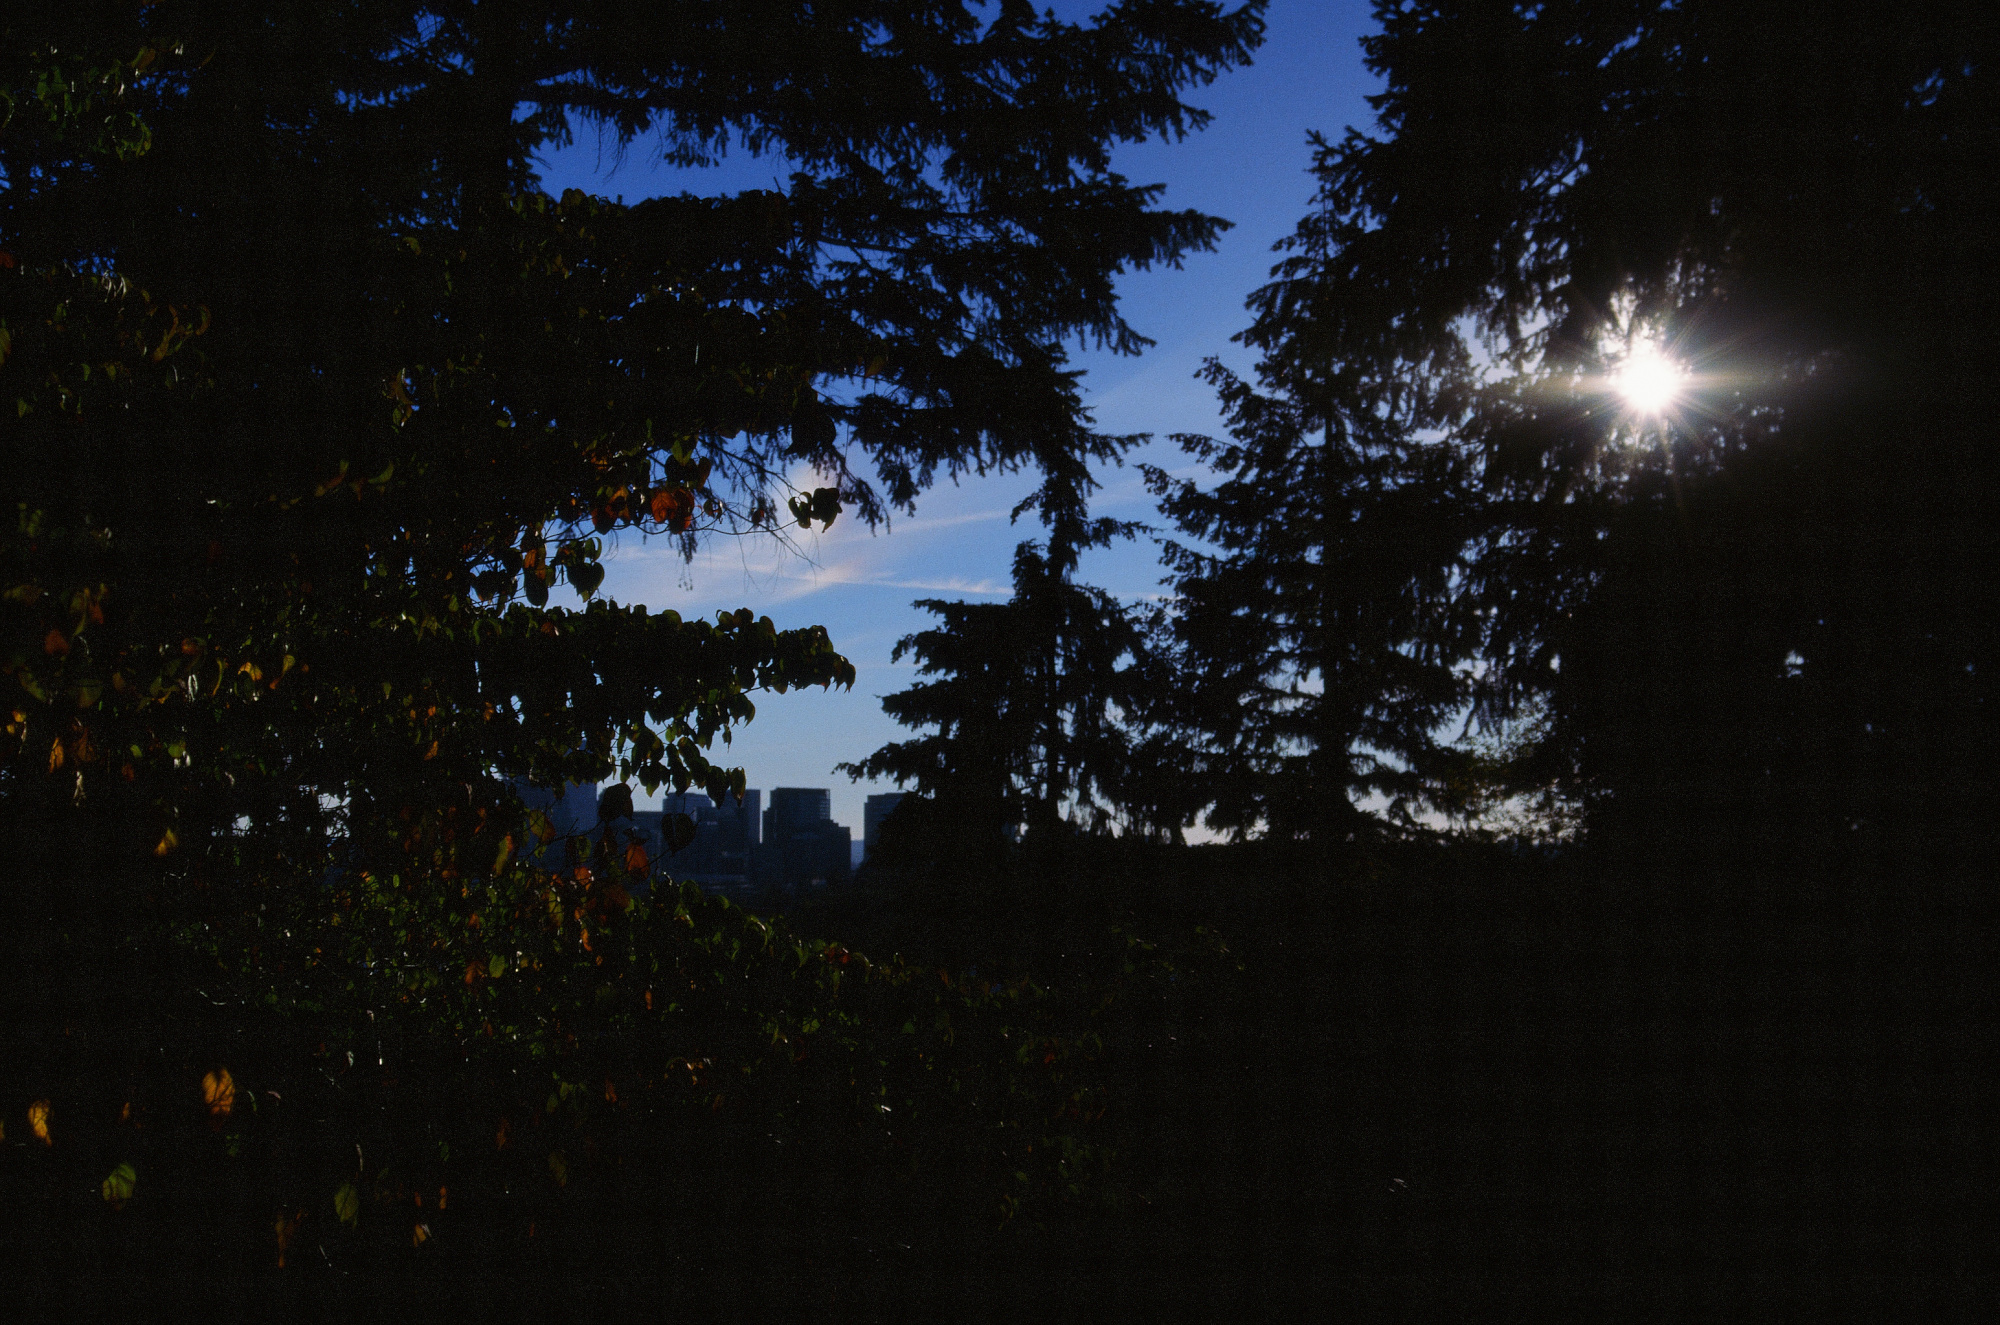
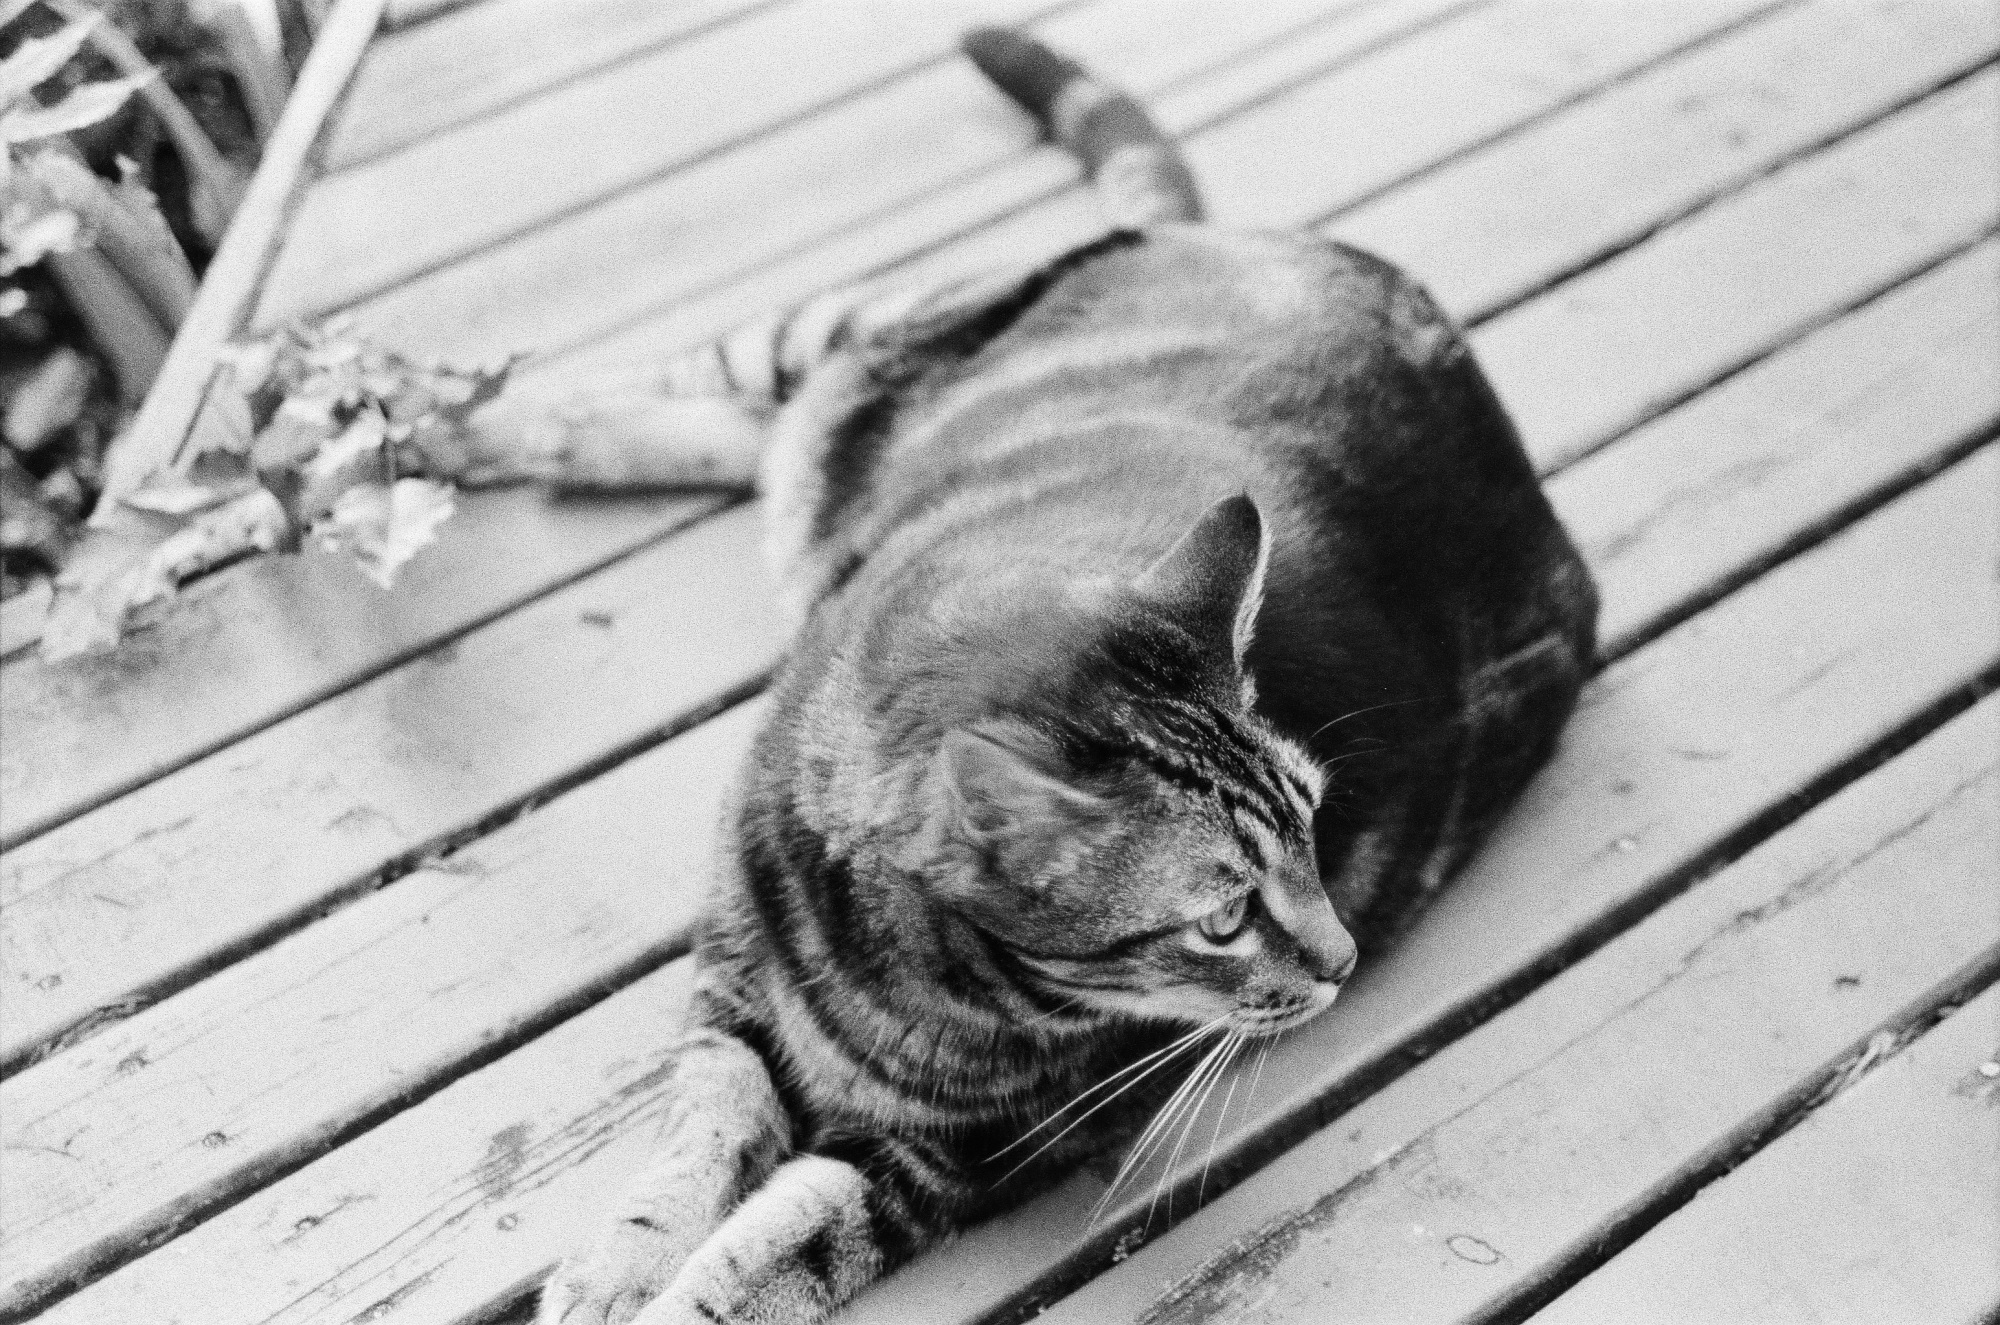
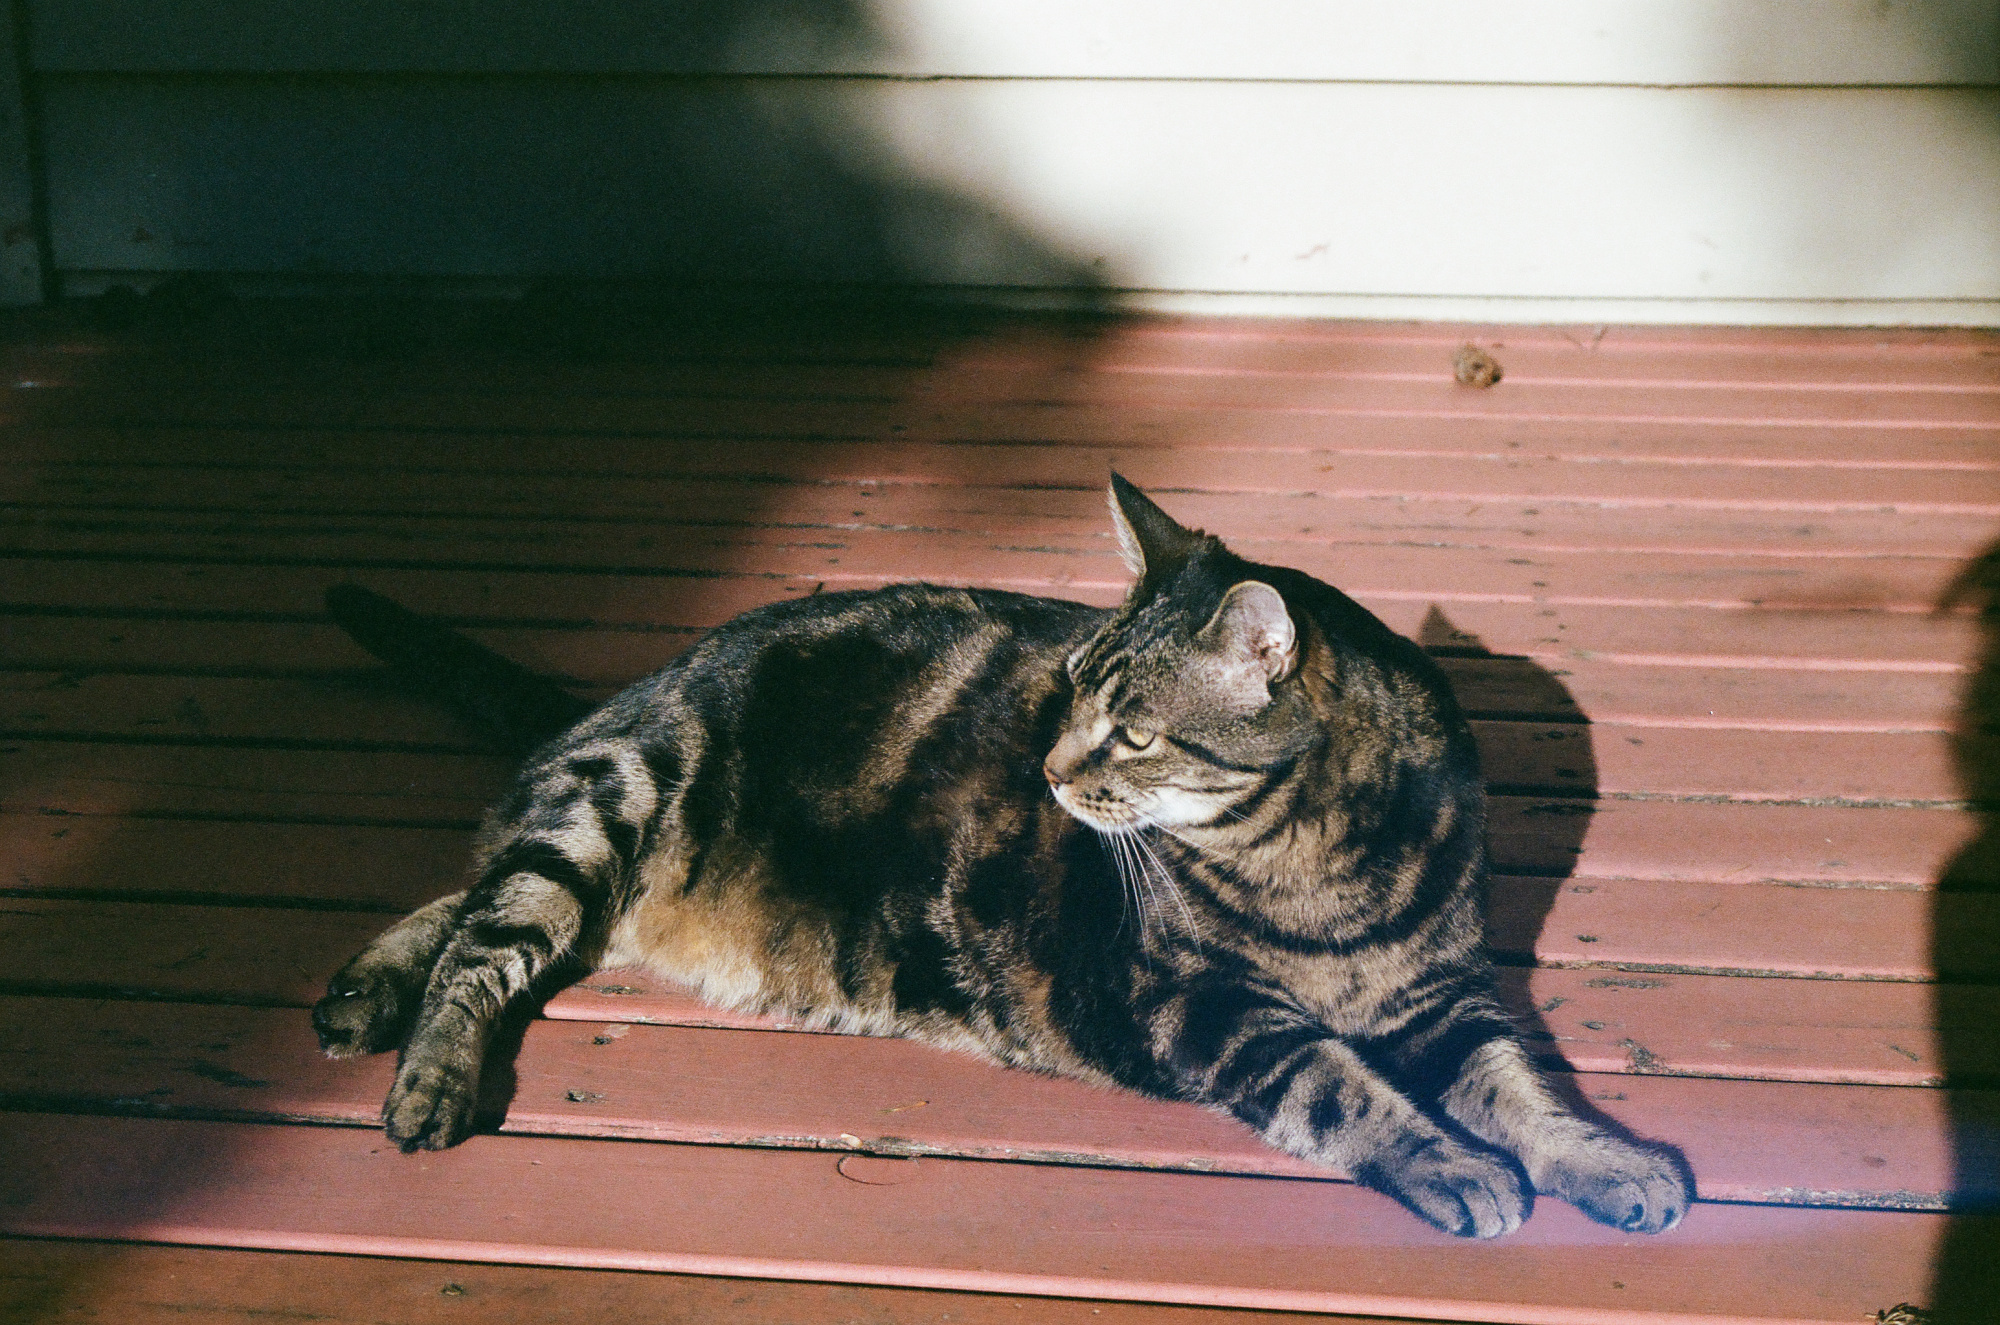
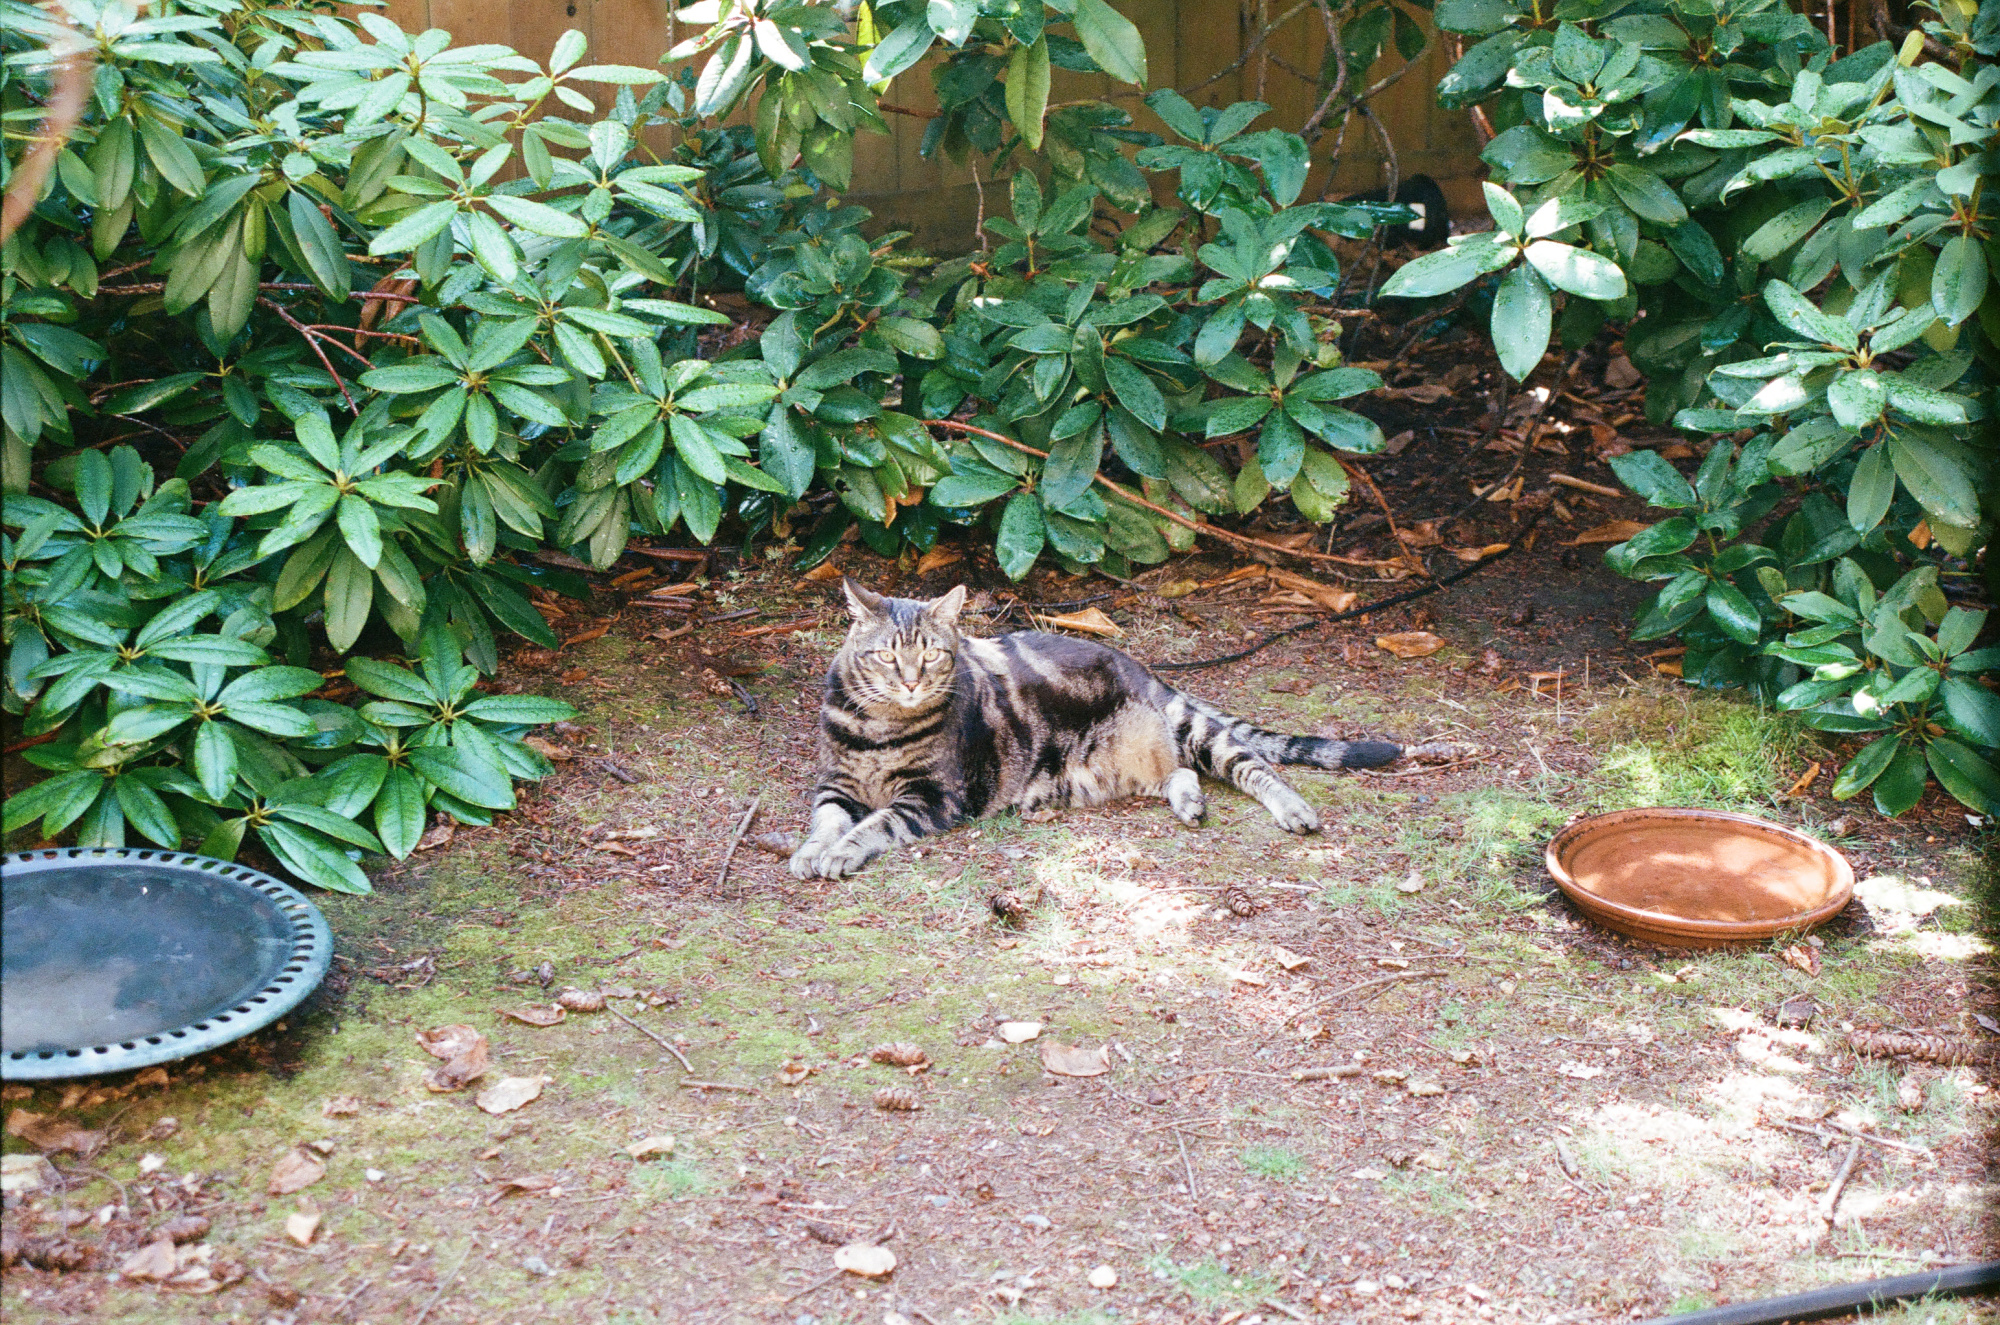
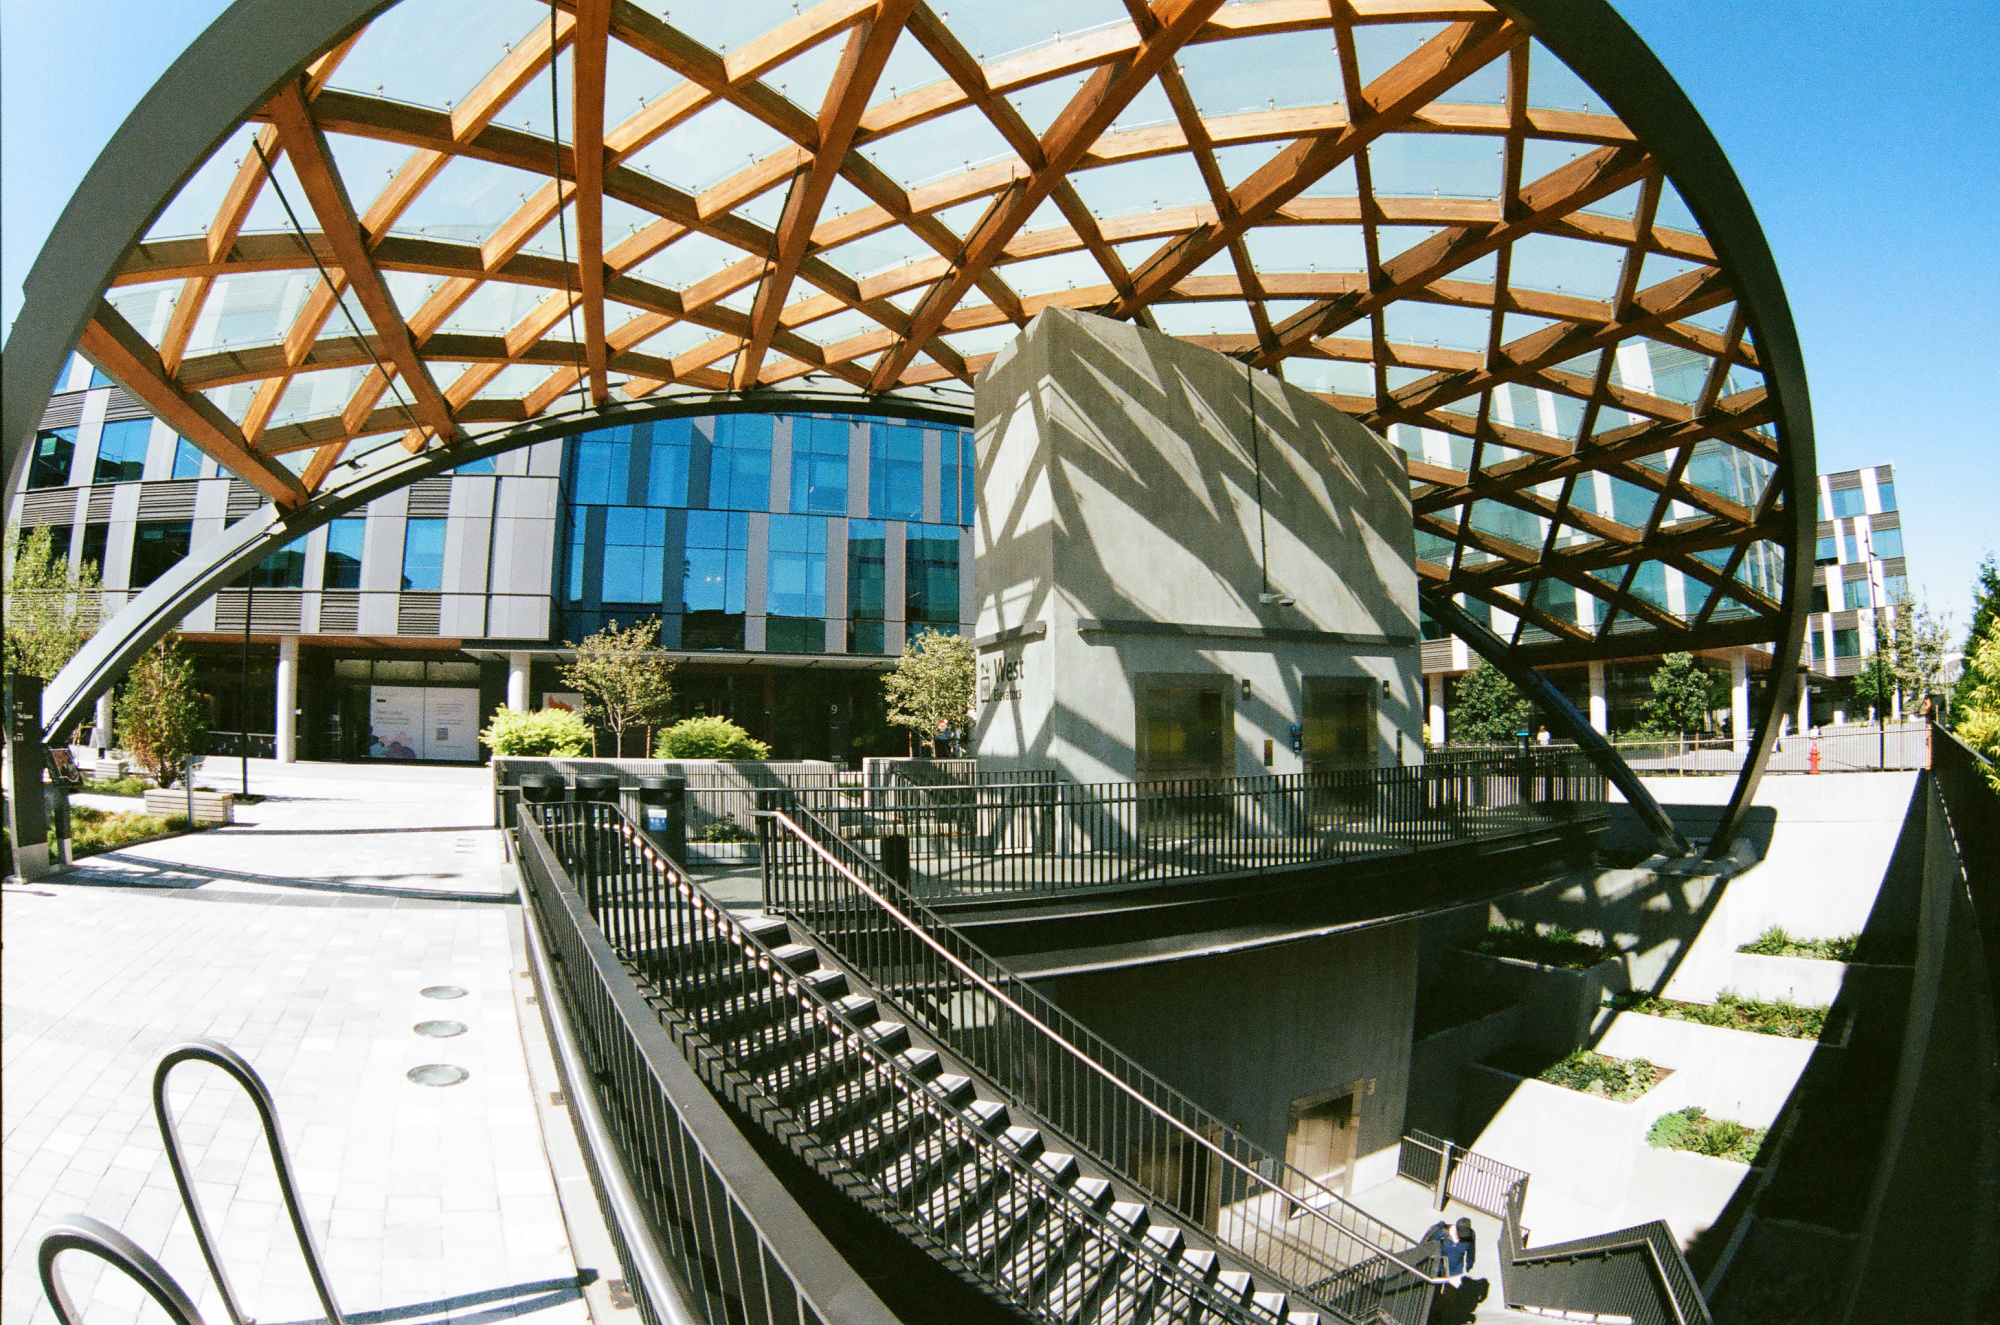
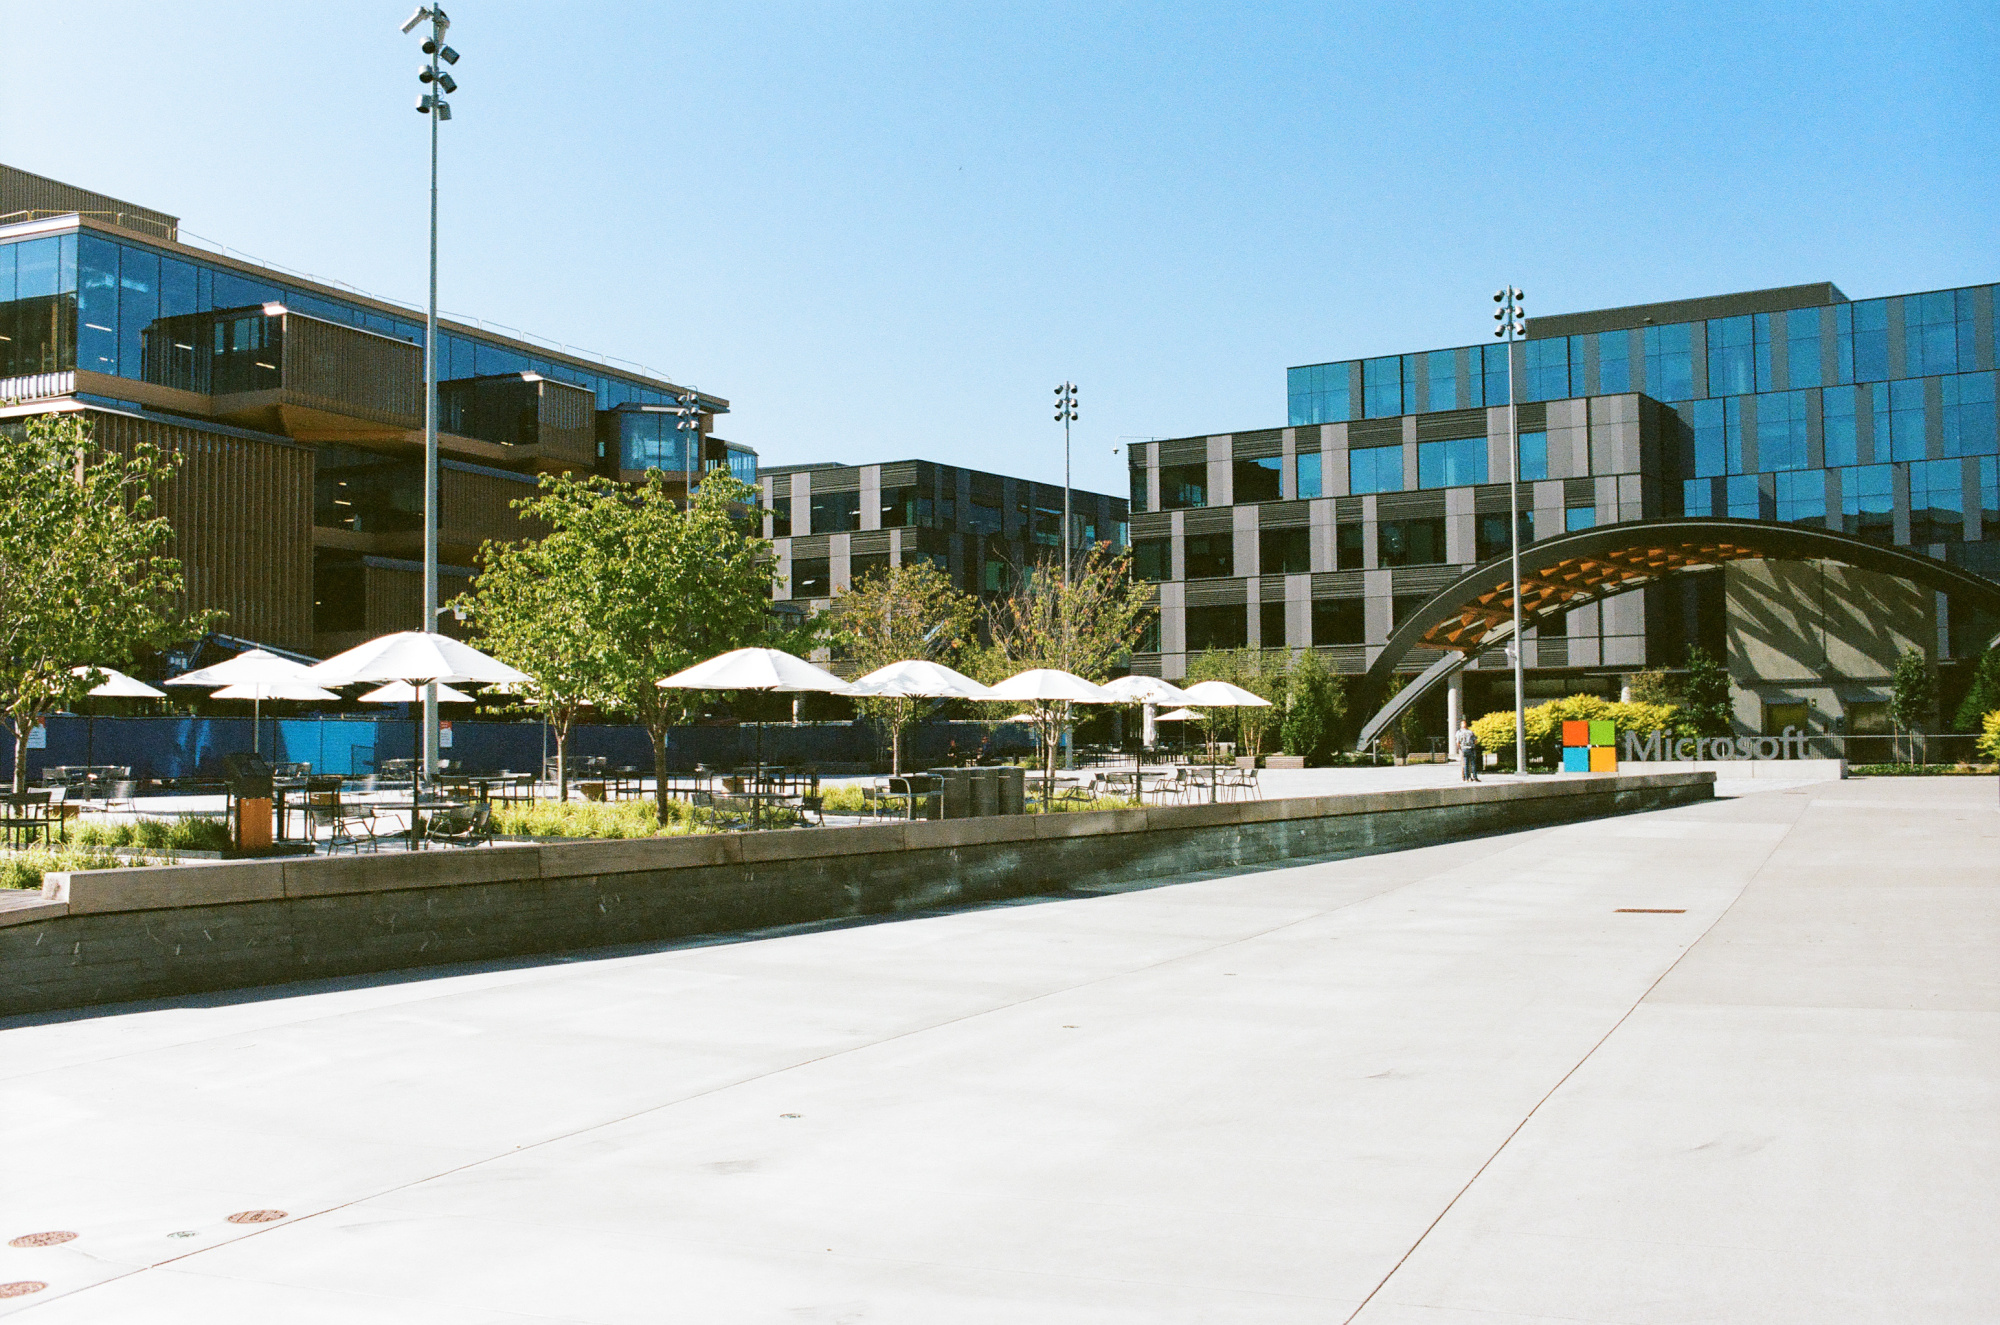
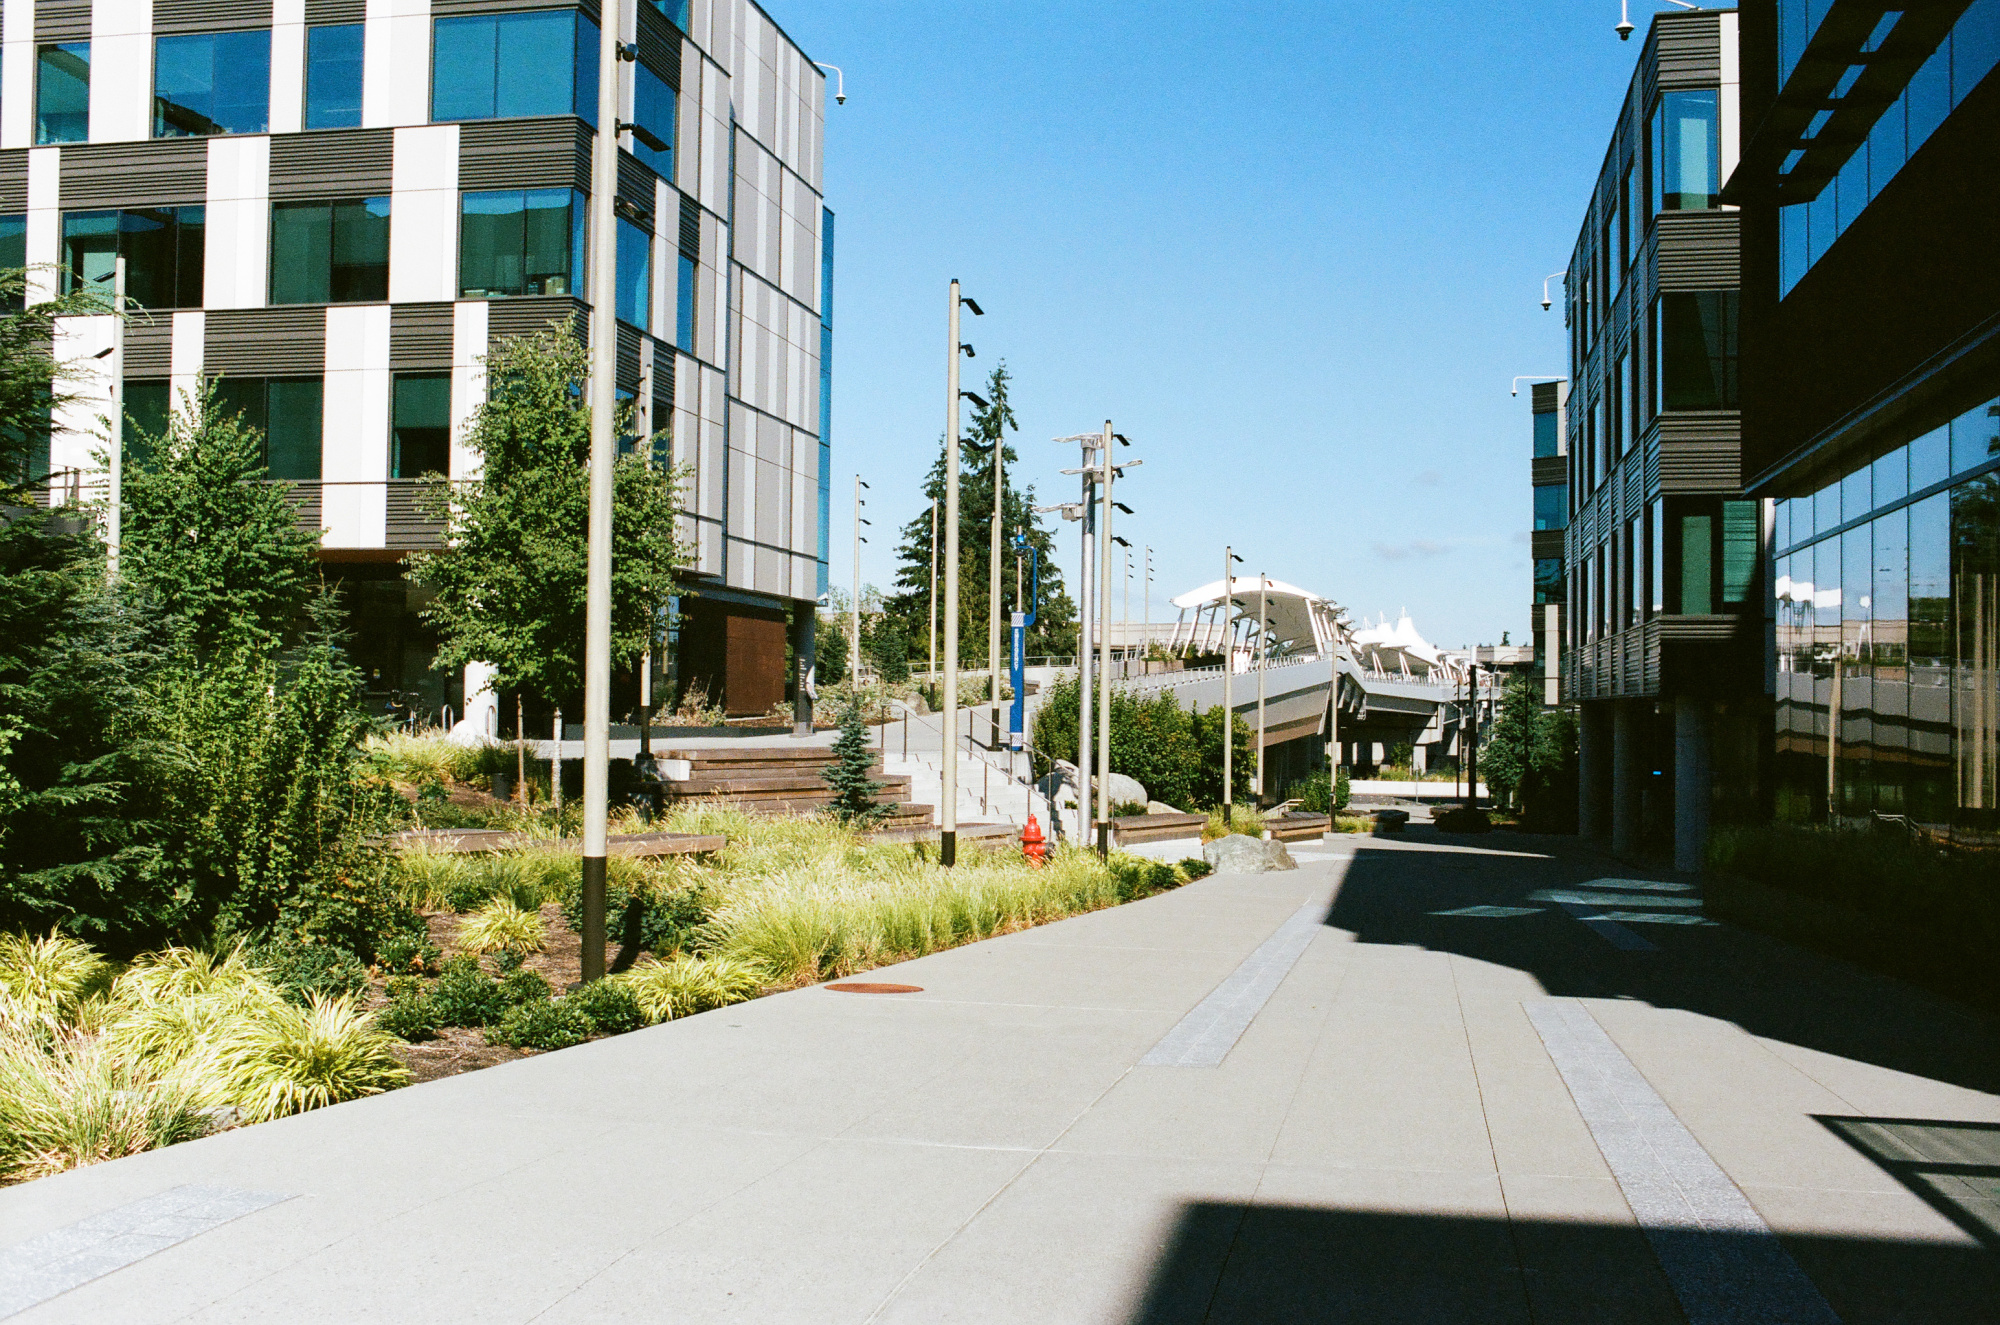
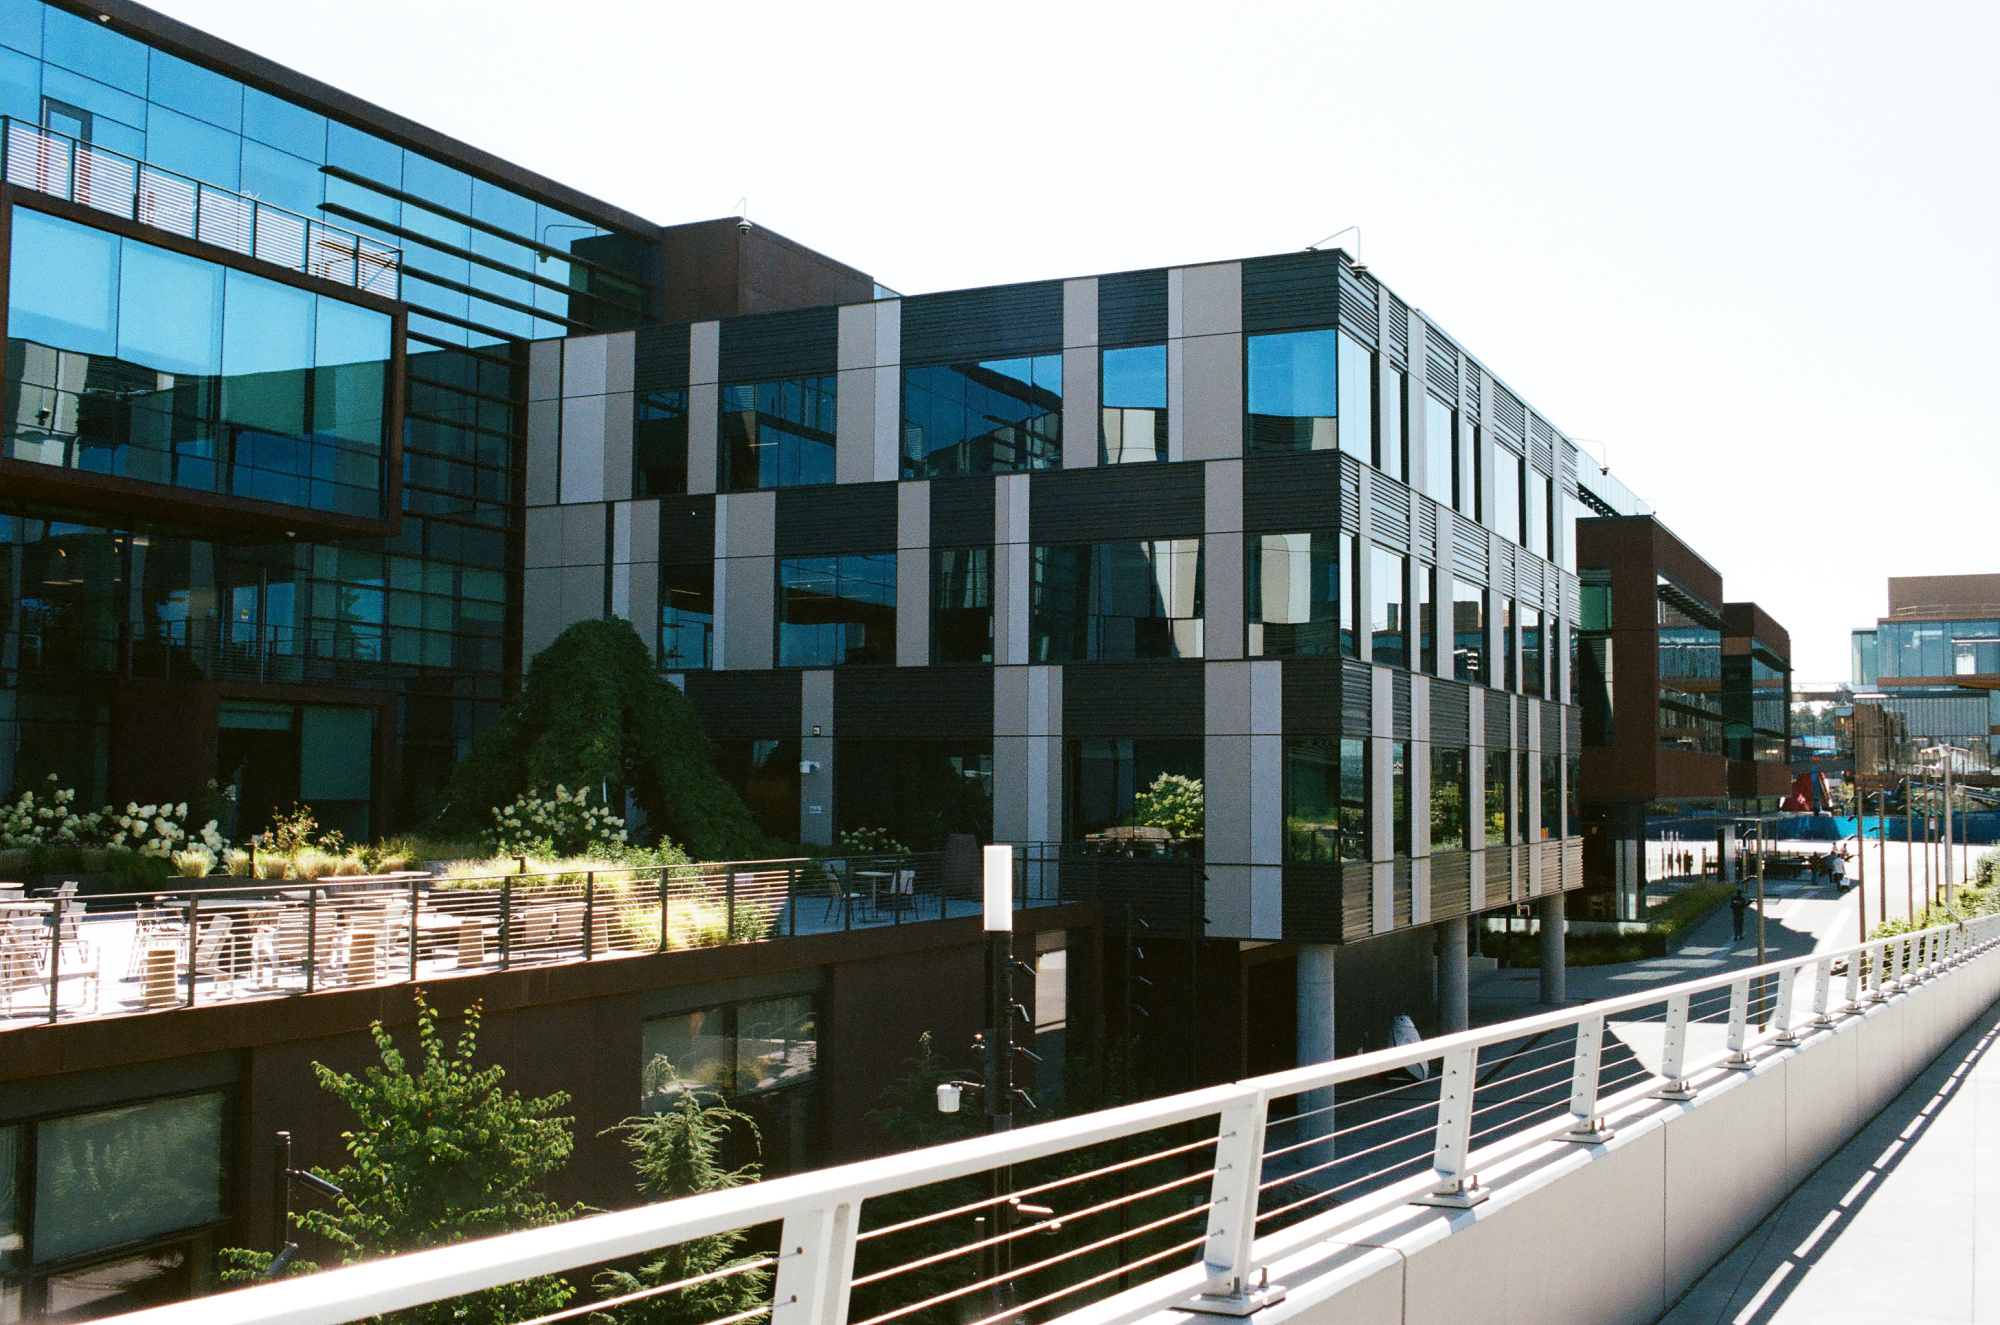
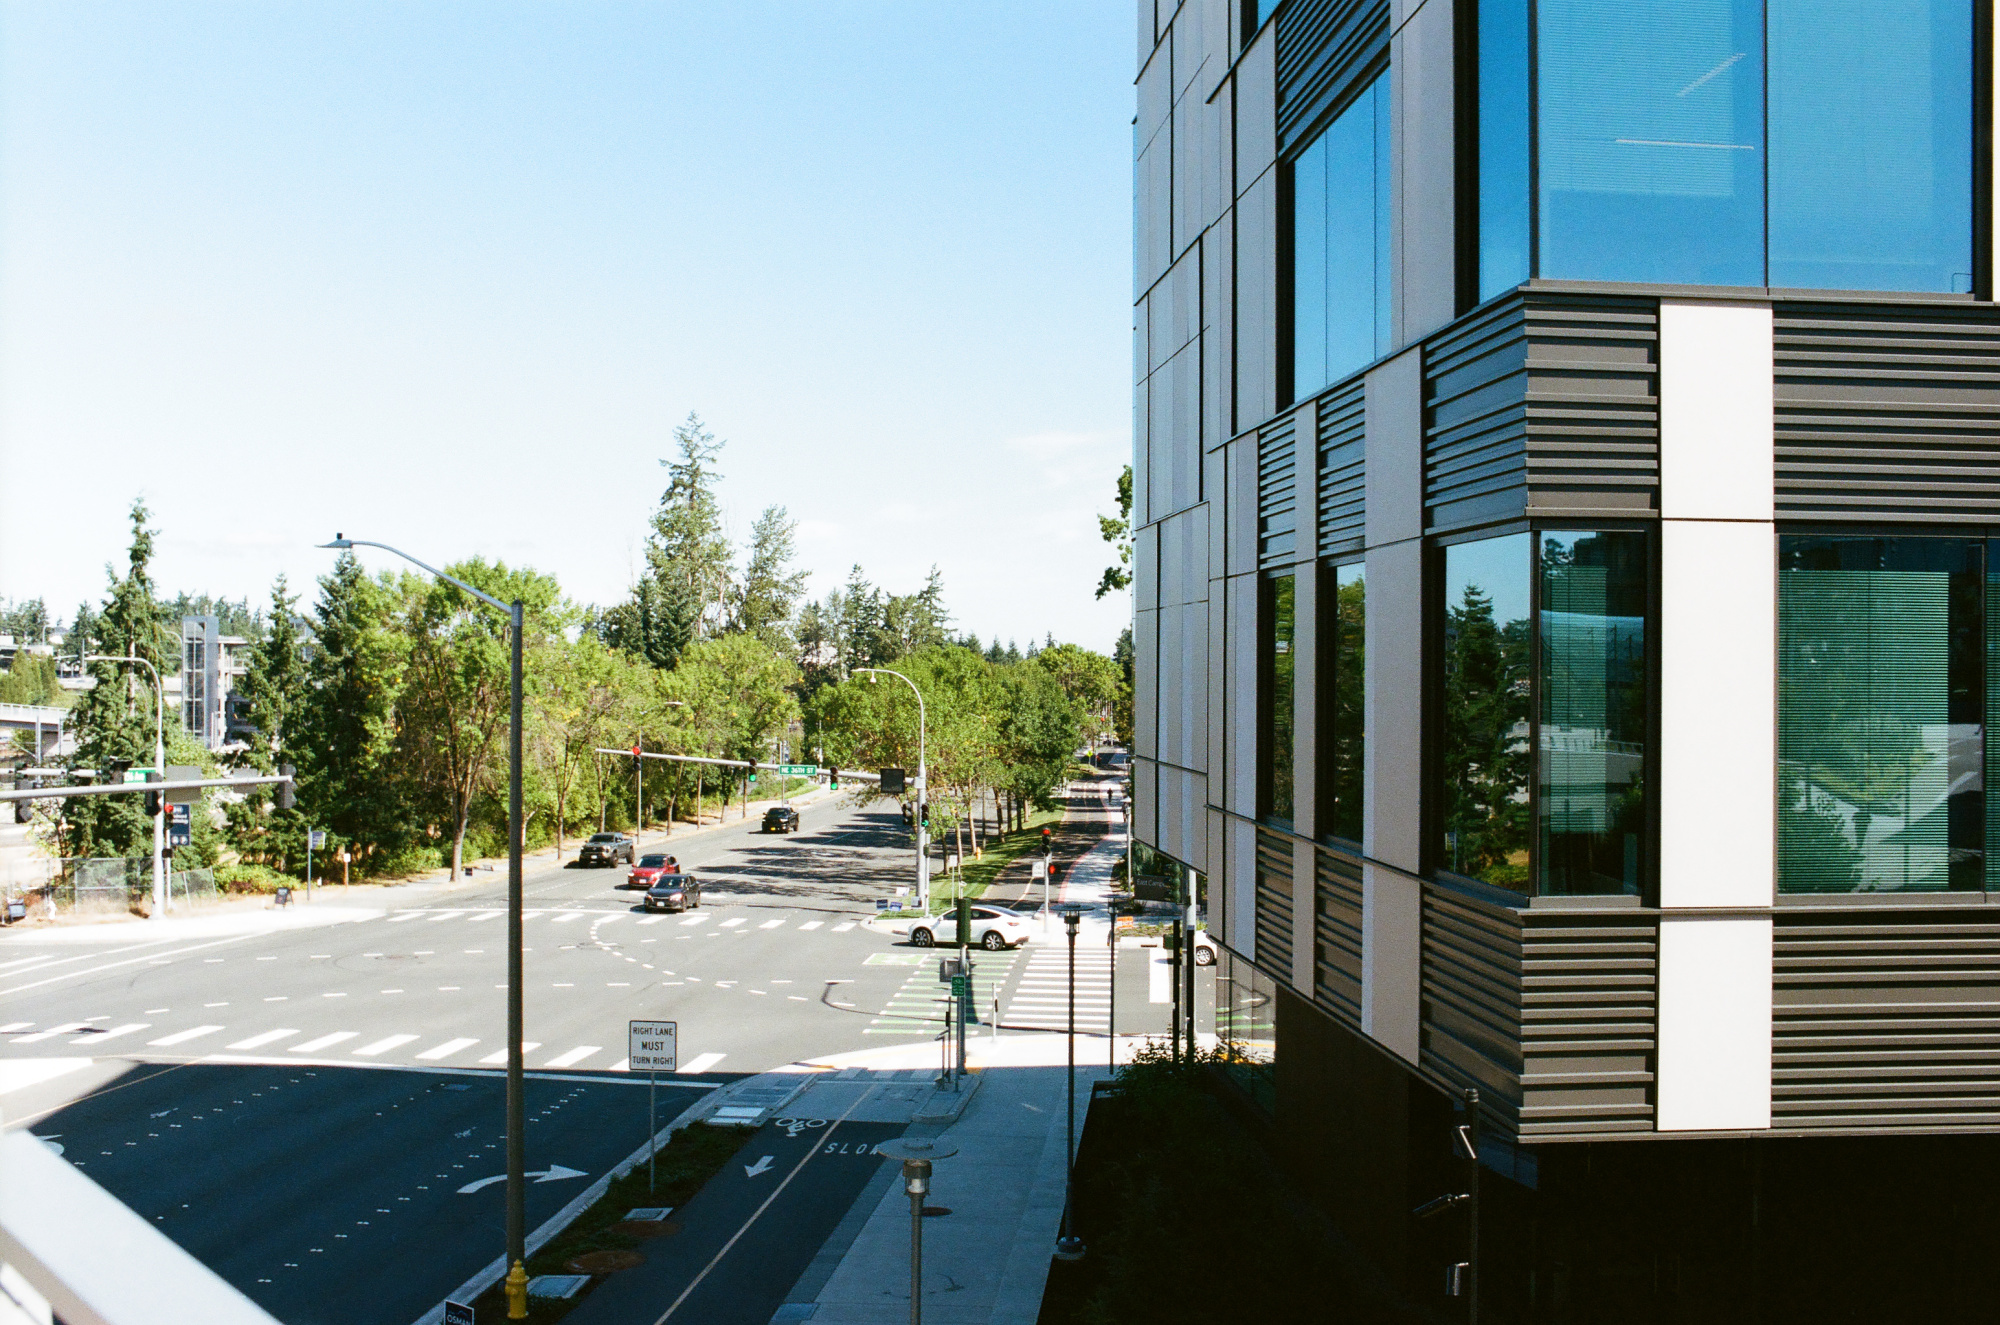
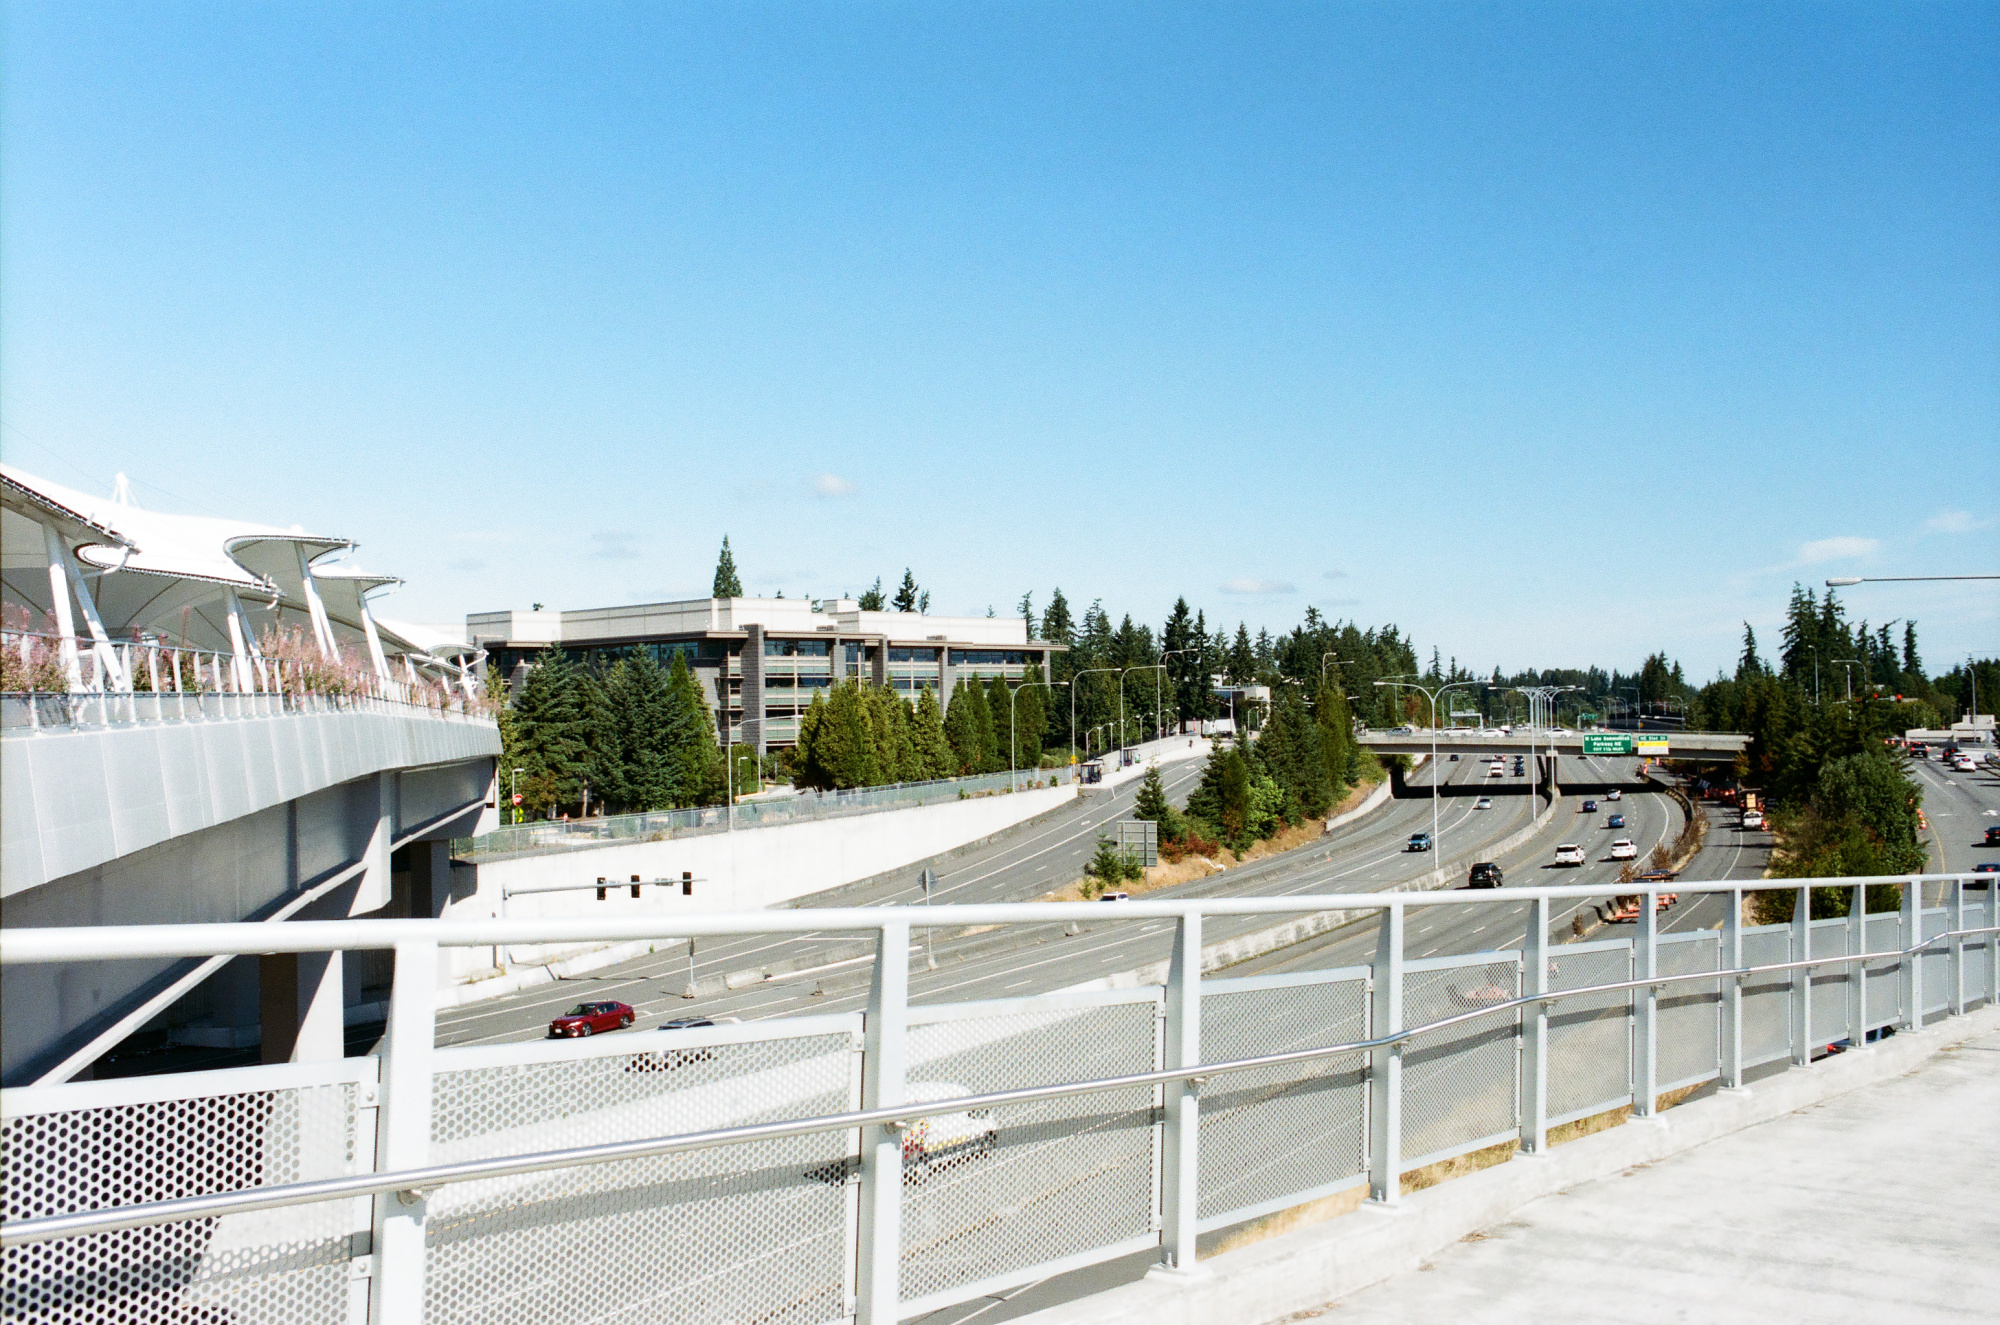
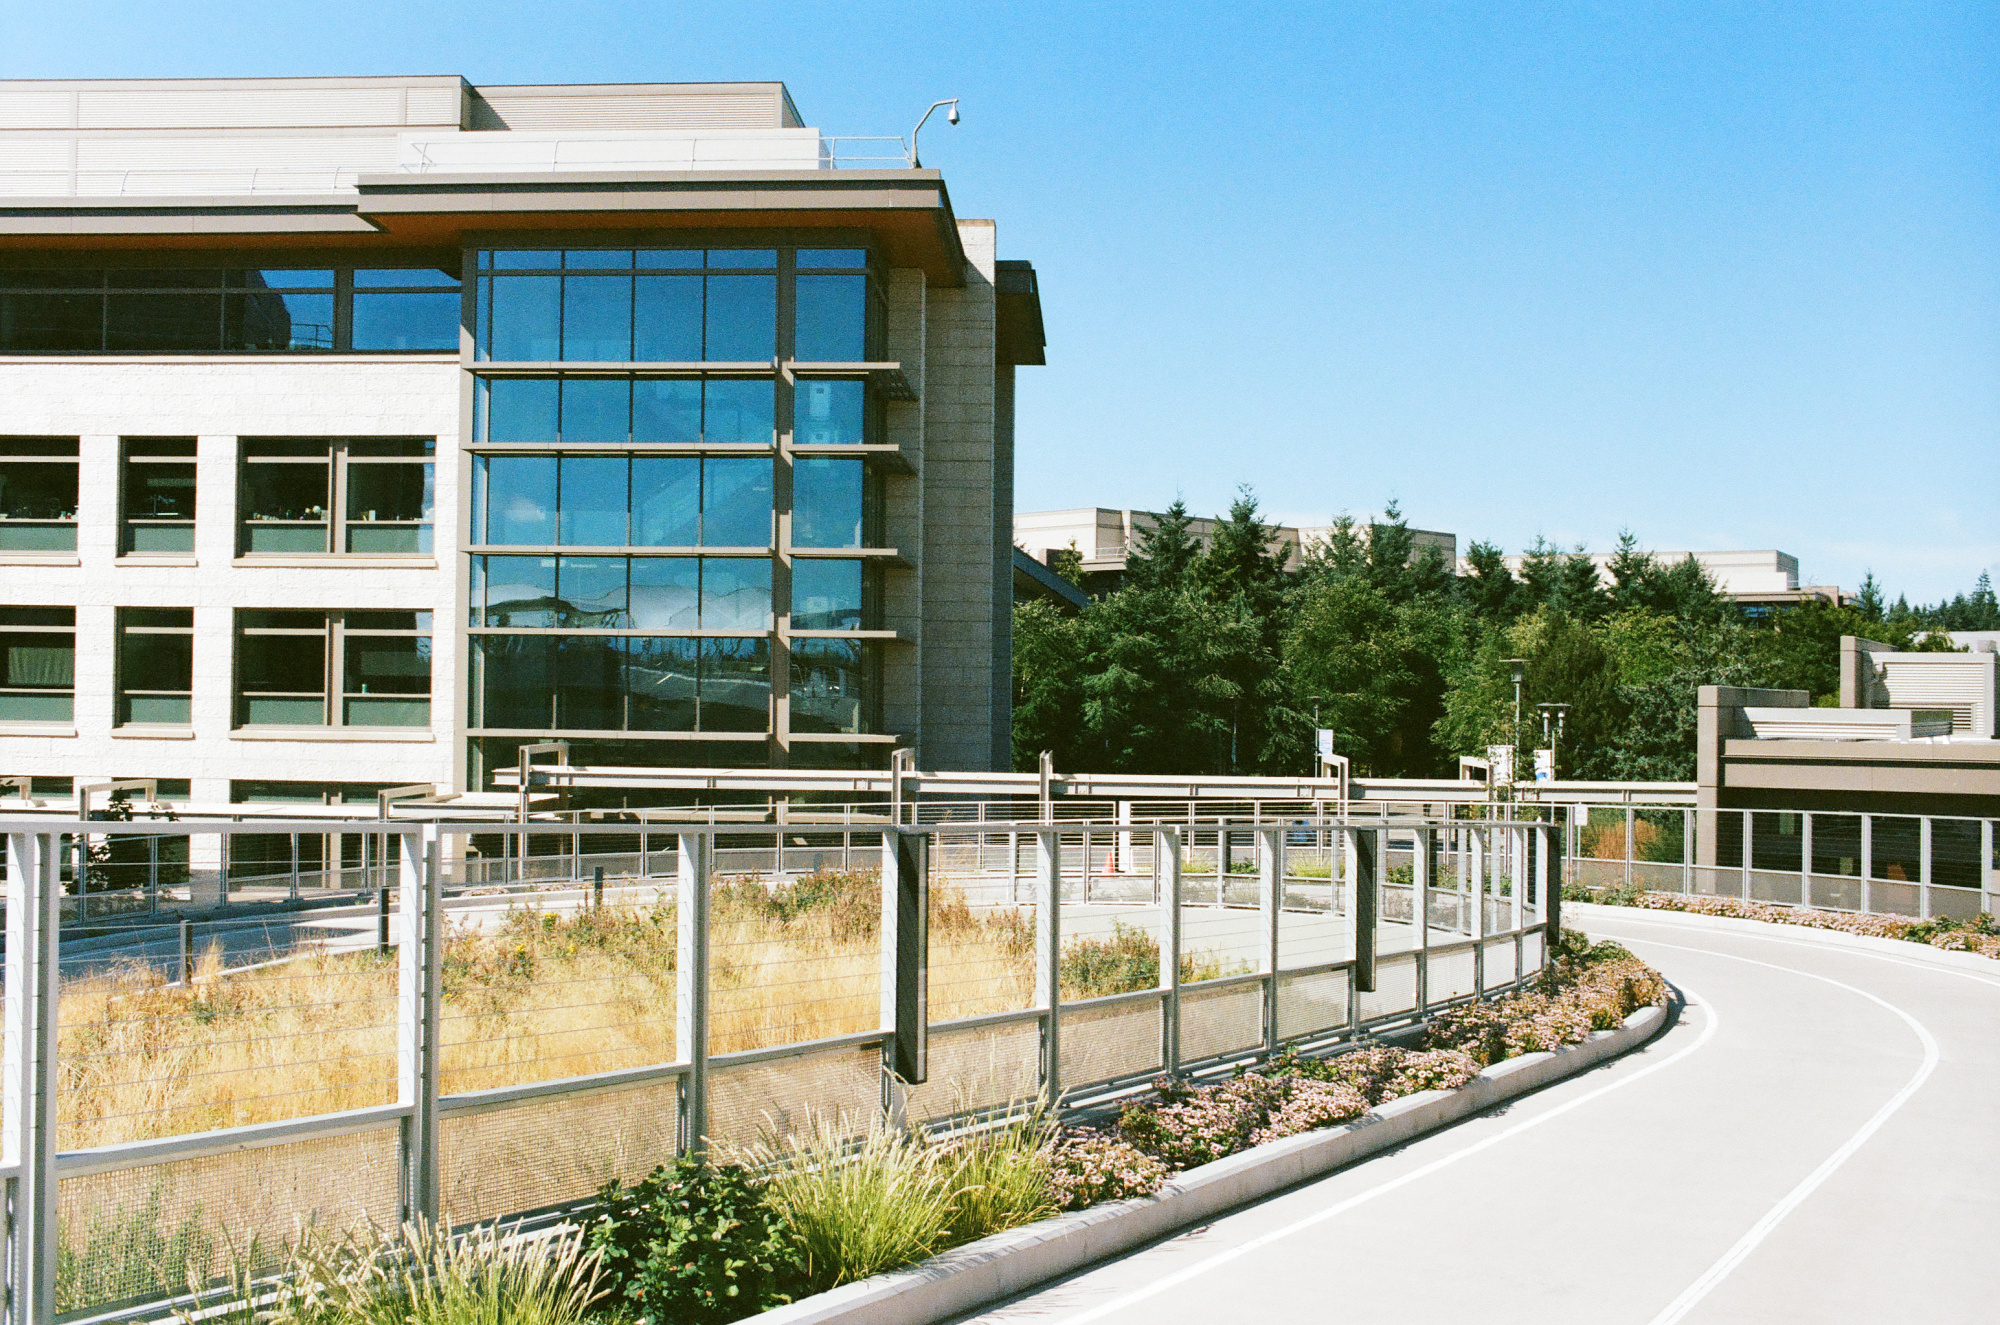
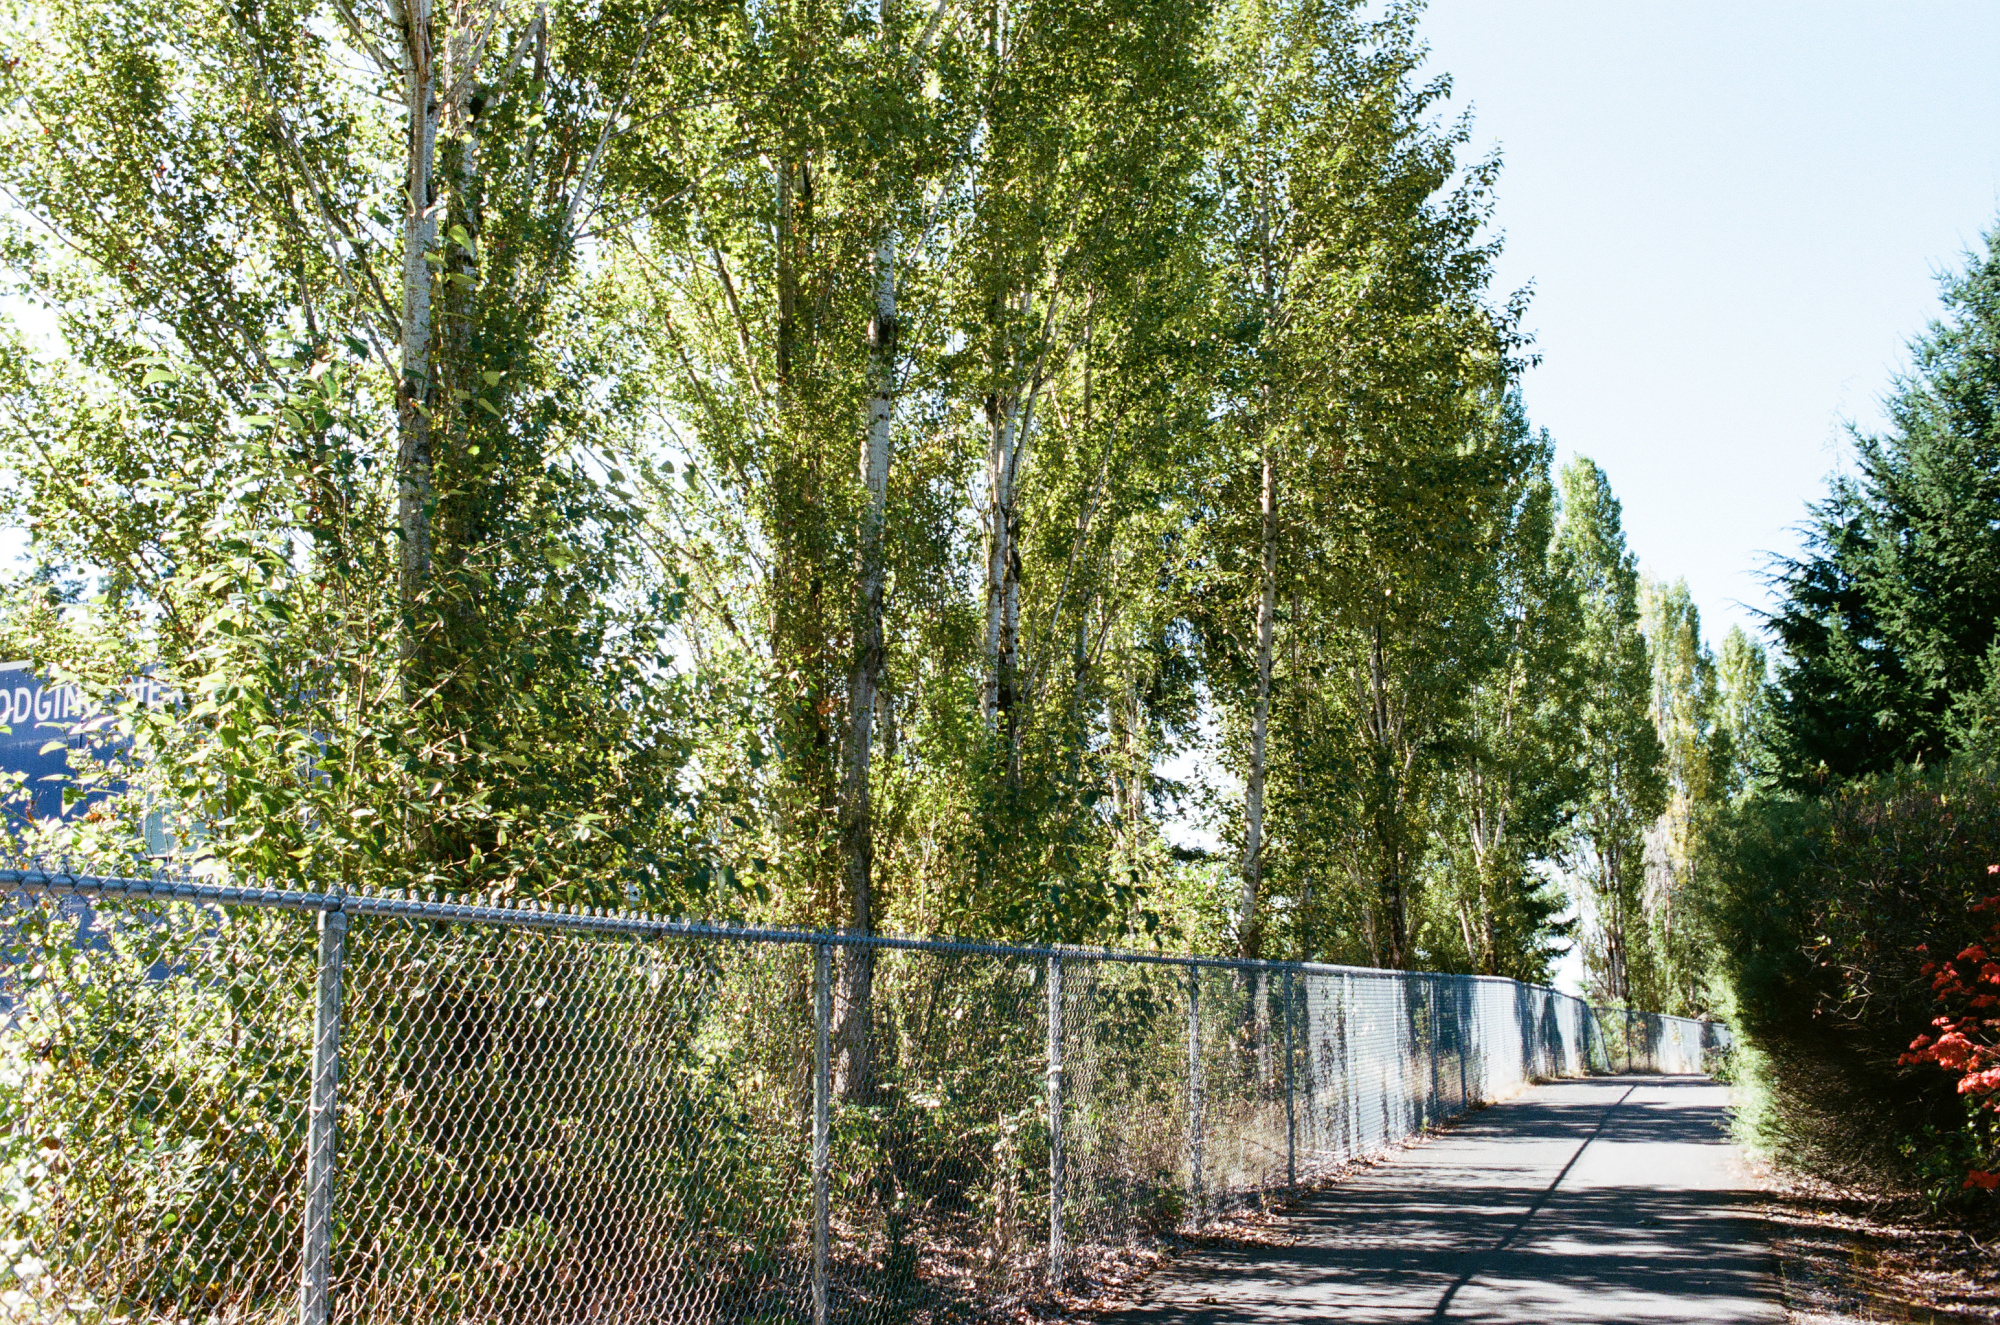
Analog Photography
Start of a new journey.
📷 Nikon F2A - Nikkor AI-S 35-70mm f/3.5
- Black&White Film, Ilford HP5 Plus 400
- Color Slide Film, Kodak Ektachrome E100
- Color Negative Film, Kodak Portra 400
- Also used: Nikkor AI 35mm f/2 for bright moments, and Zenitar Fisheye 16mm for a broader perspective when things get interesting.
🎞️ Films sourced from Film Photography Store 2
📷 Camera and Nikkors sourced from eBay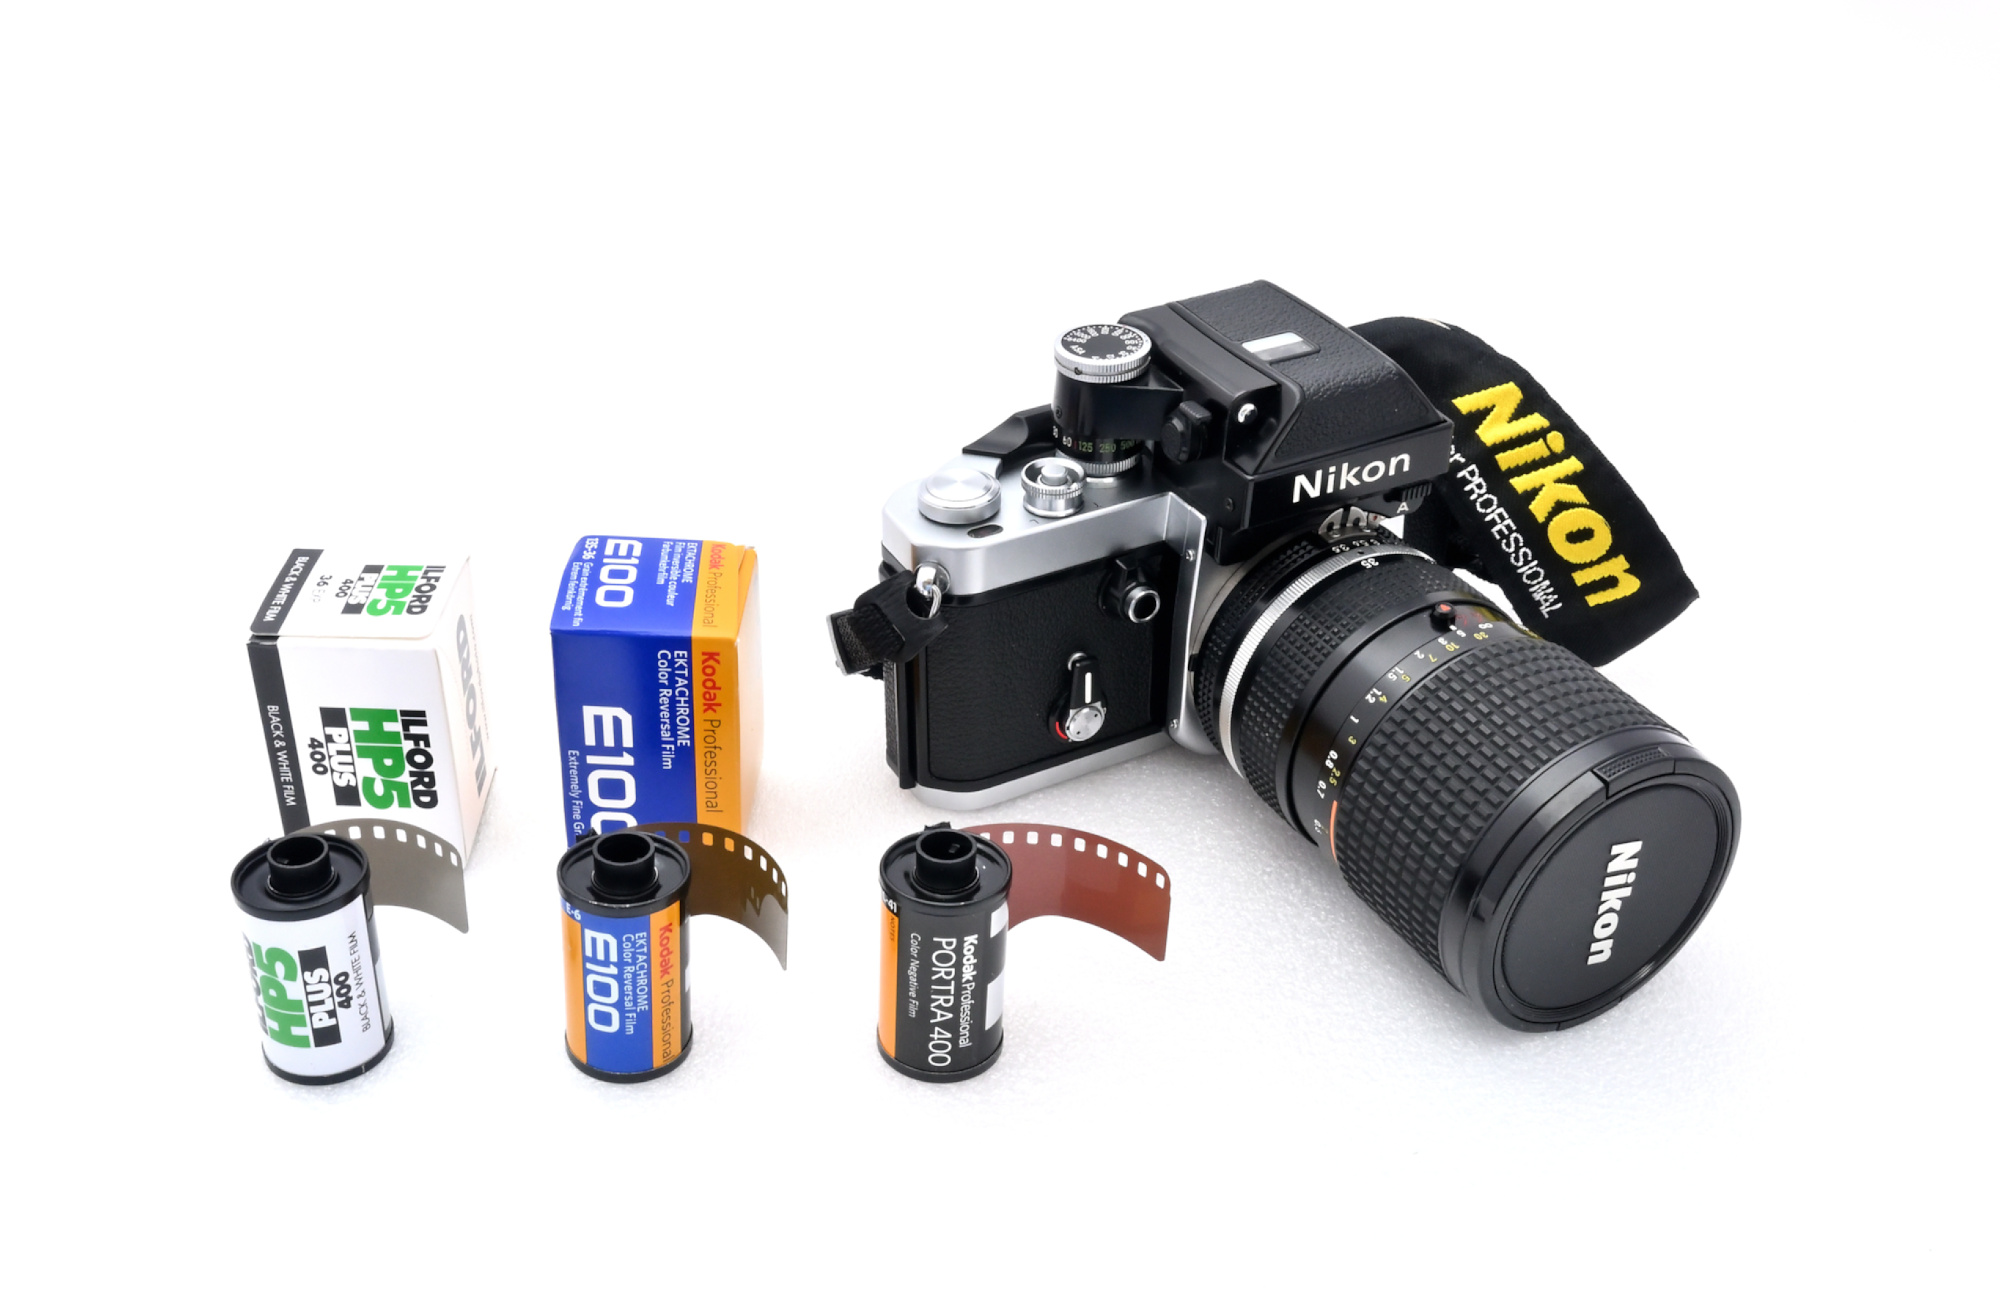
Lab Scans
🧪 Developed and scanned by The Darkroom 2 using the 'Enhanced' scan option (available choices: 'Standard', 'Enhanced', 'Super Scan').
The scans are saved as sRGB JPEGs and include a standard EXIF header with the following metadata in one APP1 marker:
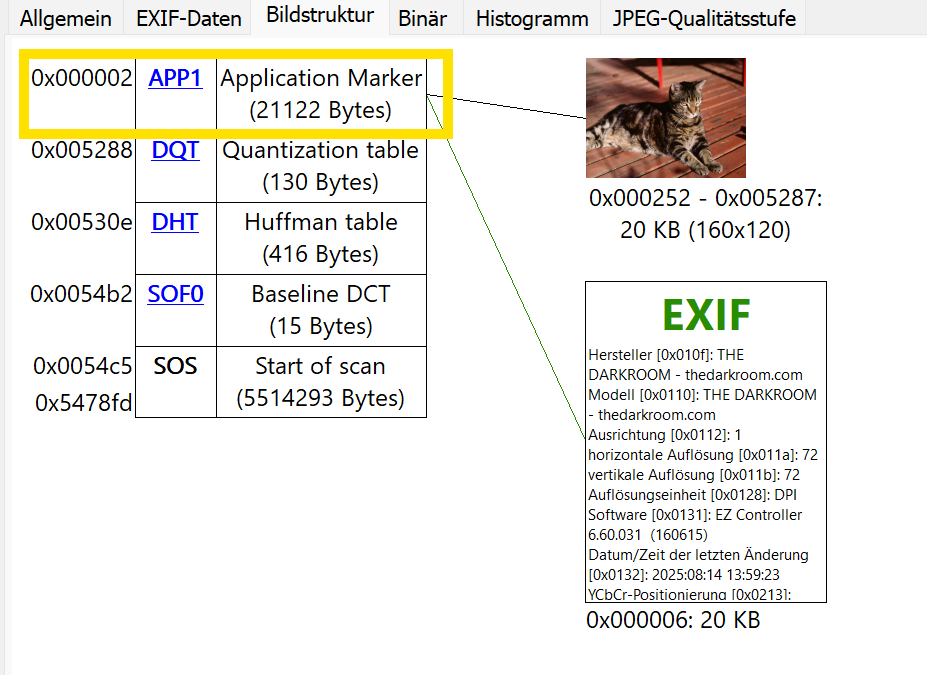
- Image dimensions 3089×2048
- Scan date
- Embedded thumbnail: 160×120 pixels
- Resolution marker: Standard 72 DPI
- EXIF Version 2.20
- EXIF Tag 0x0131 ('Software'):
EZ Controller 6.60.031 (160615)
The JPEG quality level corresponds to luminance and chrominance settings of 97, resulting in an average file size of approximately 5 MB.
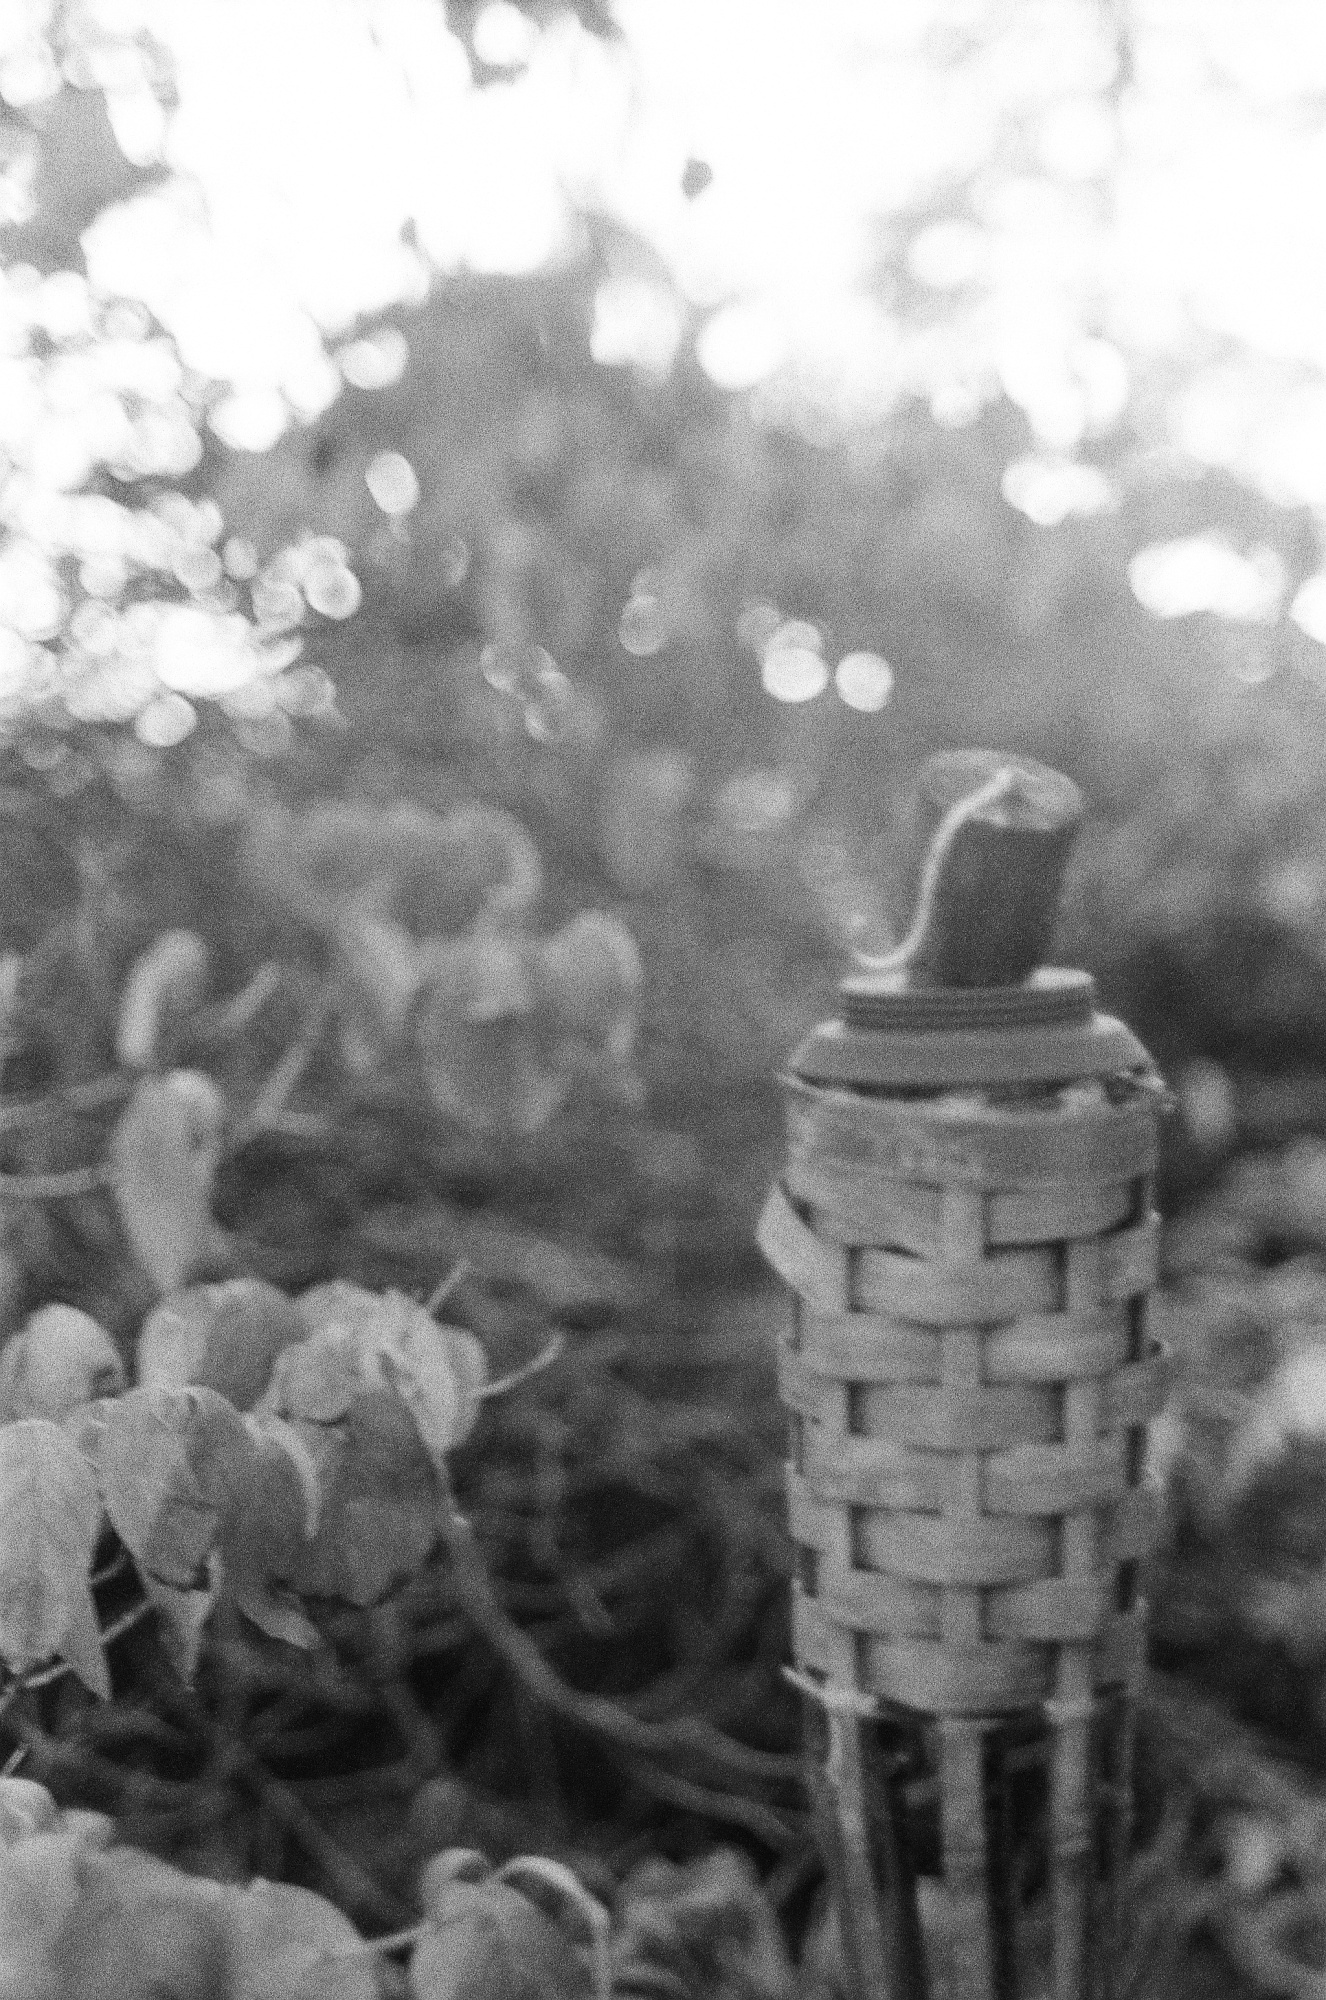
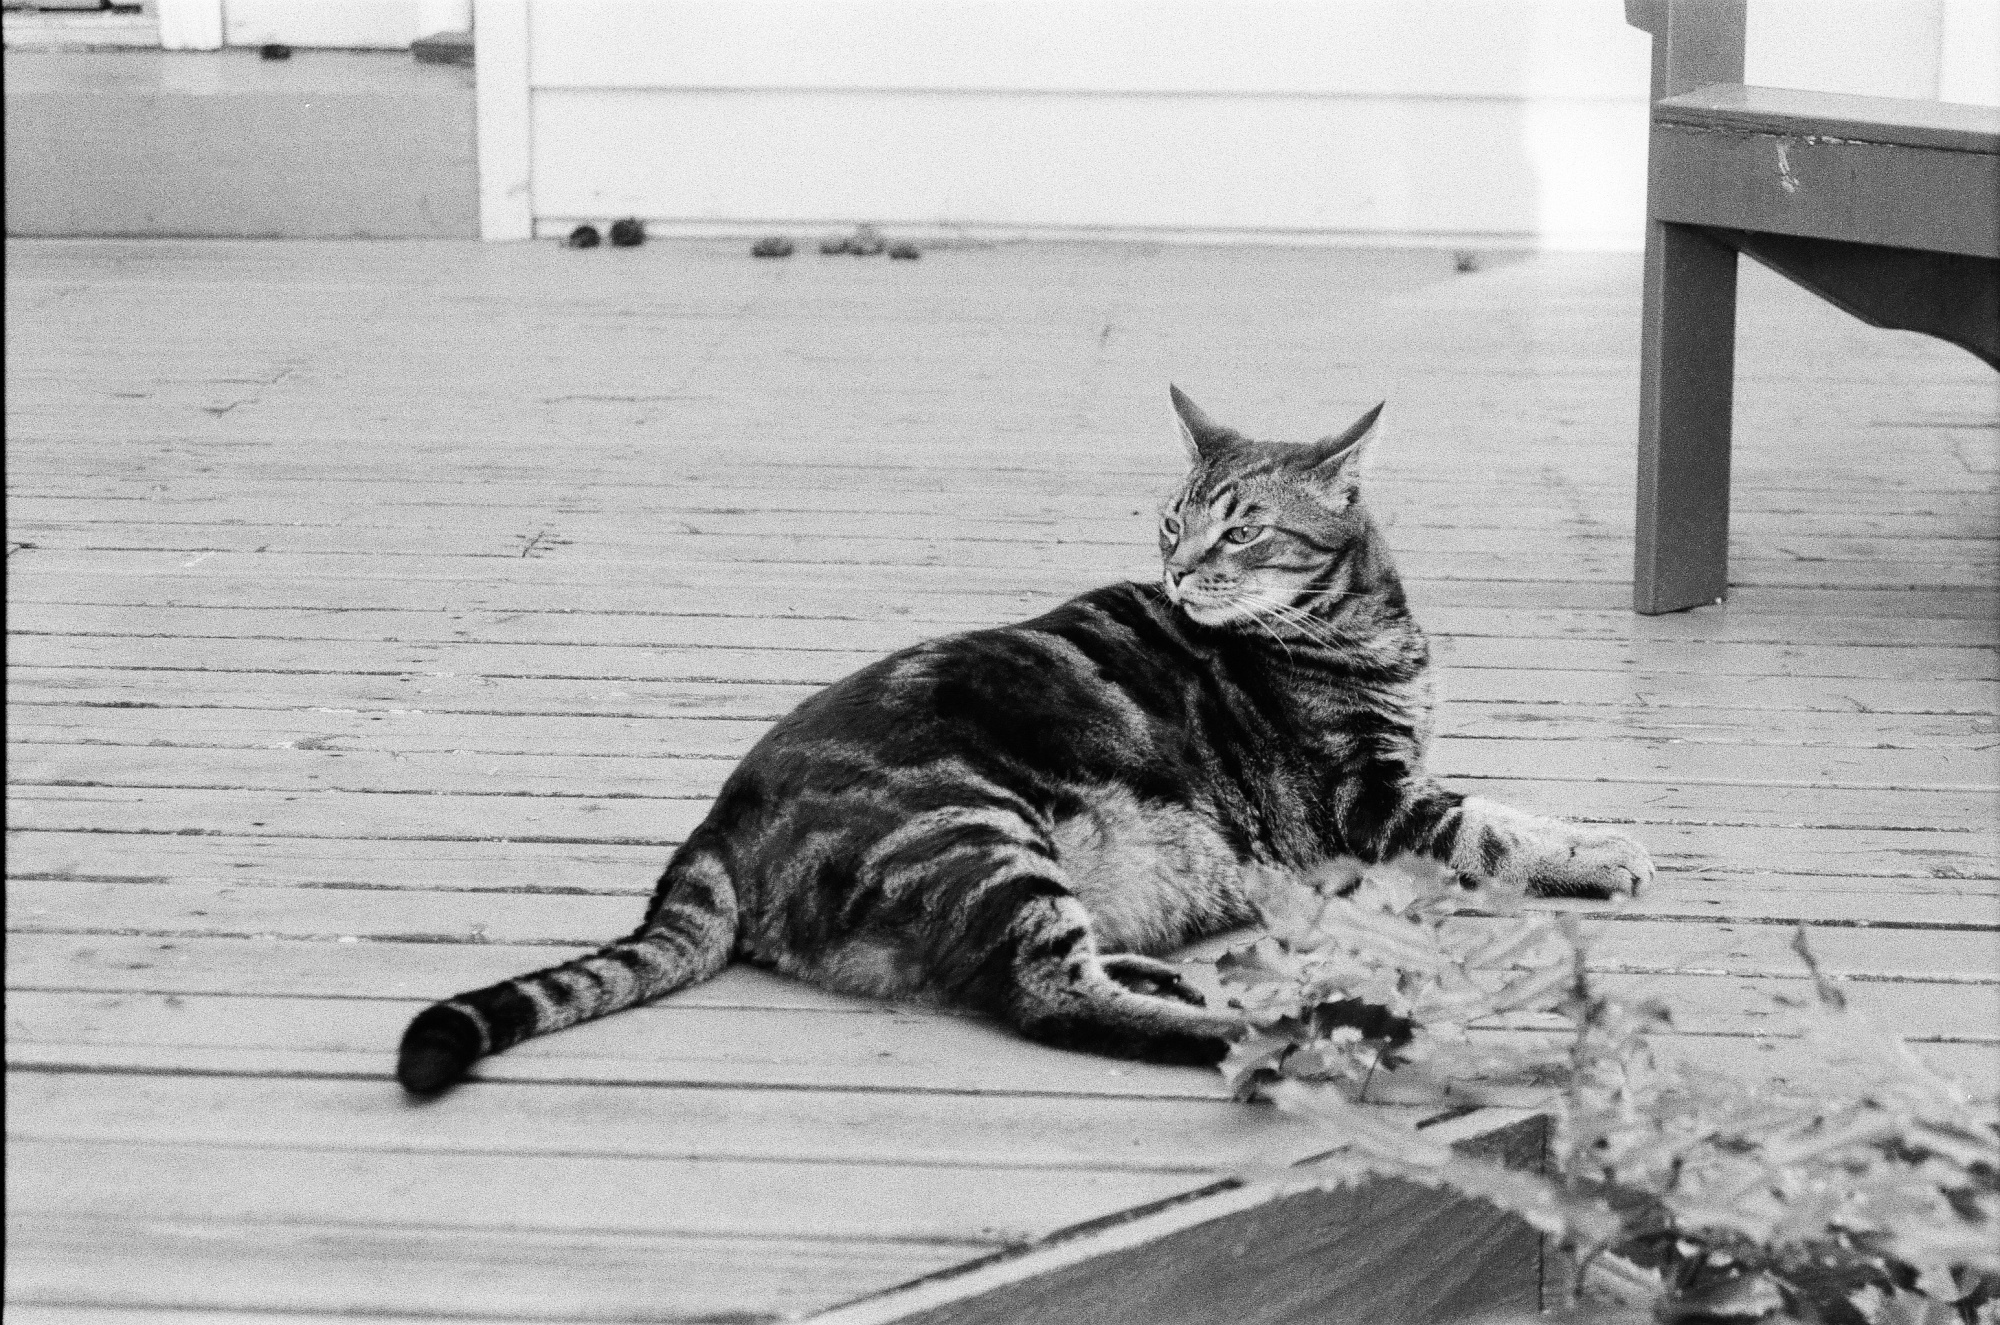
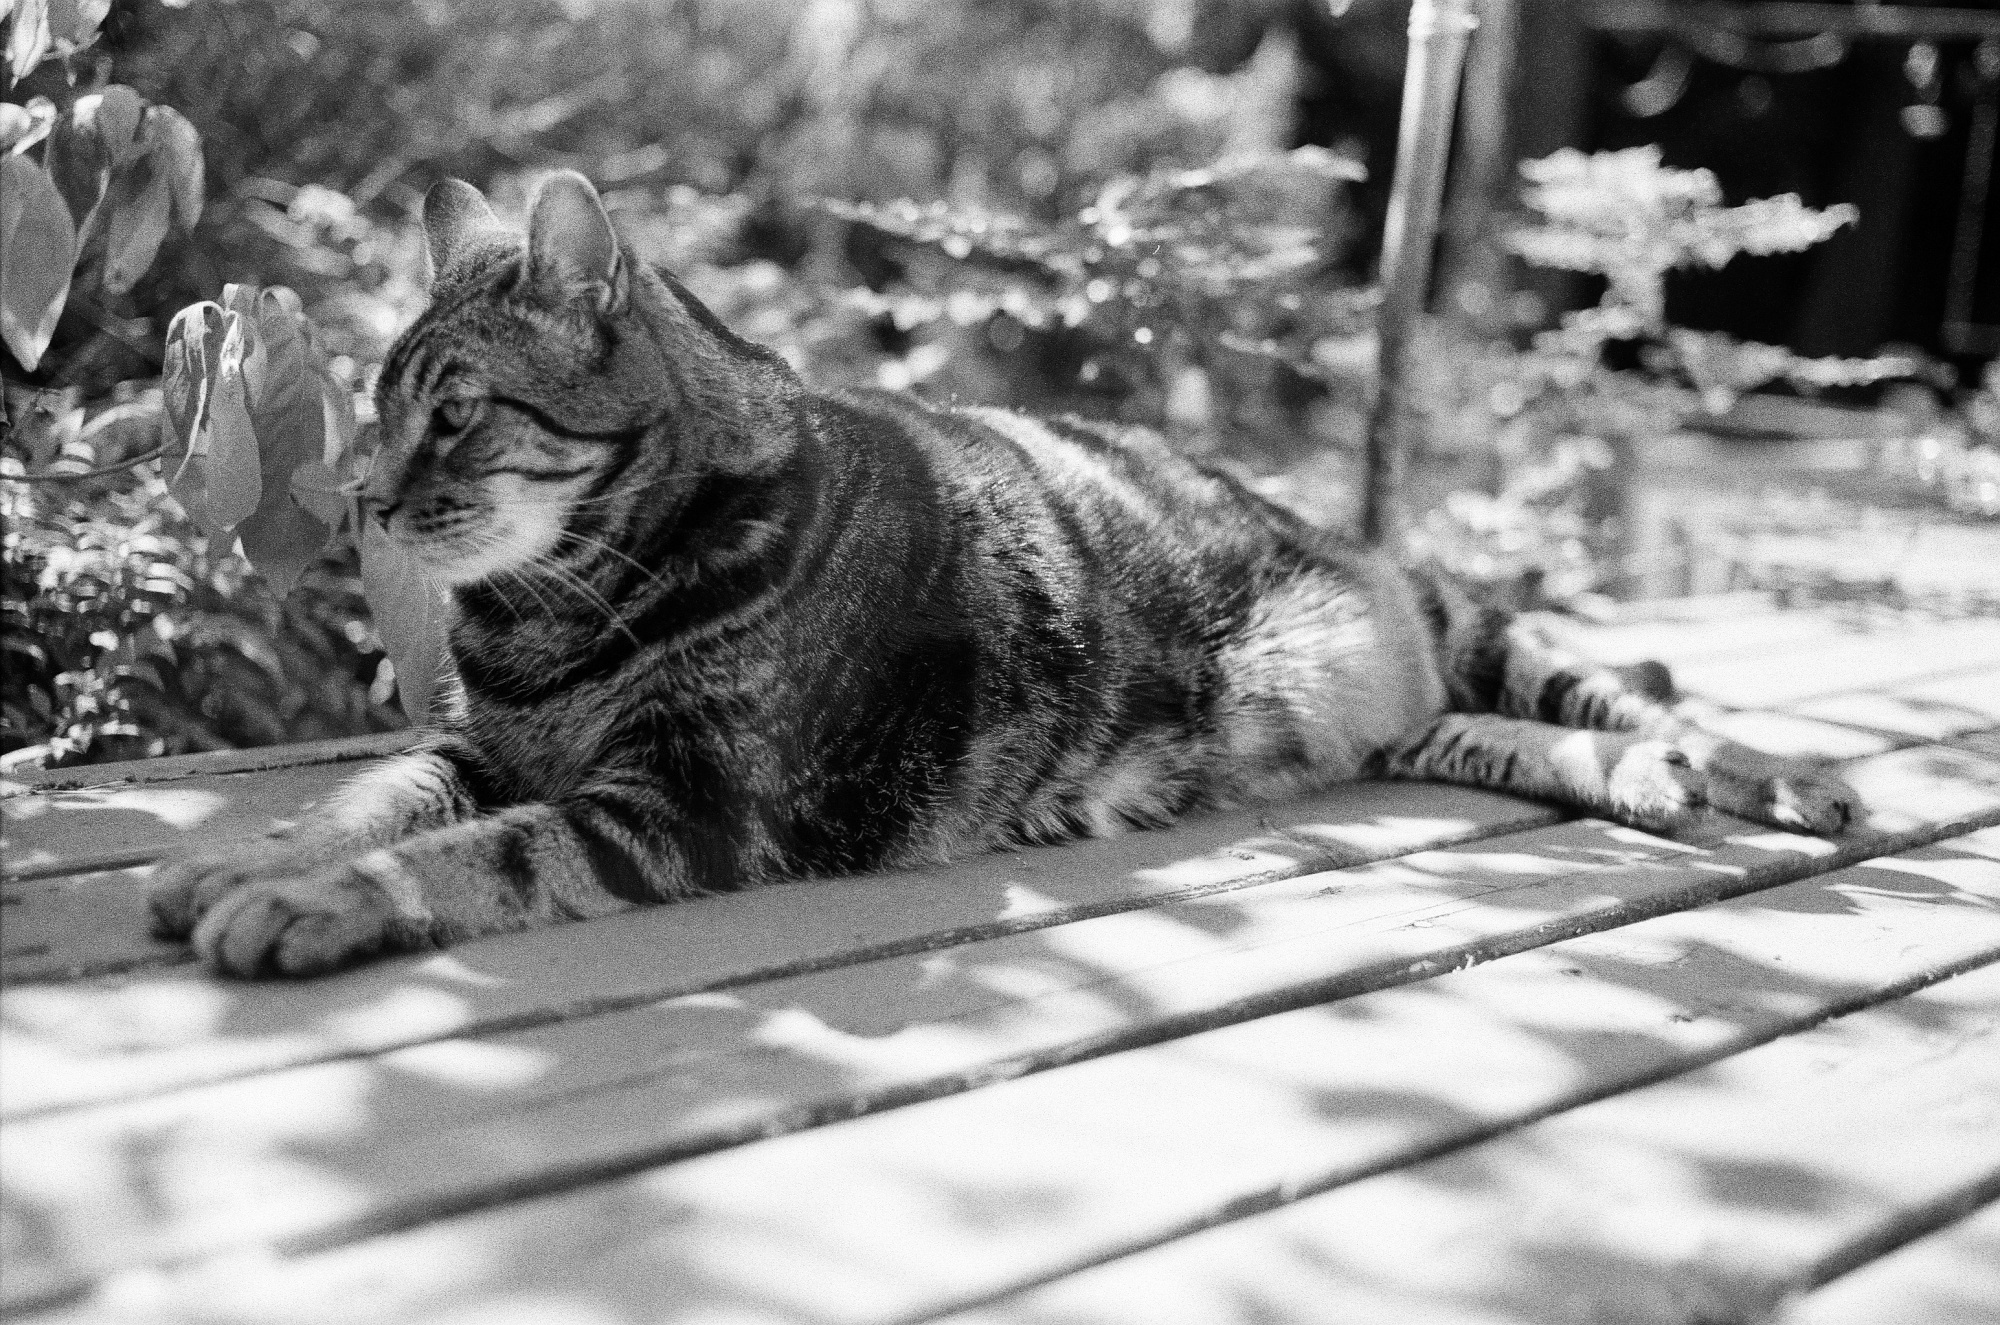
Black&White Film, Ilford HP5 Plus 400
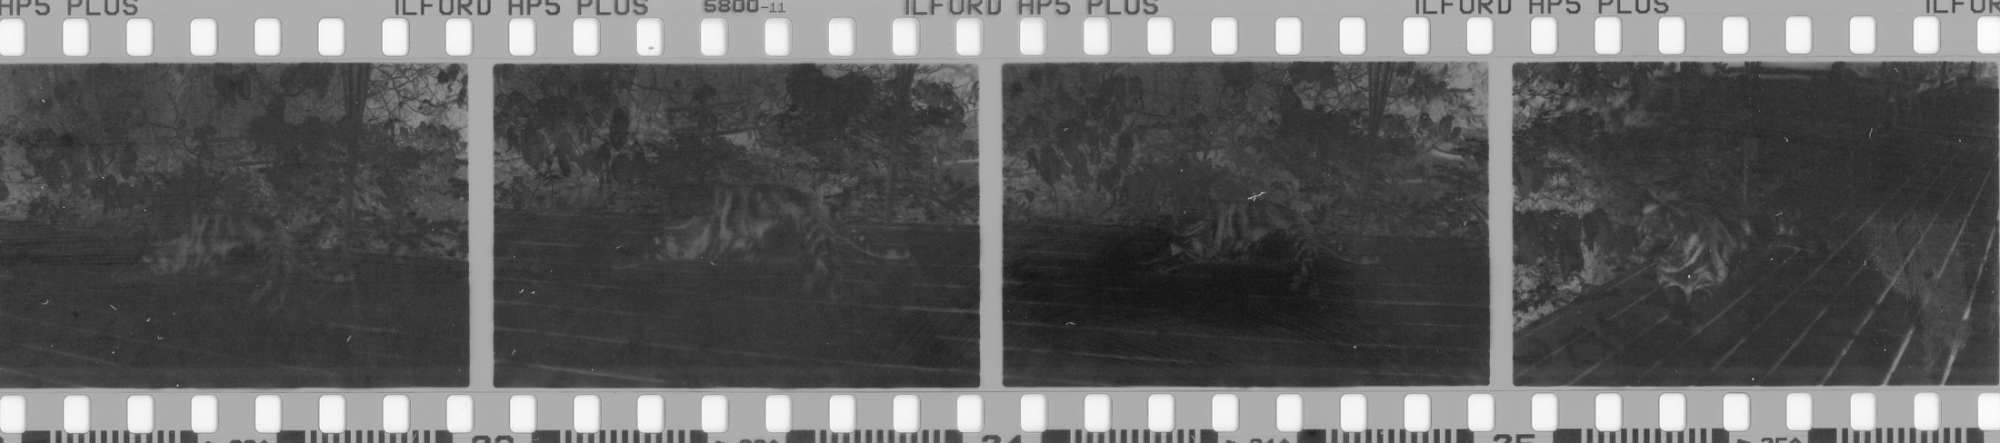

A promising start.

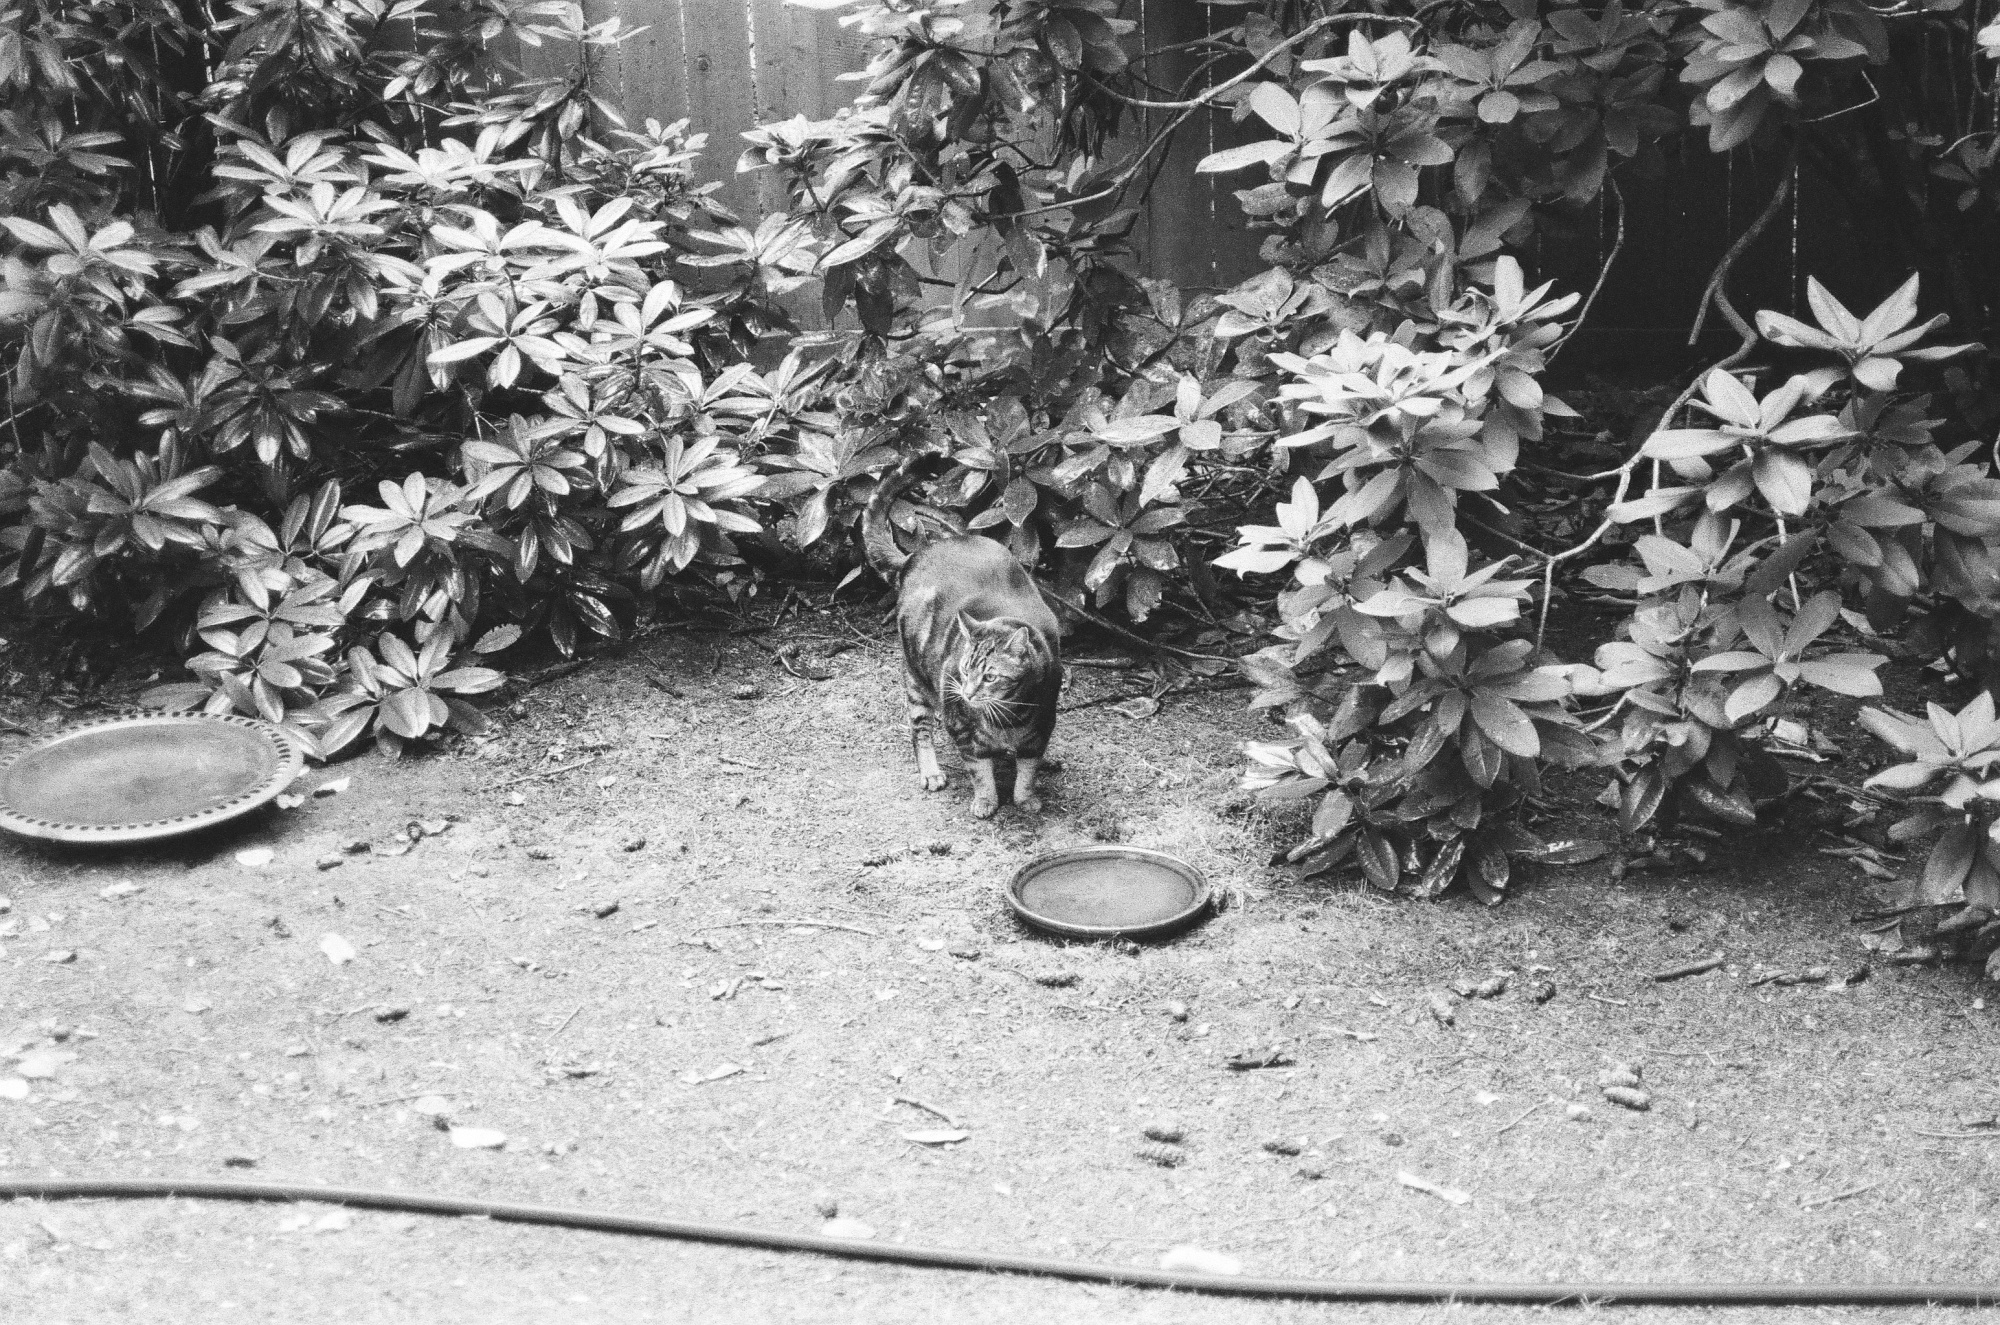
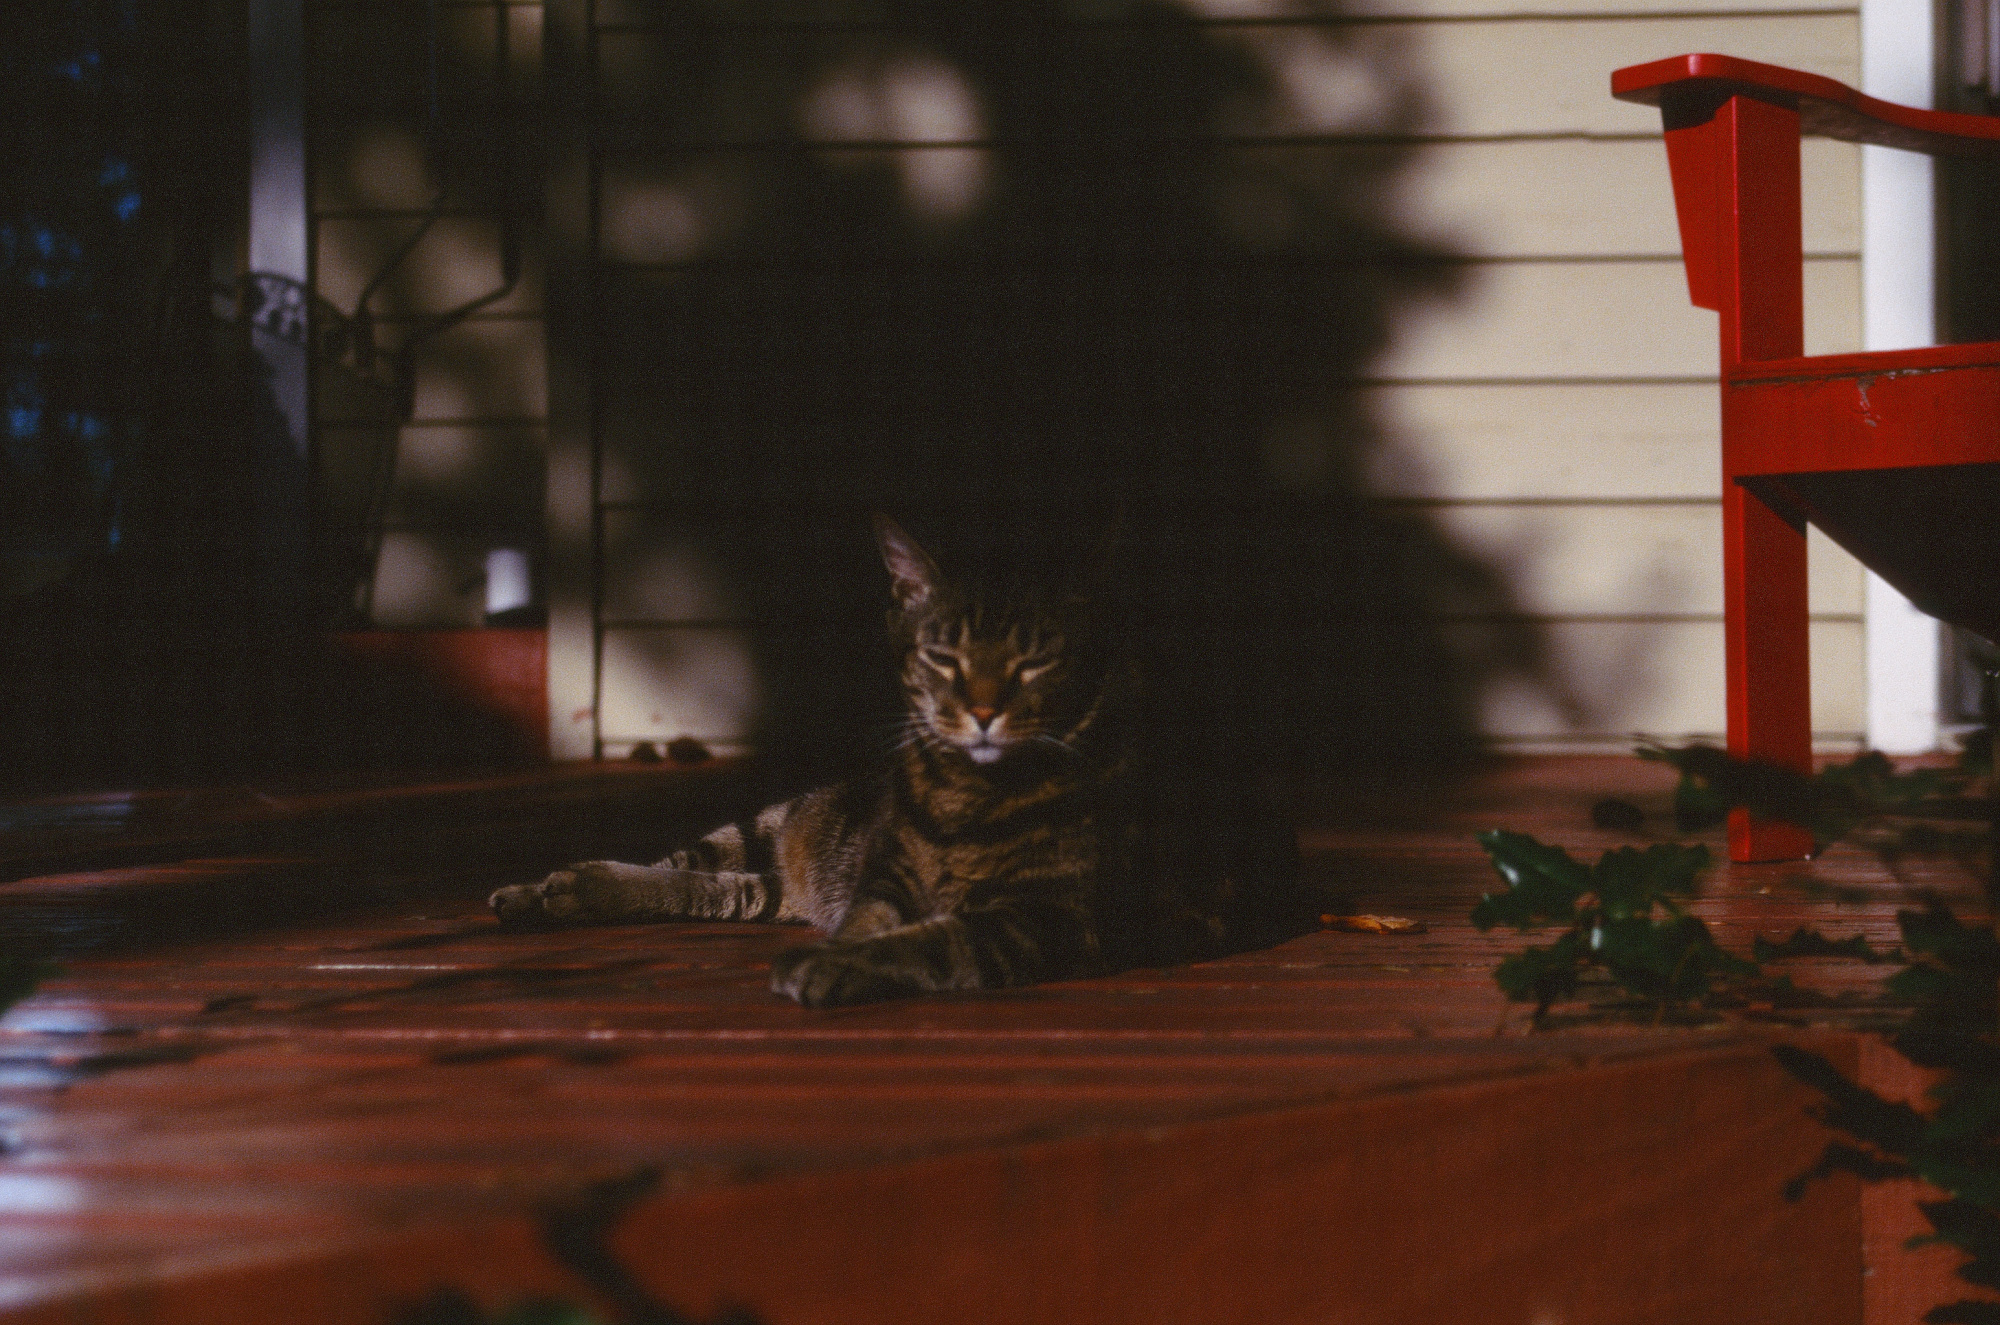
Color Slide Film, Kodak Ektachrome E100


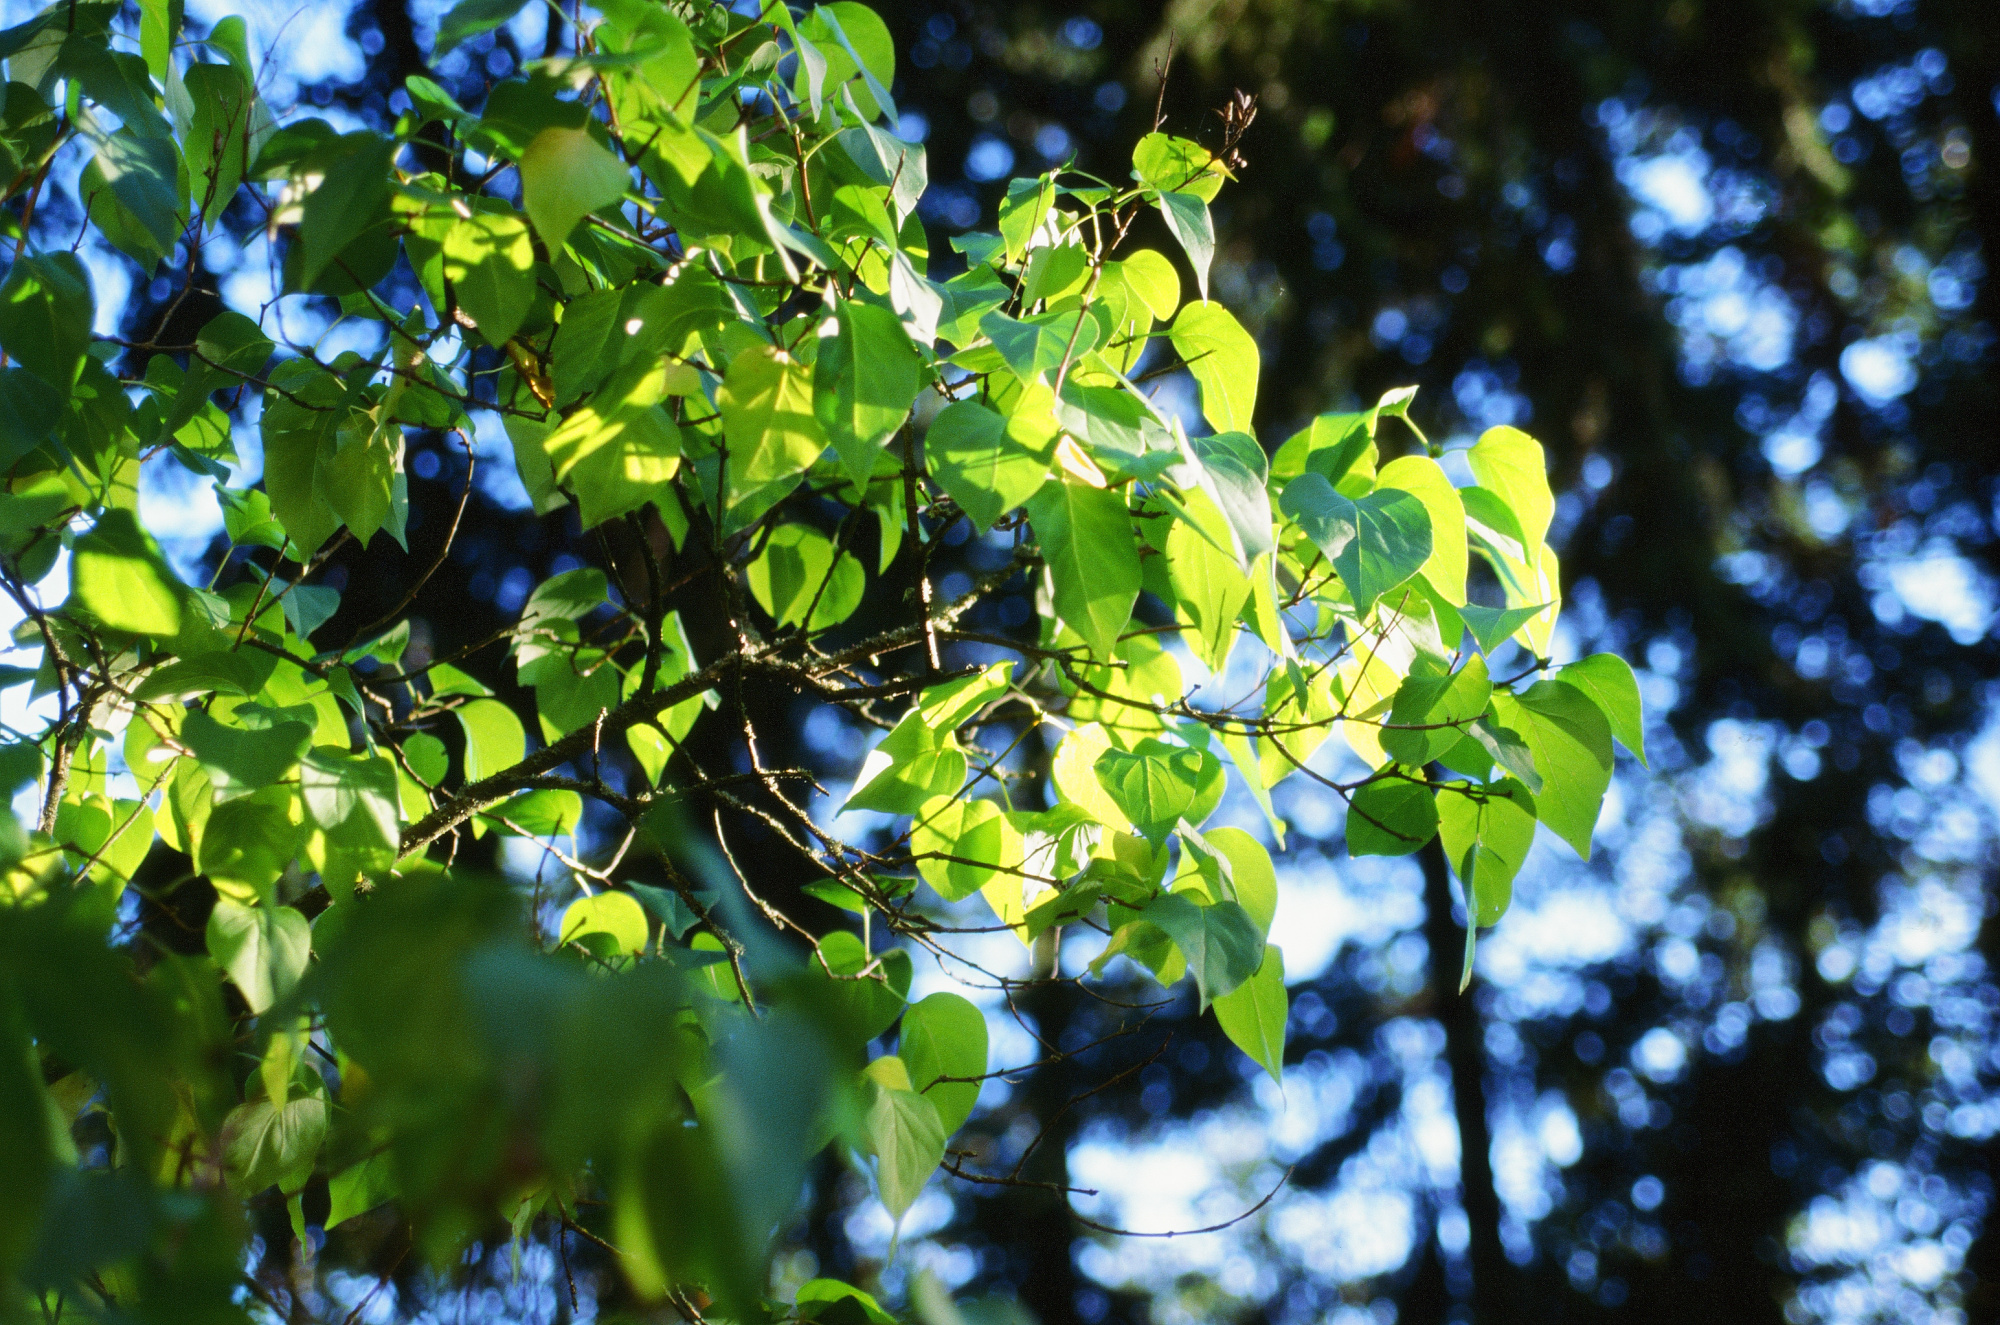
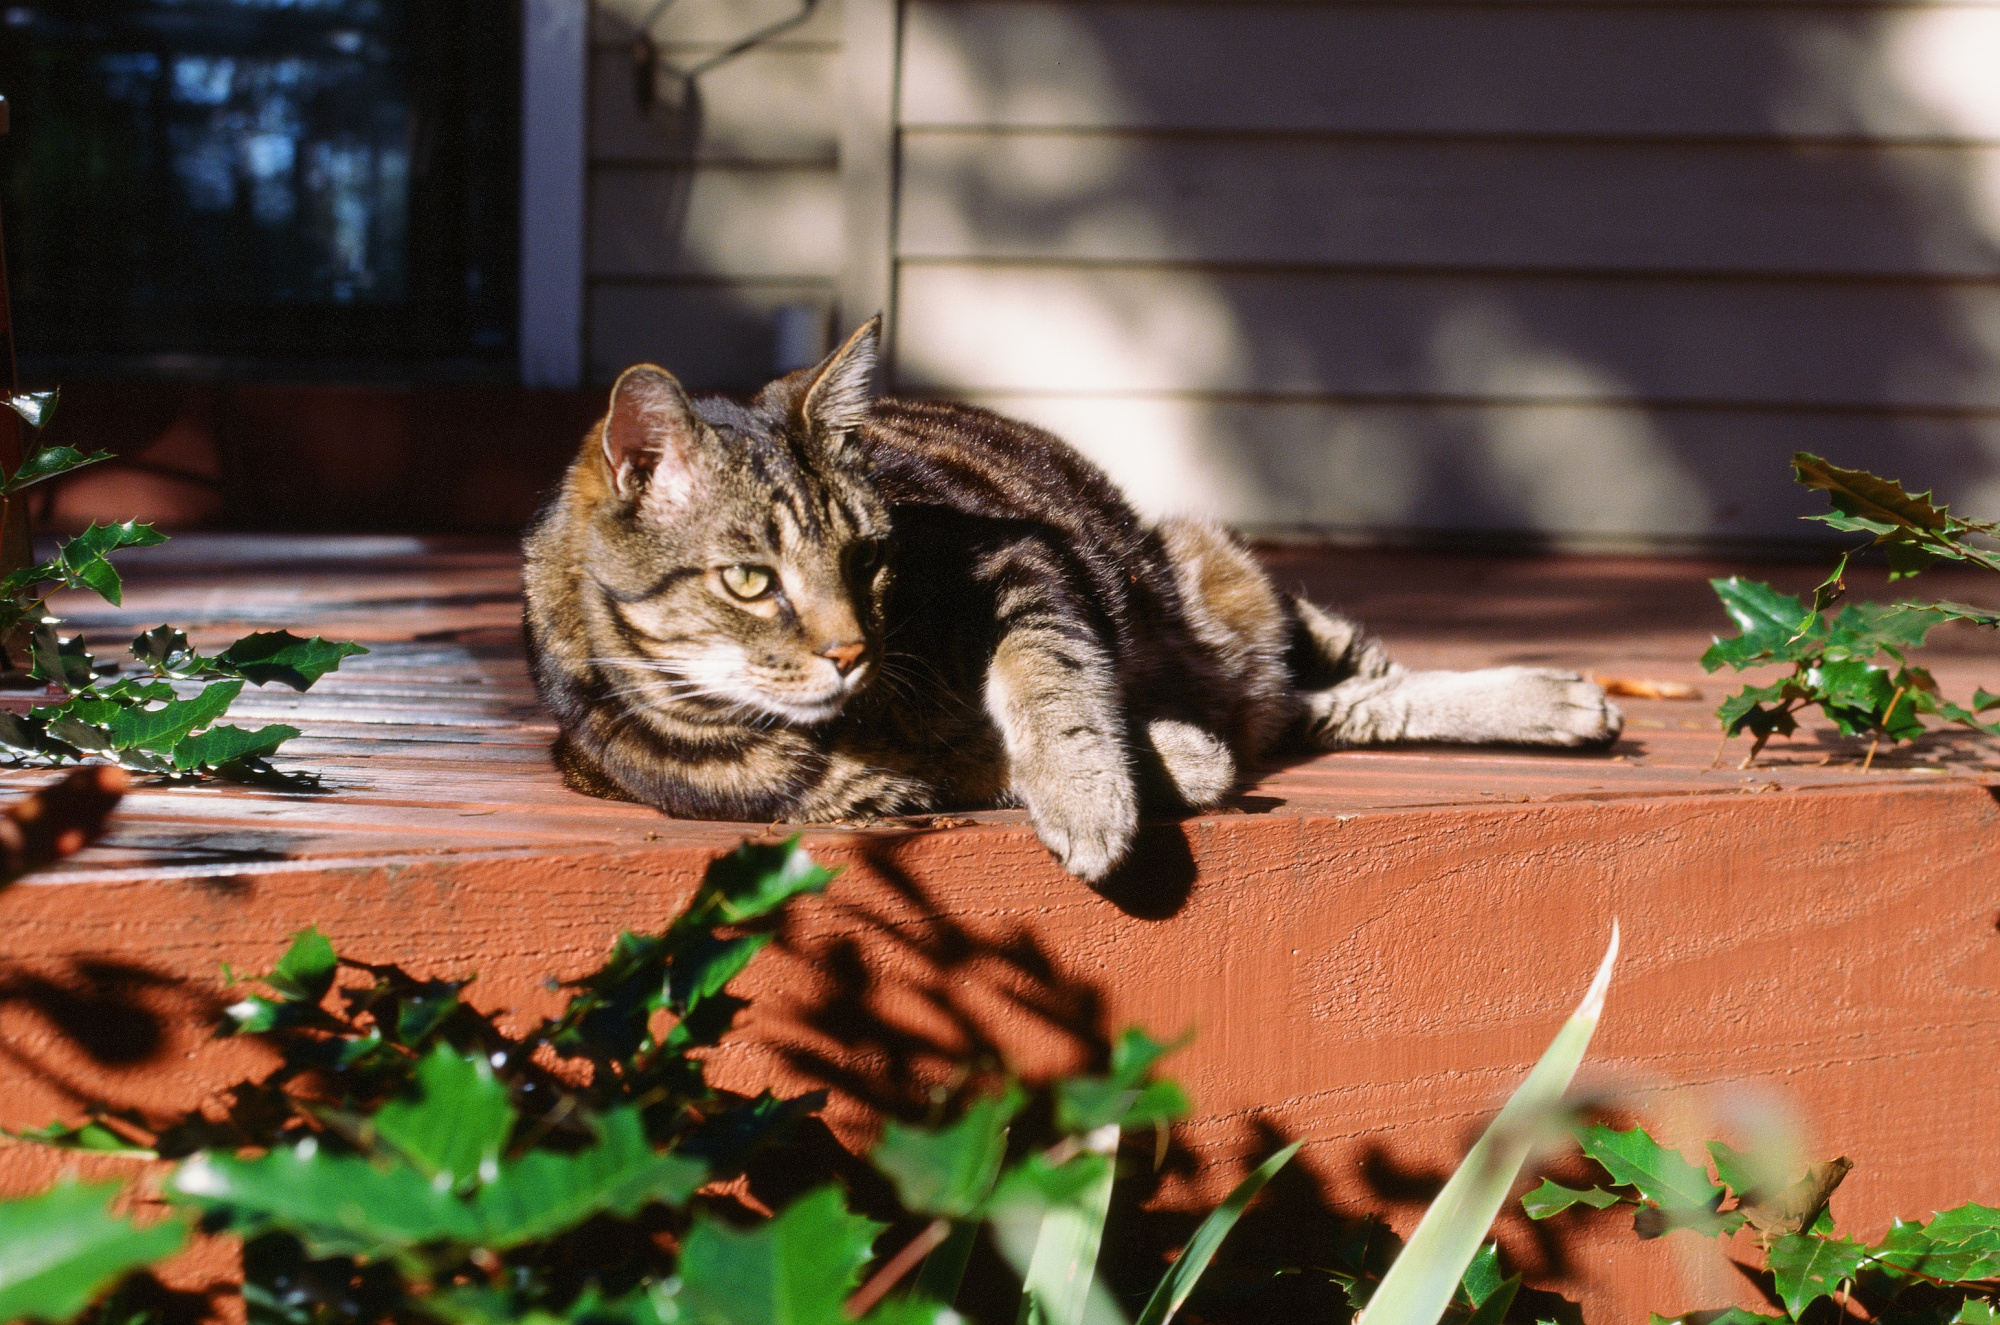
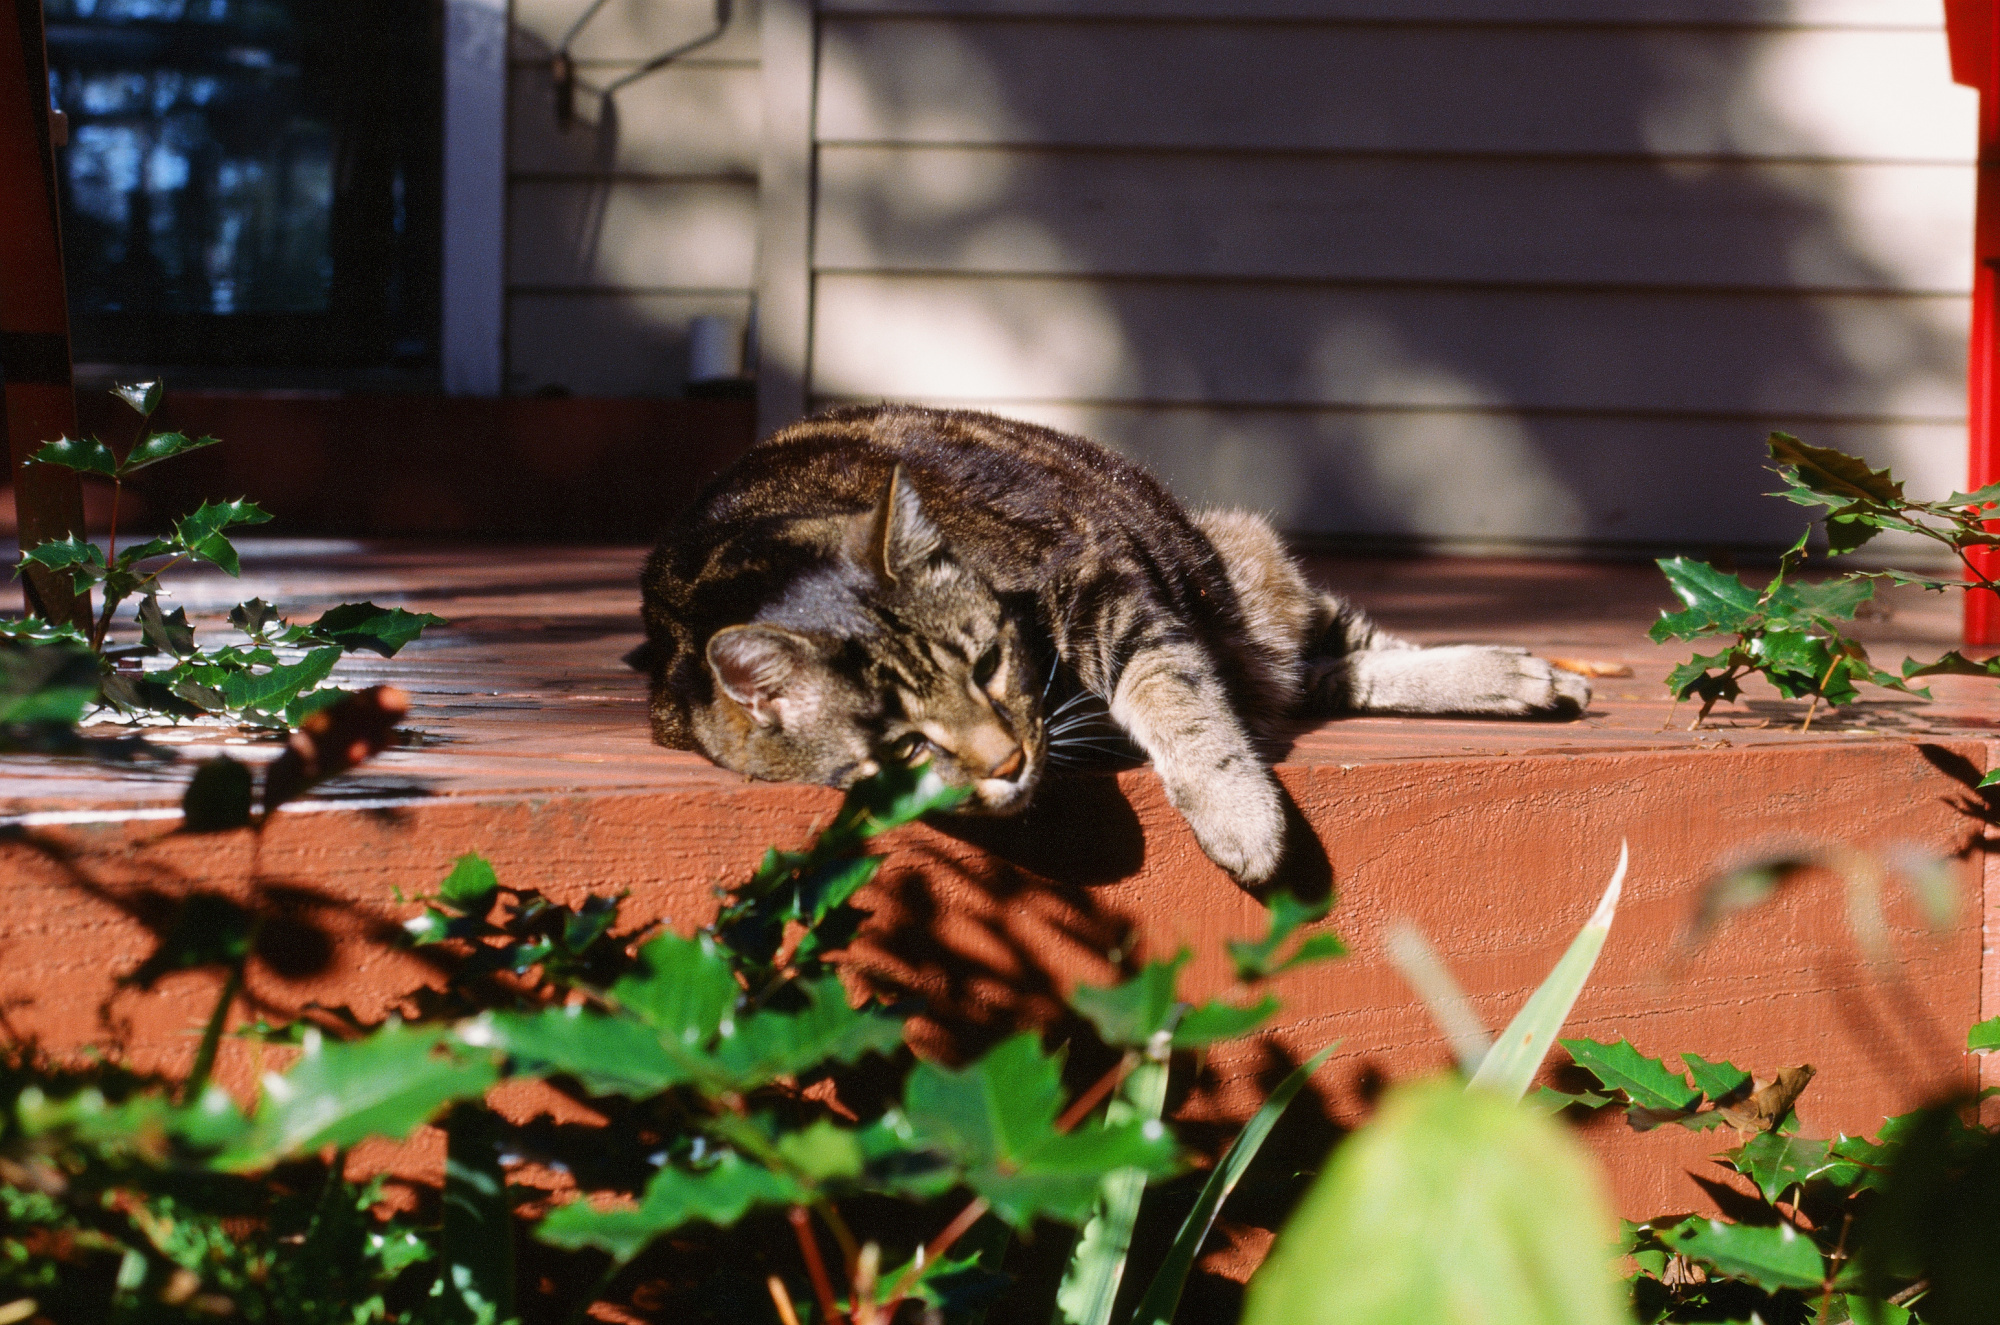
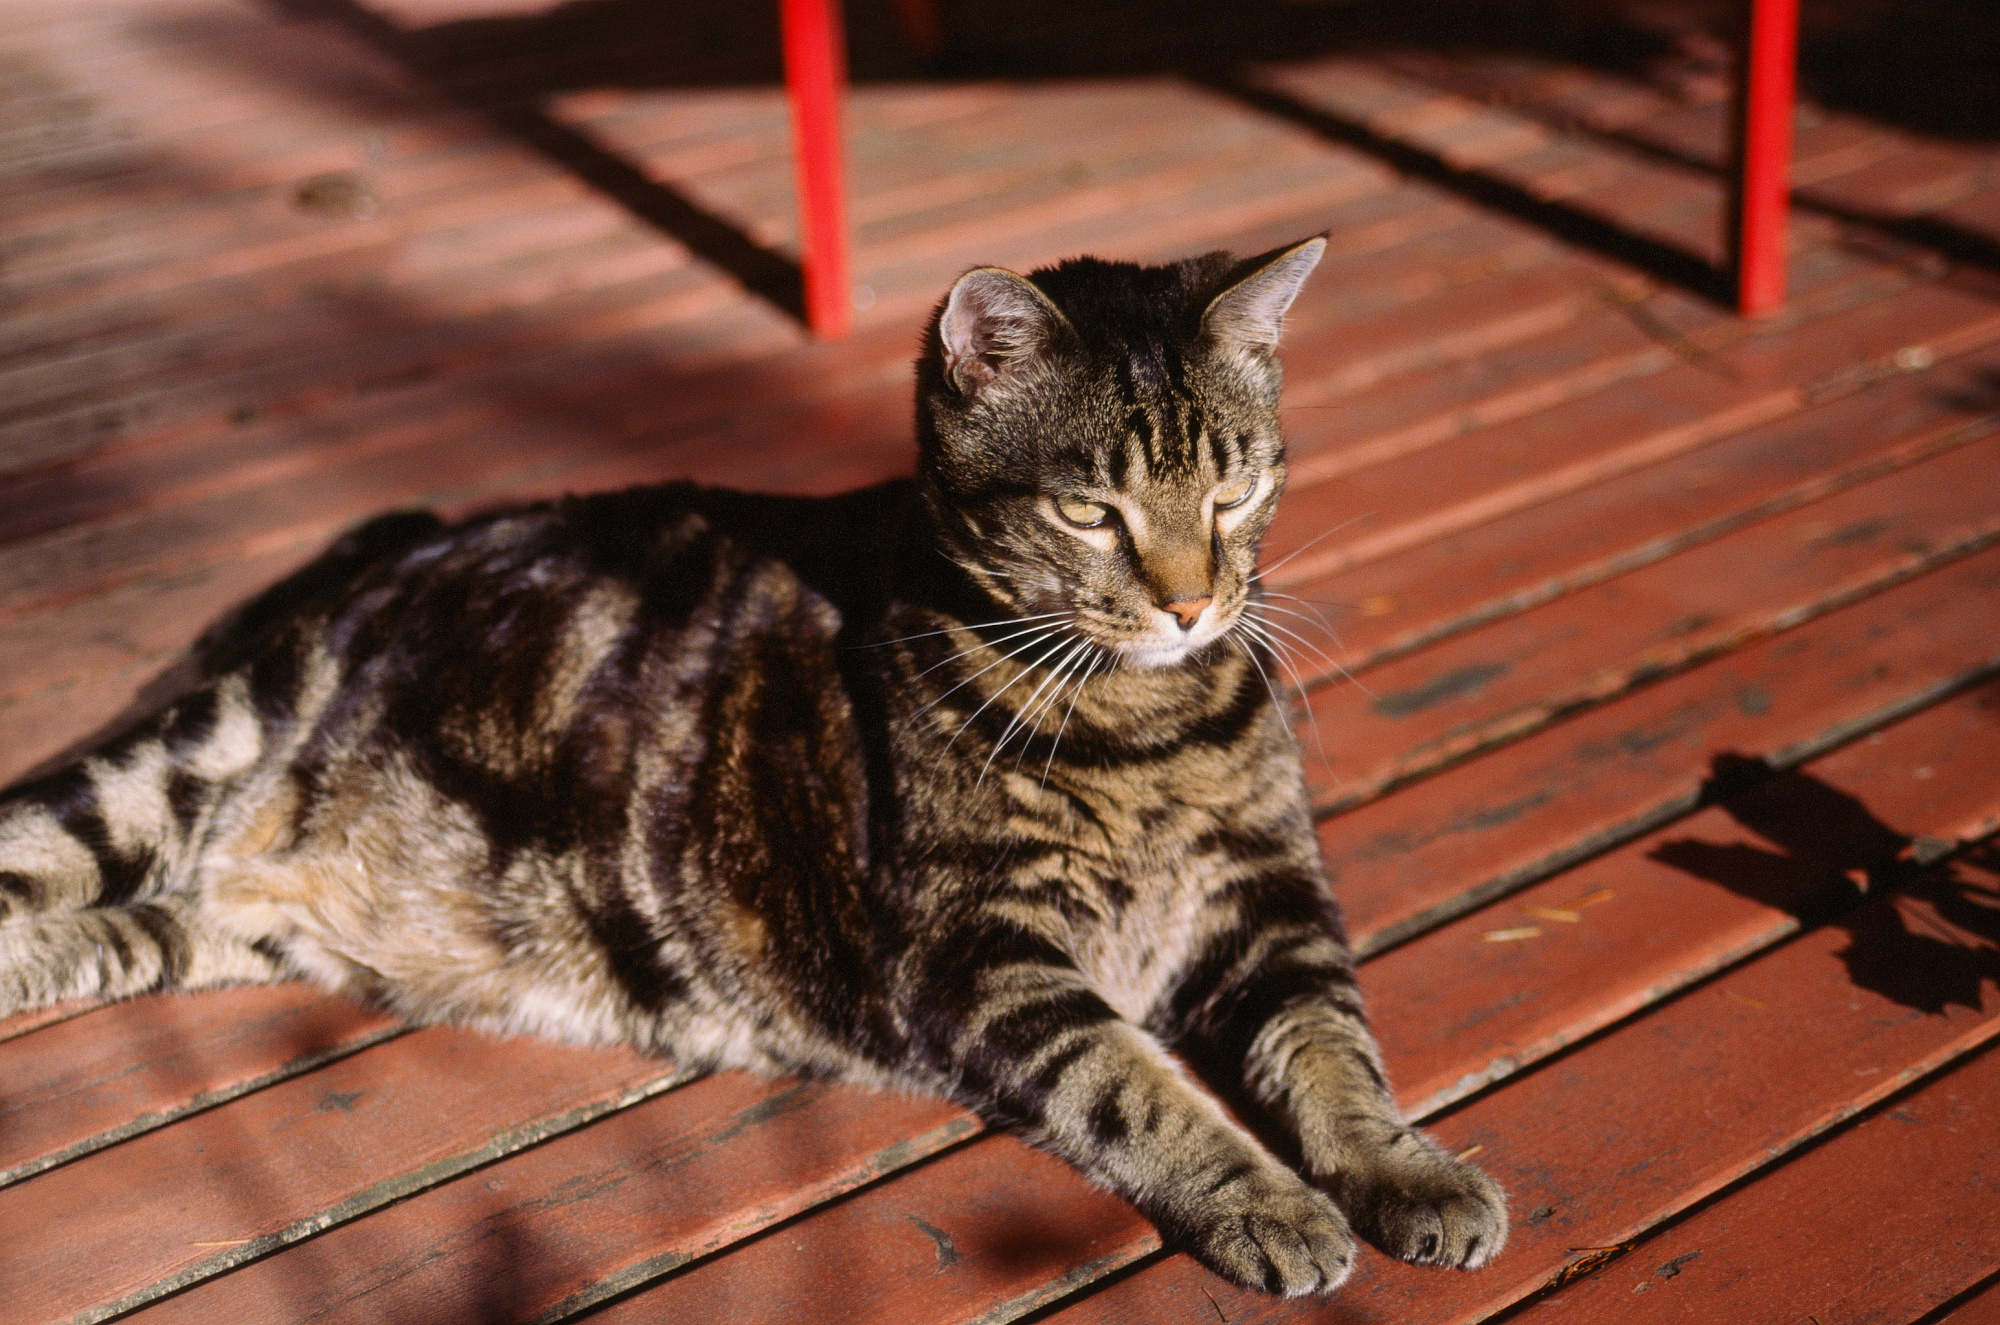
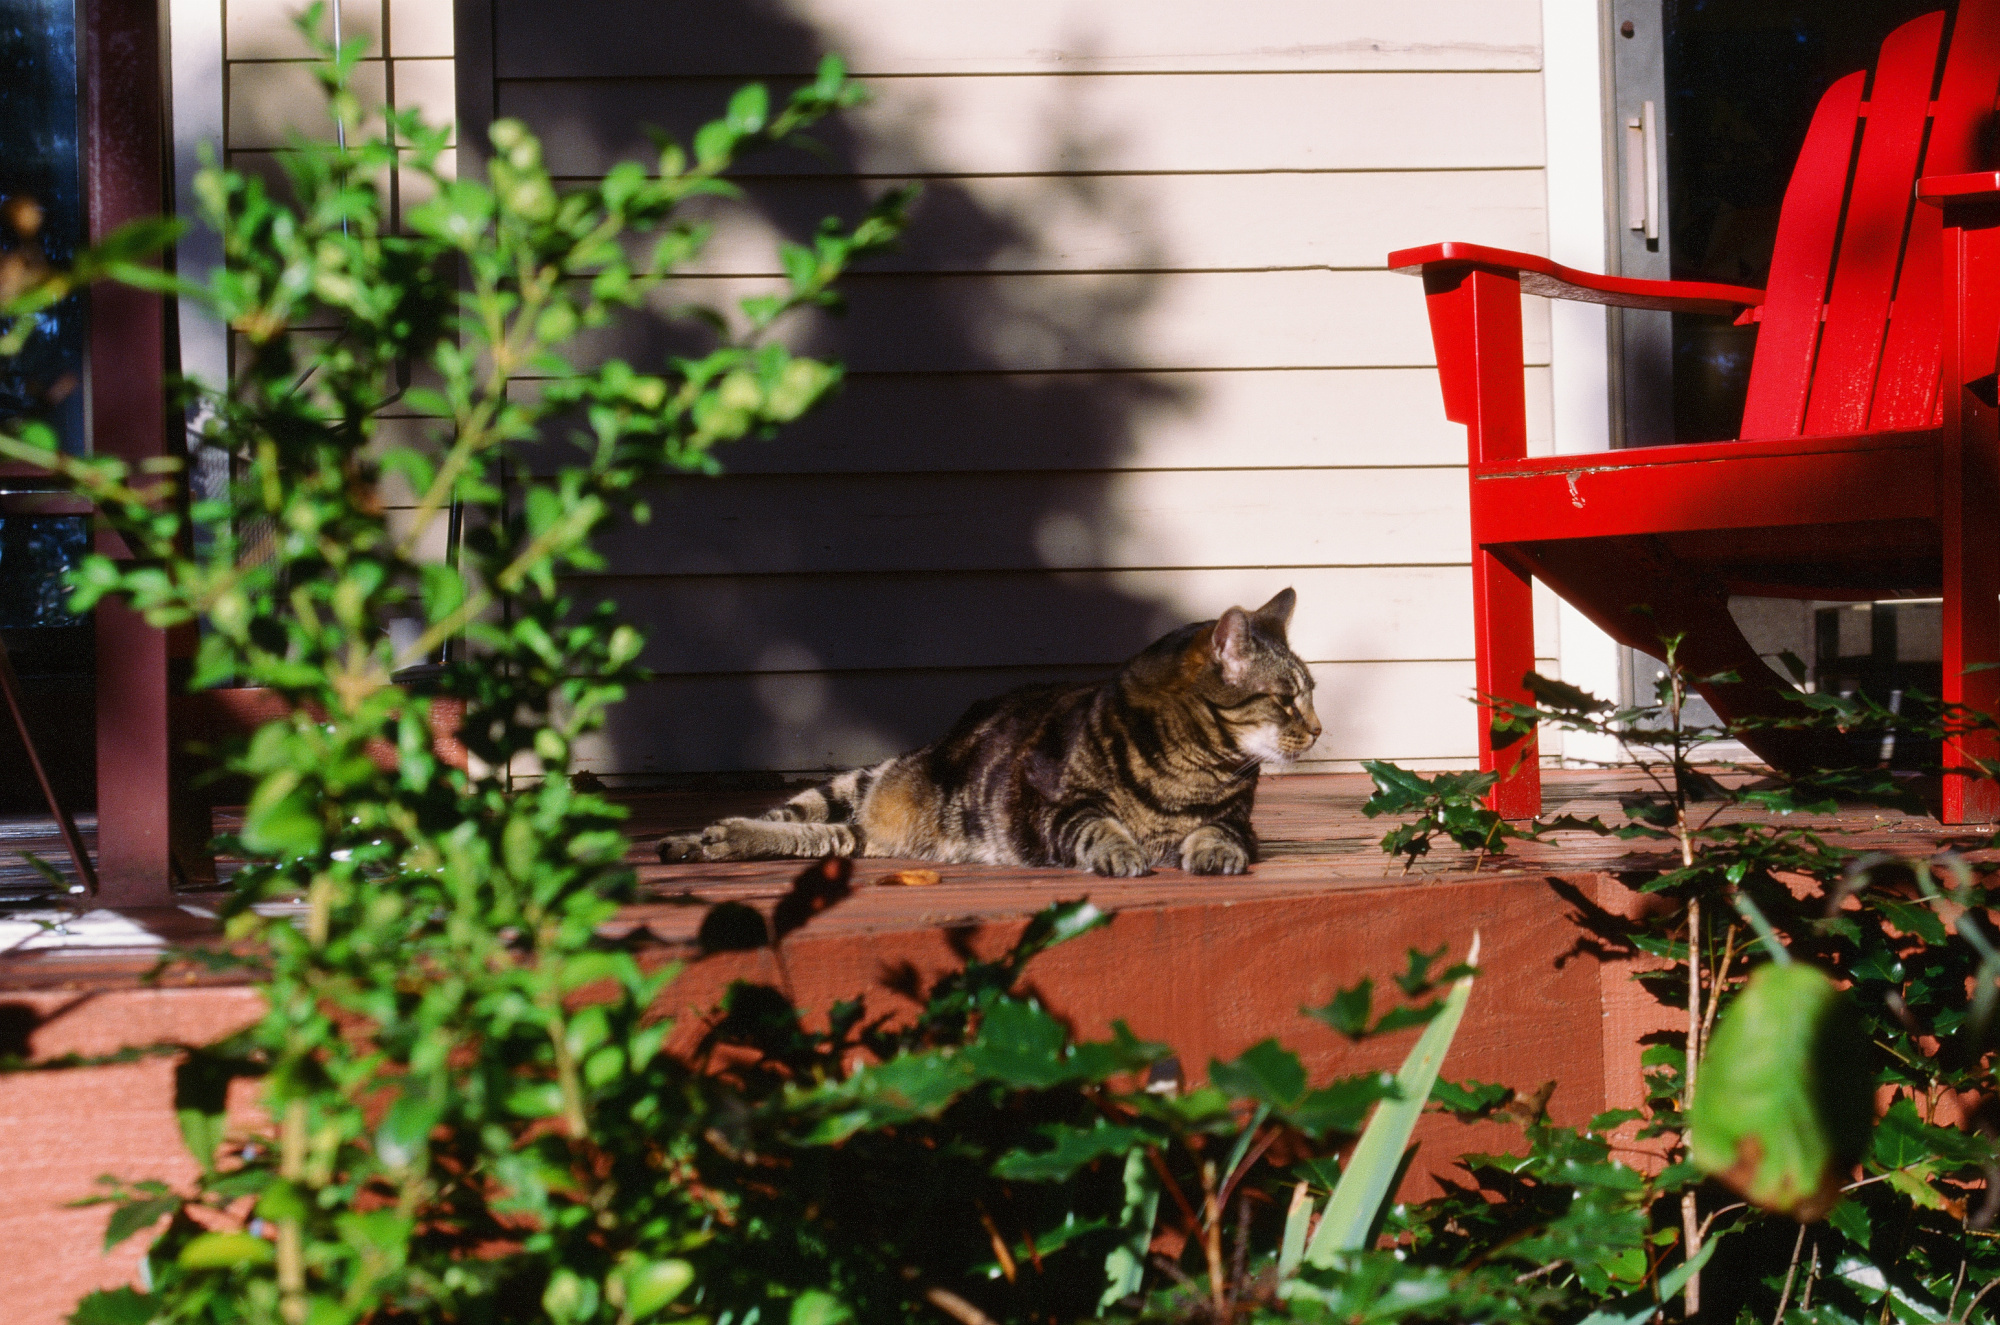

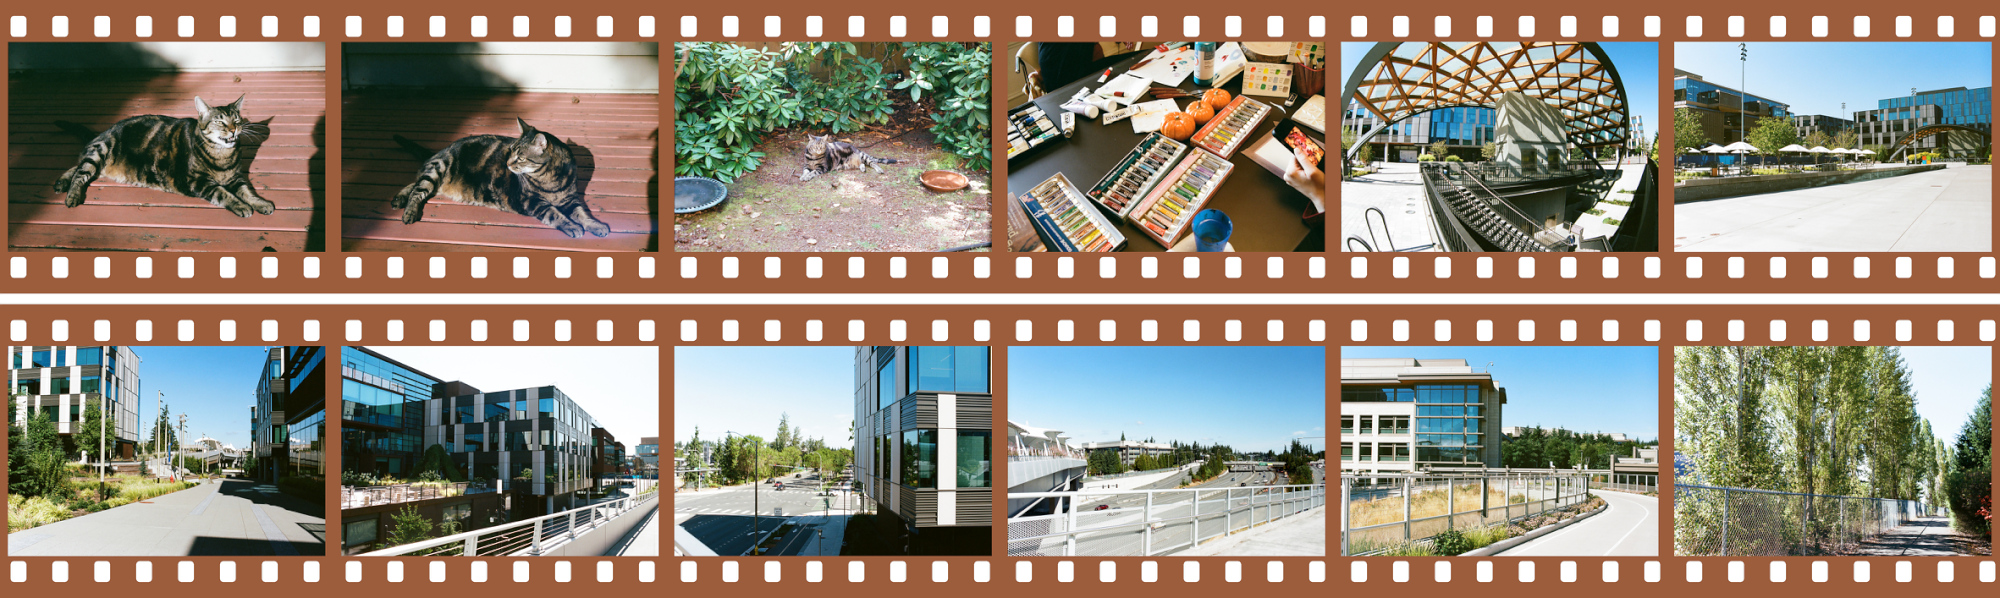
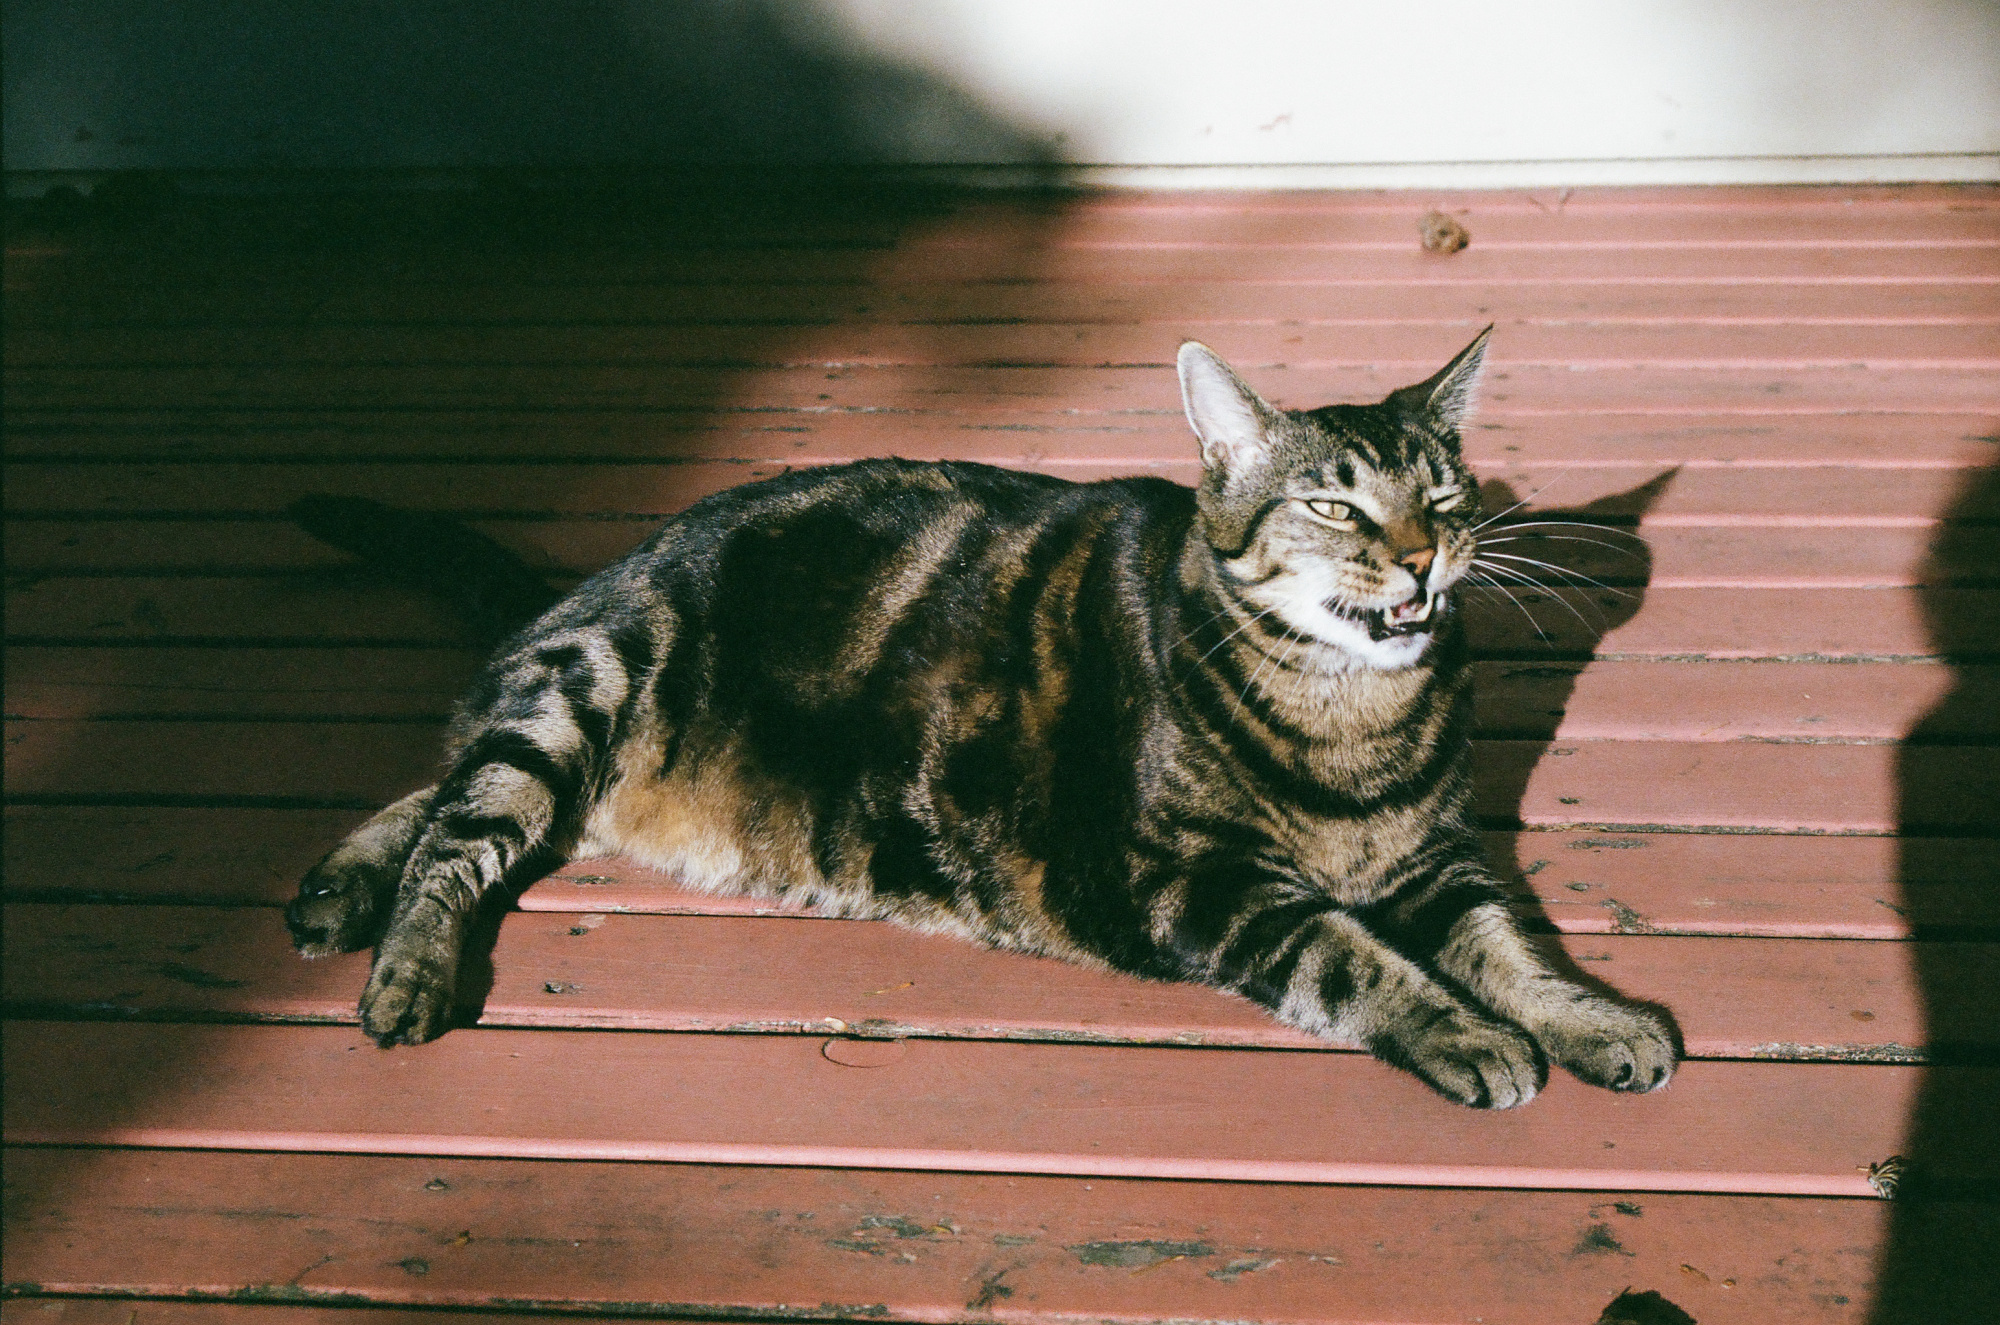
Color Negative Film, Kodak Portra 400

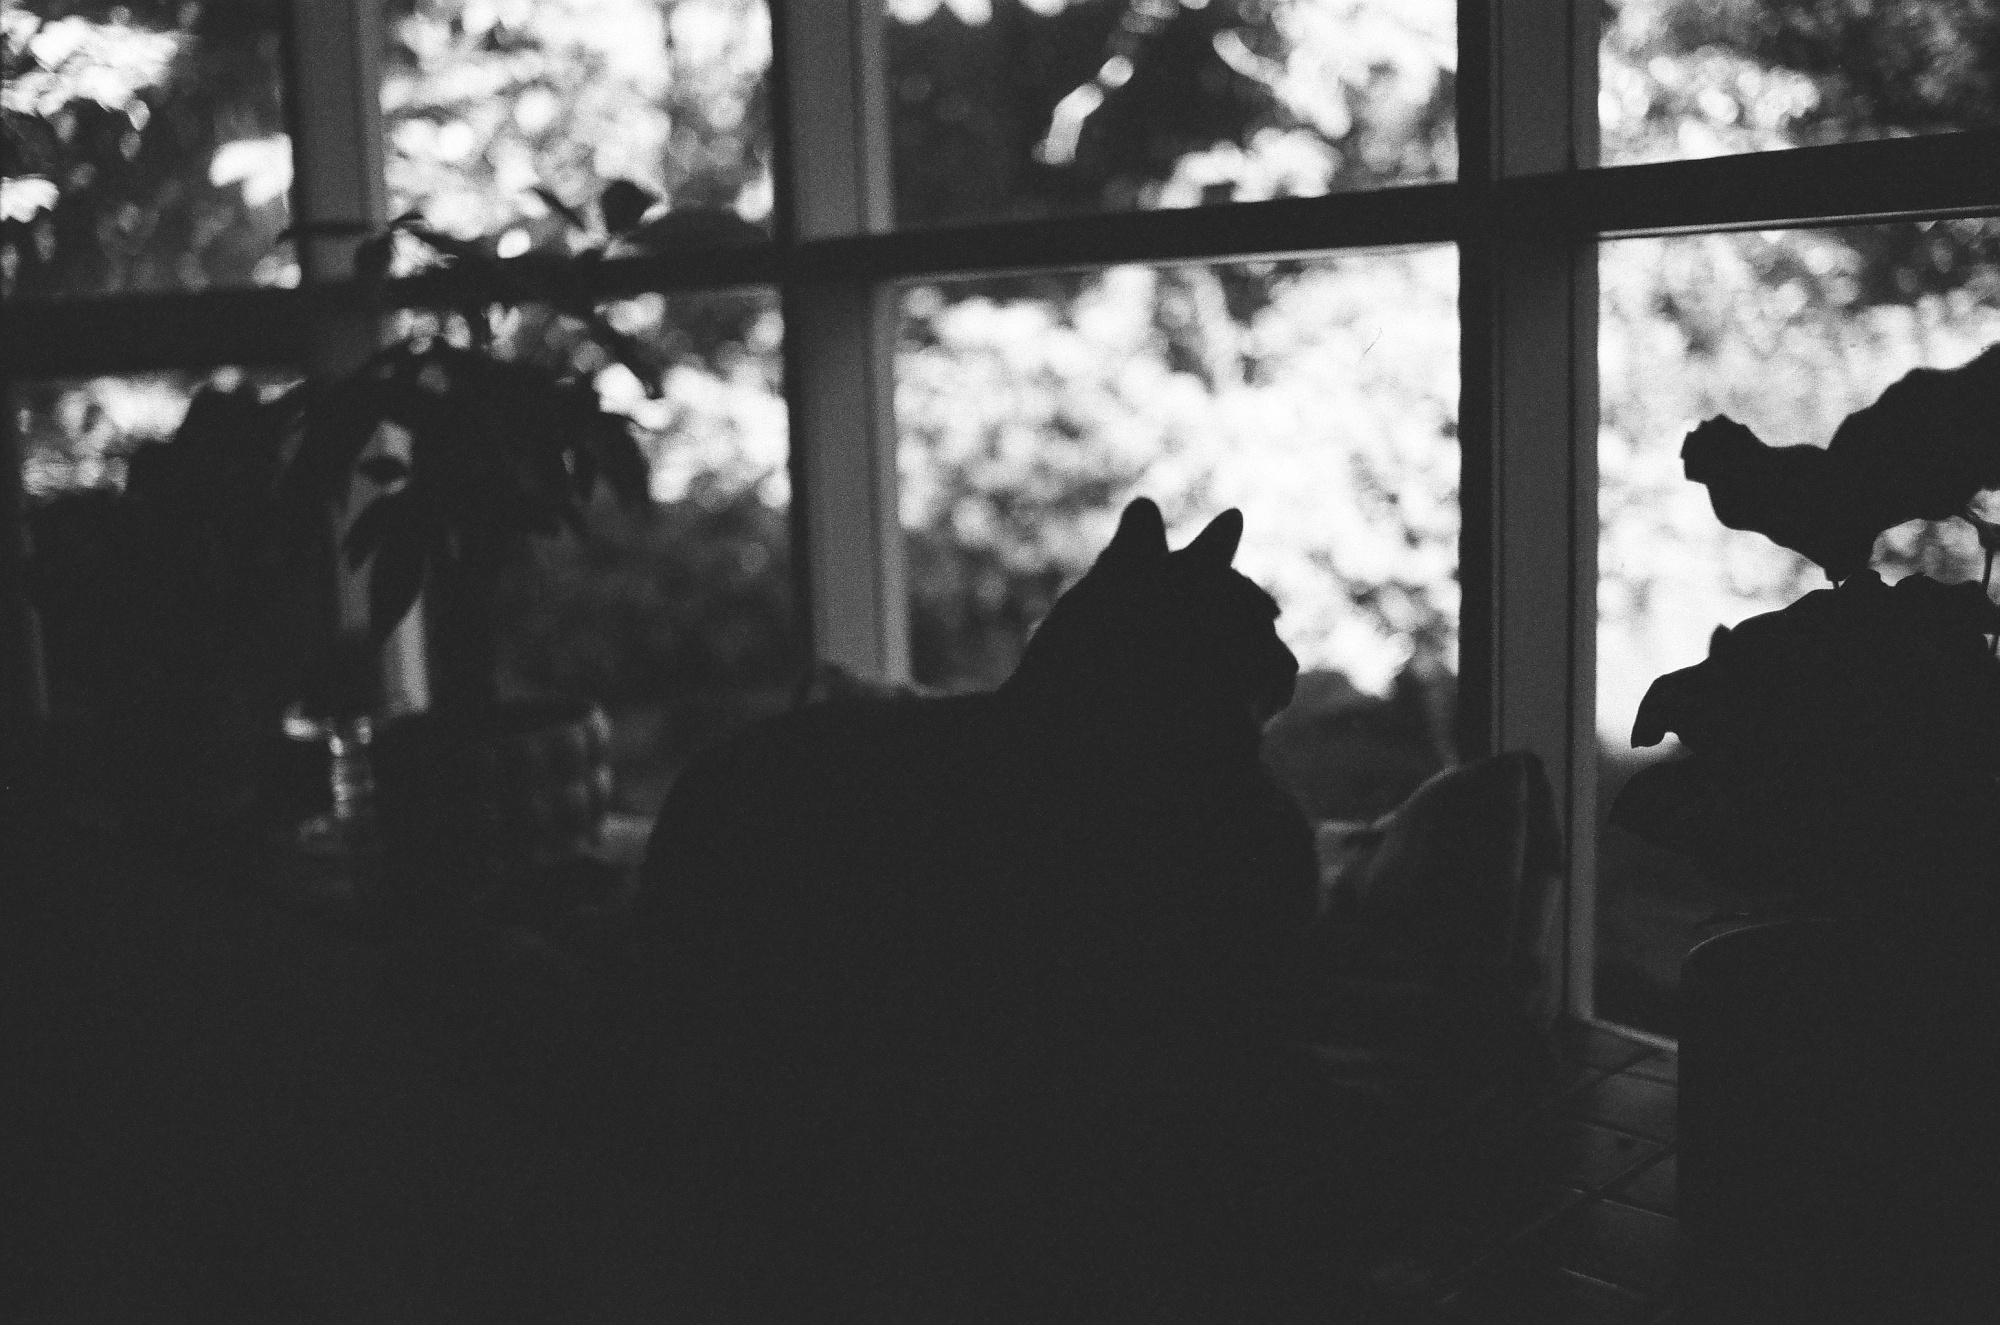
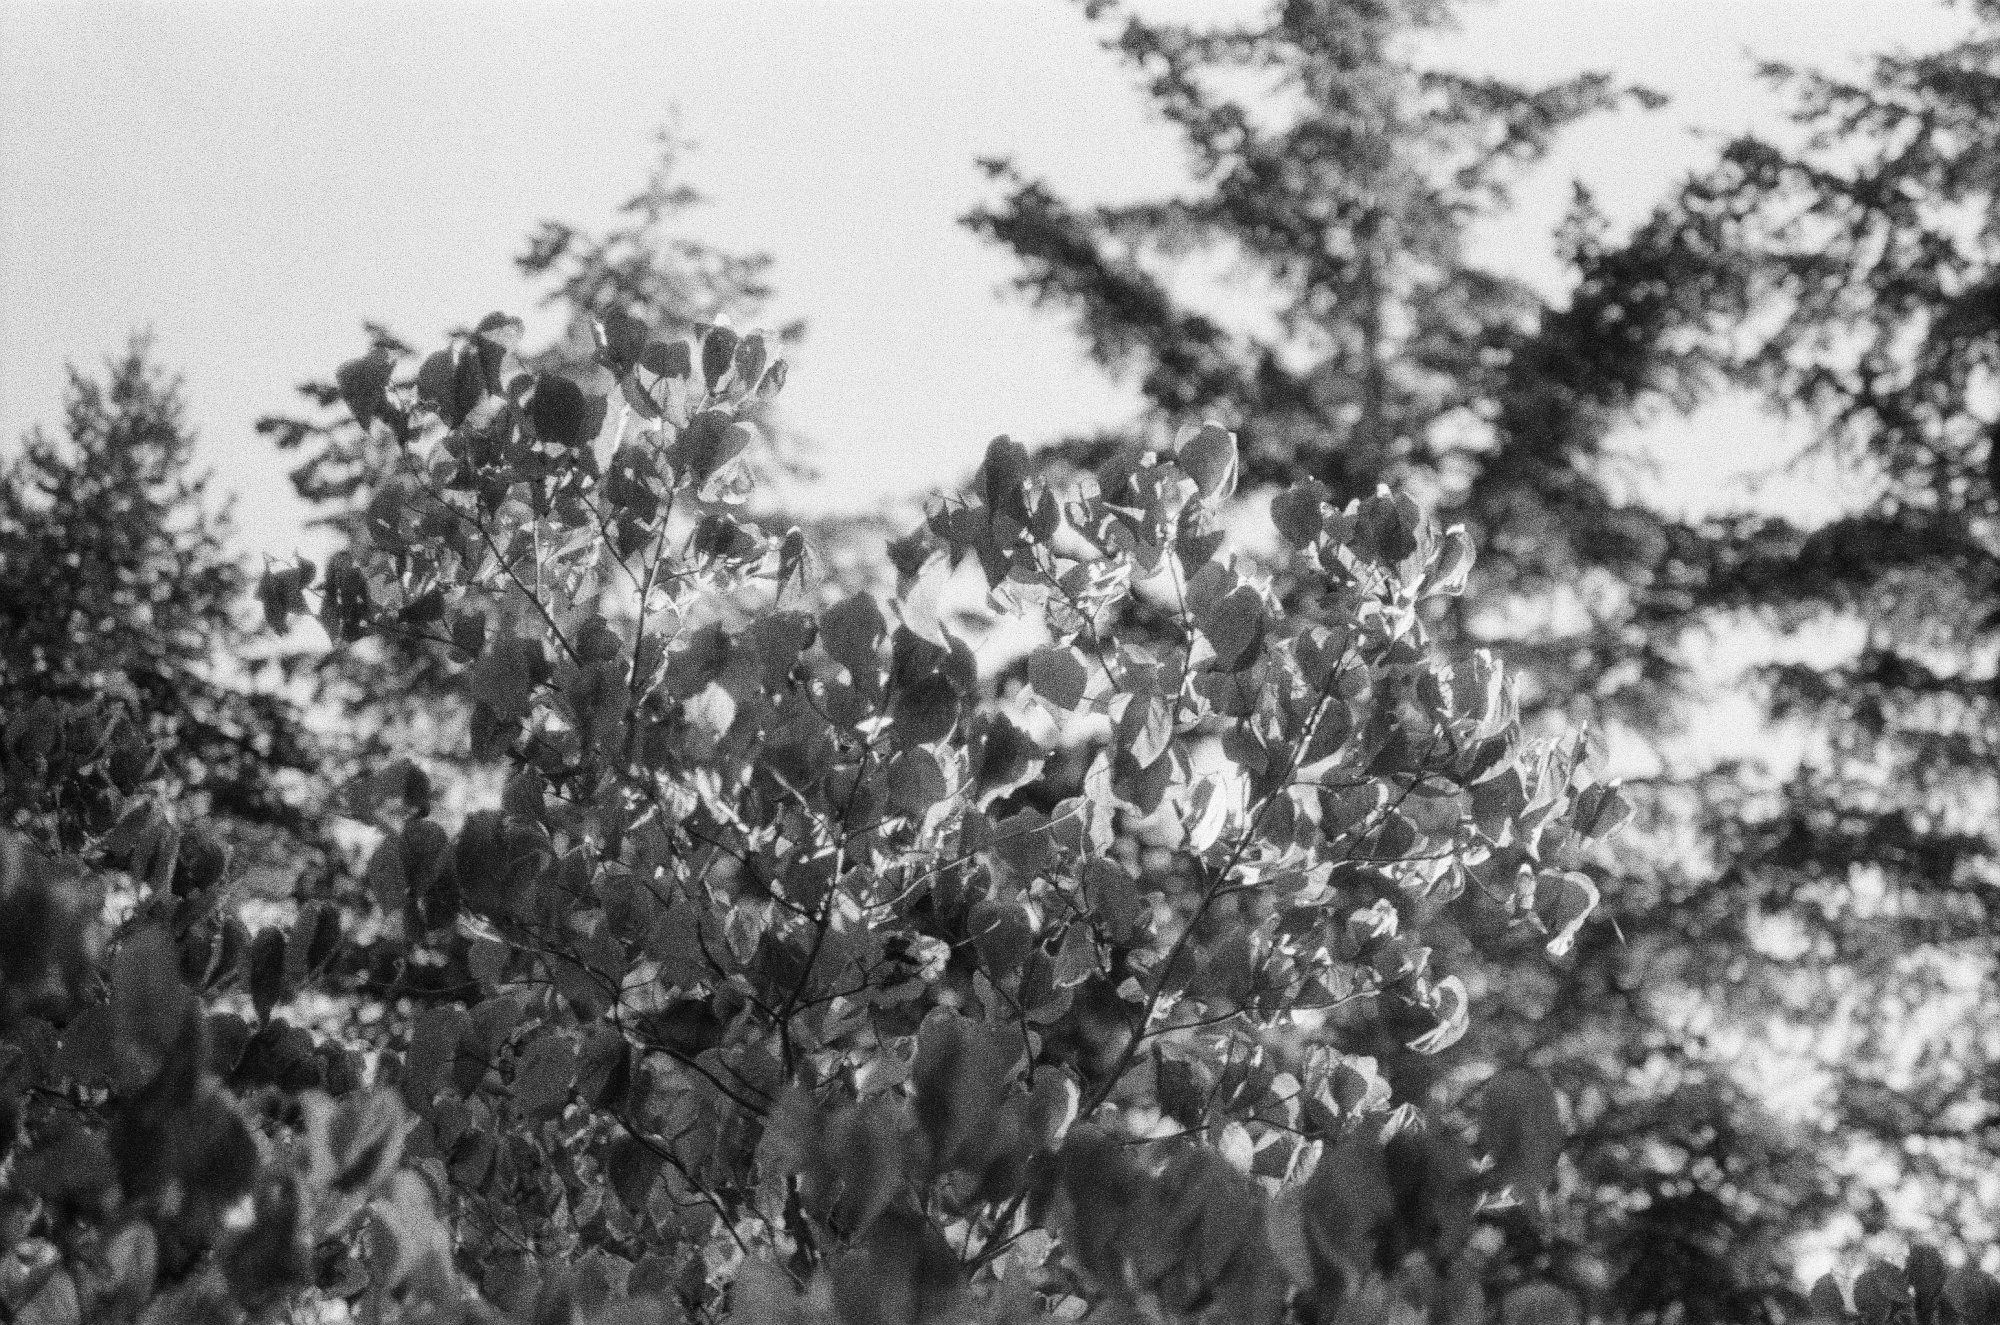
 ^
^
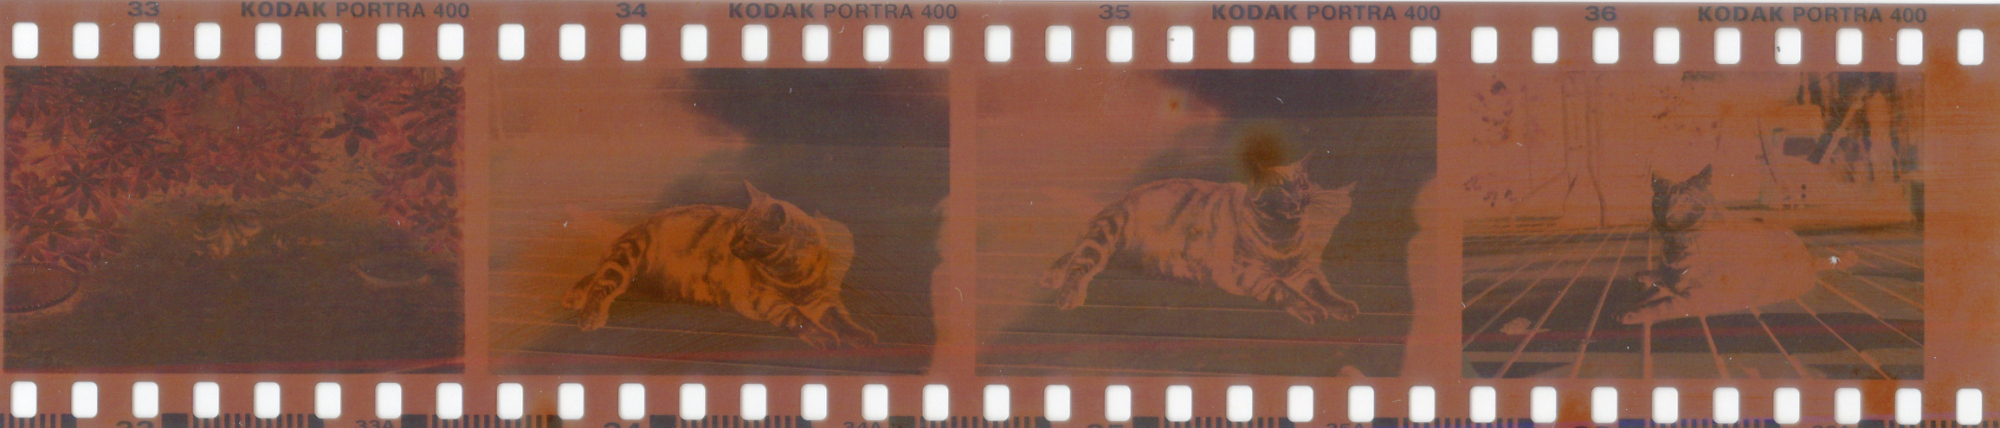
And finally, these masterpieces boldly redefined blur and questionable exposure as forms of artistic expression. Some even chose to exist only halfway, lingering at the threshold of beginning or end.